
Clay Bead bracelet
Create Your Own 1989 Clay Bead Friendship Bracelet: Swift-Inspired DIY for Swifties
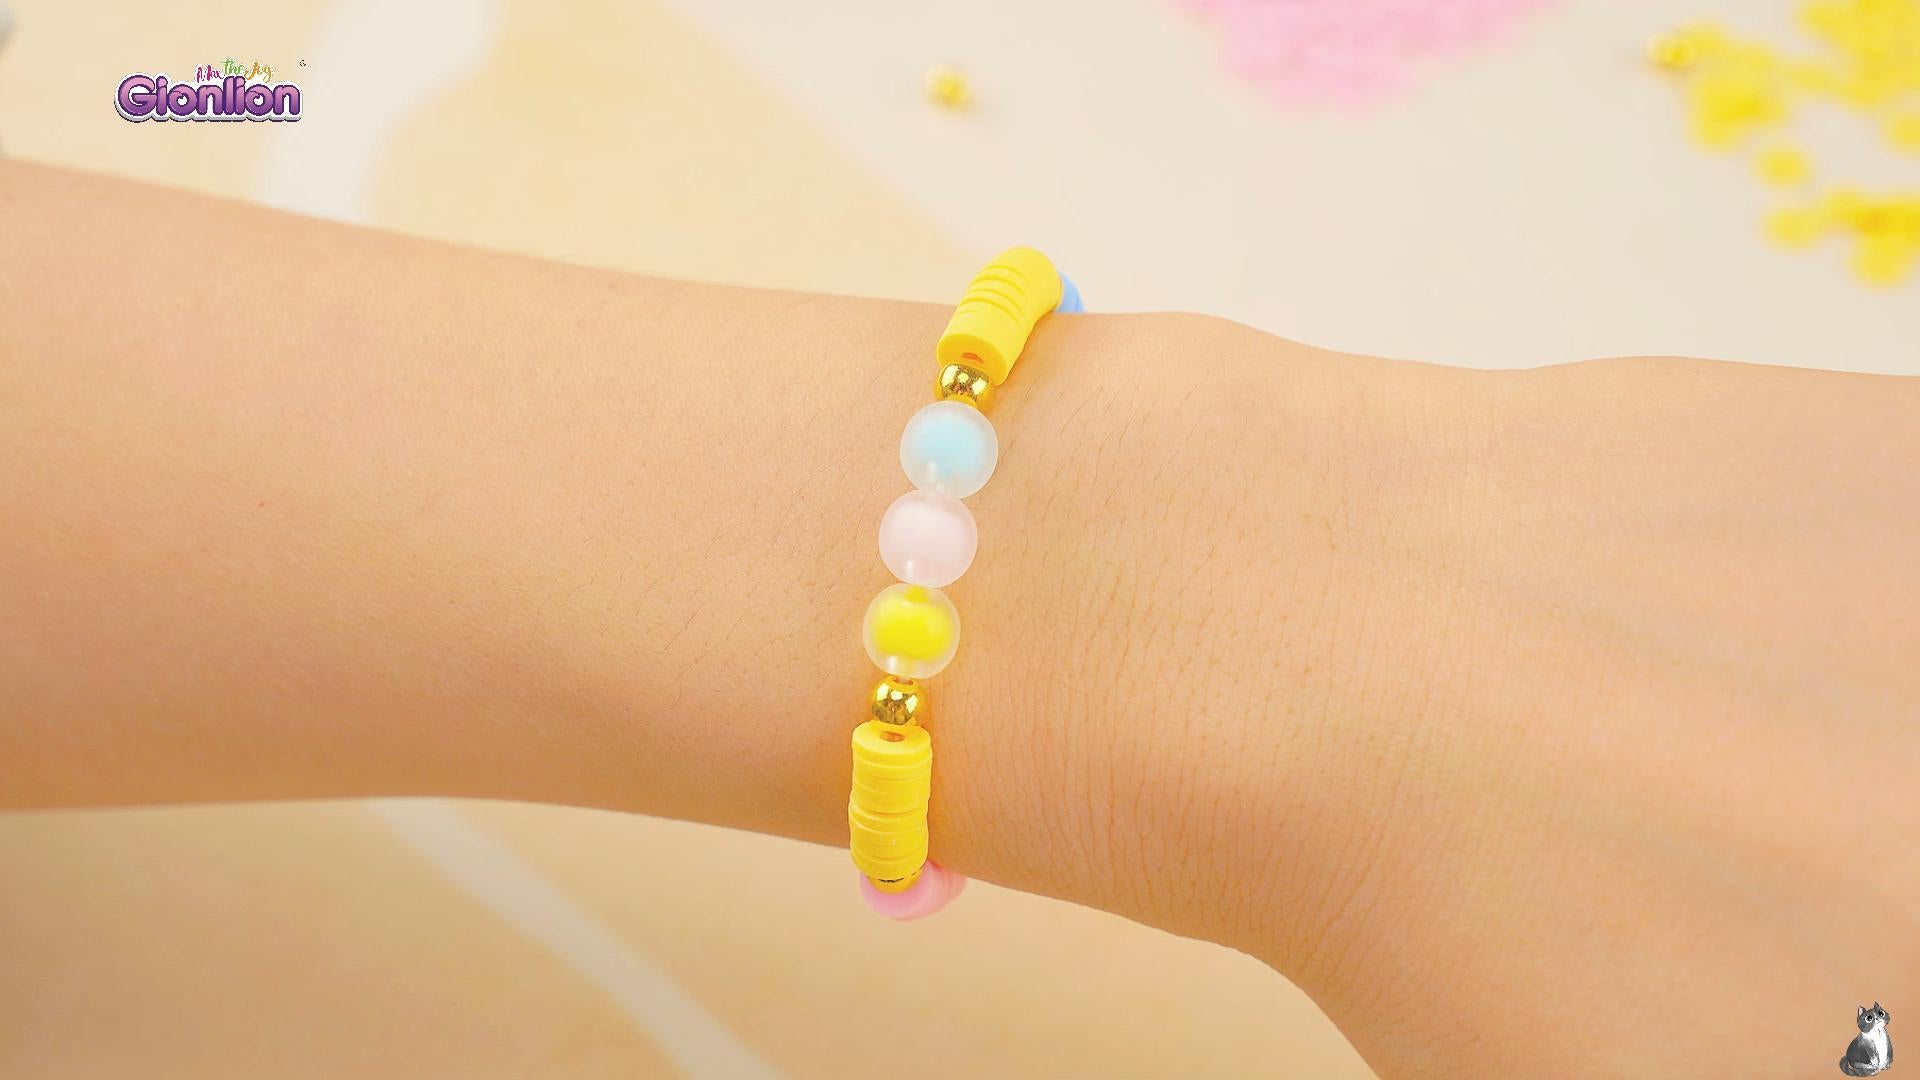
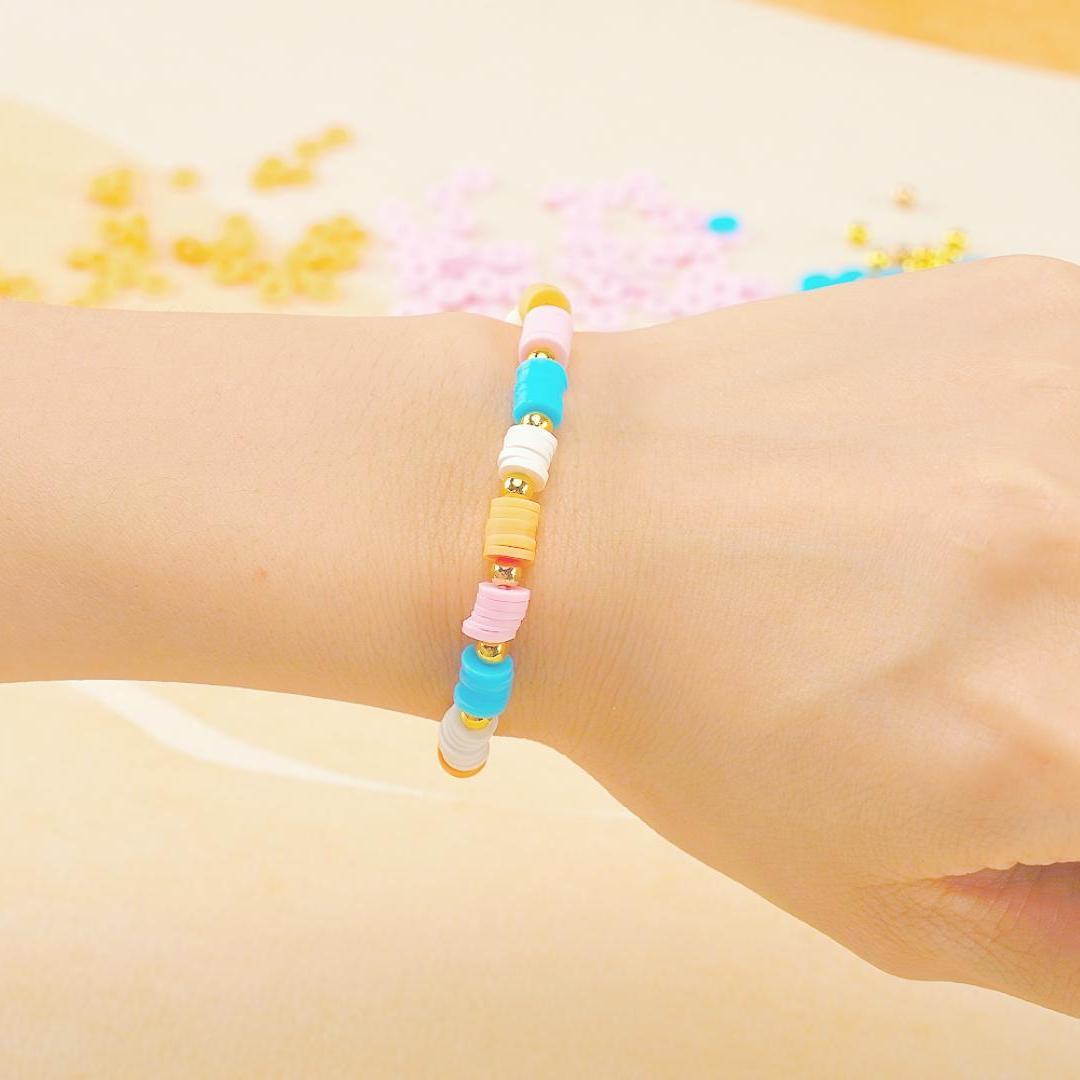
Making your own clay bead bracelet is a creative and relaxing way to express your style. This project is ideal for those who love soft, pastel colors. In this guide, we’ll show you how to craft a beautiful bracelet using light pink, light blue, and light yellow clay beads, along with gold square spacer beads. Whether you’re new to jewelry making or looking to add to your collection of friendship bracelets, this design is both simple and stunning.
Materials Needed:
To create this pastel-themed clay bead bracelet, you’ll need the following:
- Light Pink Clay Beads
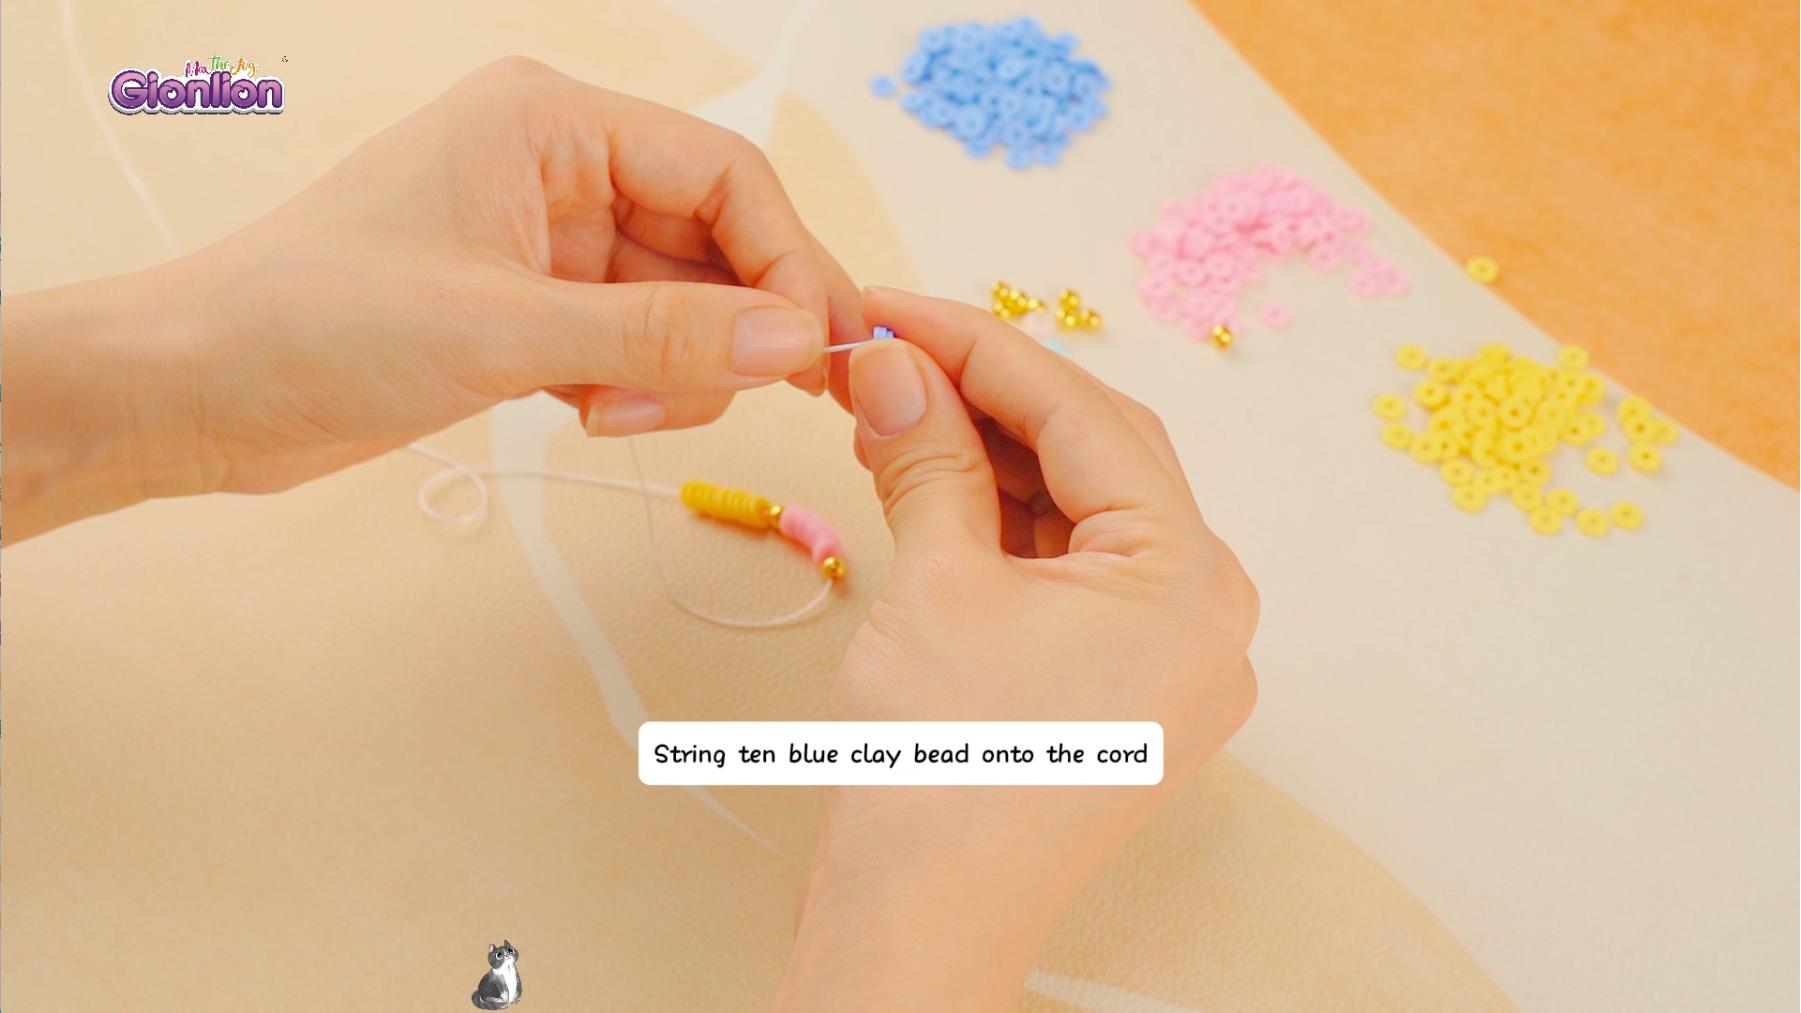
These beads bring a soft, romantic touch to your bracelet, making it perfect for spring or summer. - Light Blue Clay Beads
The light blue beads add a calming and serene vibe, reminiscent of clear skies and peaceful waters. - Light Yellow Clay Beads
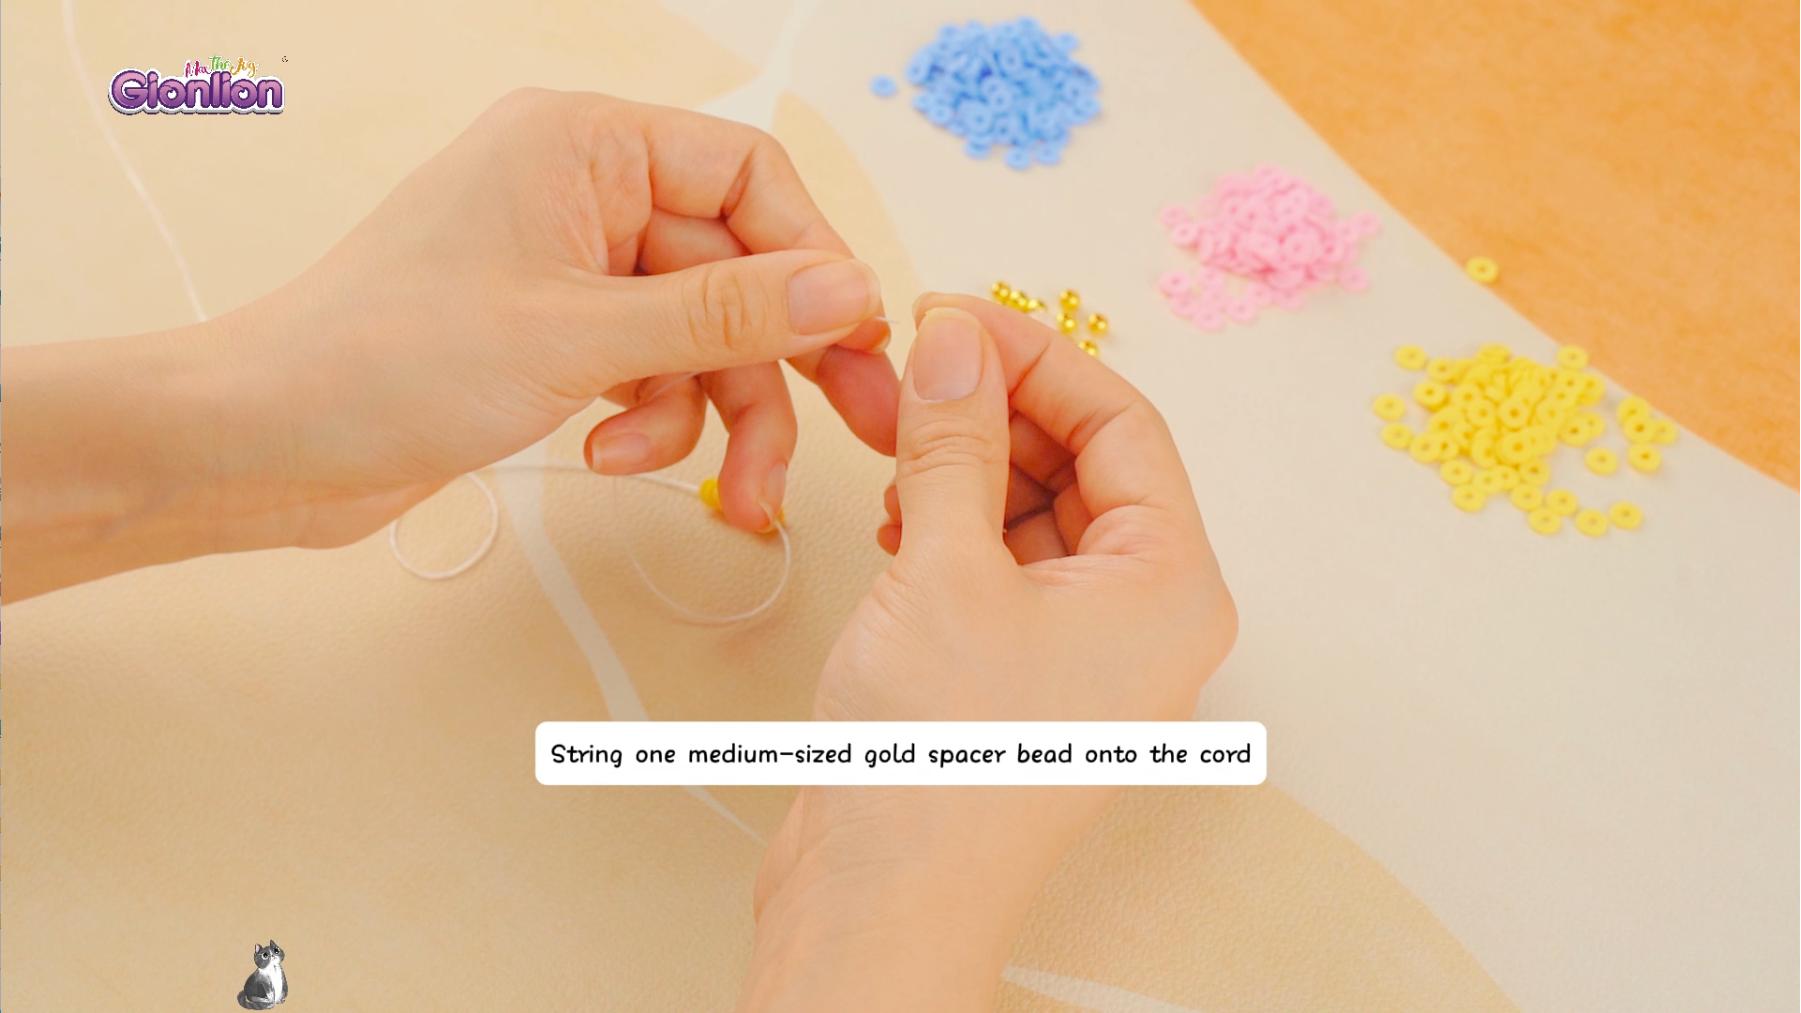
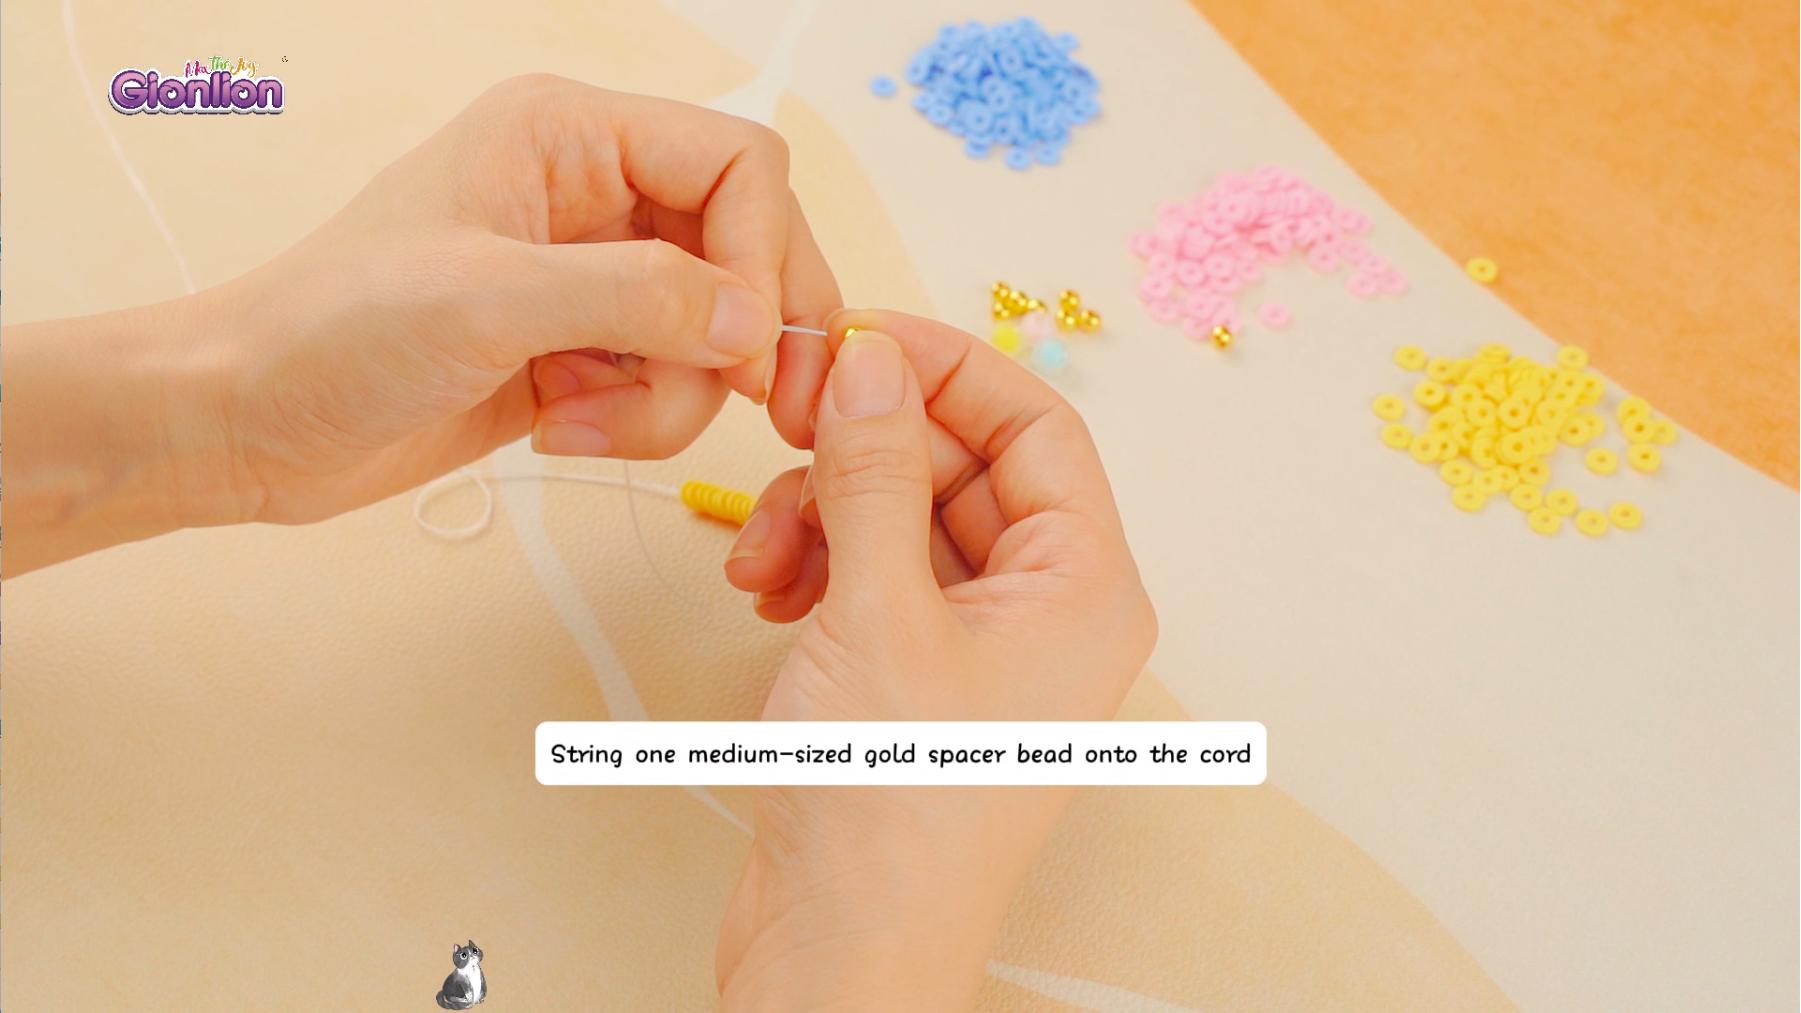
Light yellow beads introduce a hint of sunshine, brightening up the overall design with a cheerful pop of color. - Square Gold Spacer Beads
These metallic beads act as a sophisticated accent, adding a touch of elegance to the bracelet and separating the colorful beads in a stylish way. - String
The length of the string depends on your wrist size. Make sure to cut enough to allow for knotting. - Letter Beads (Optional)
If you want to personalize your bracelet, letter beads are a great way to add initials, names, or meaningful words.
Light Pink & Blue & Yellow Clay Bead Bracelet - FULL TUTORIAL VIDEO
Step-by-Step Guide:
- Measure and Cut Your String:
Start by wrapping the string around your wrist to determine the appropriate length. Add a few extra inches to account for knotting and trimming. Once you have the right length, cut the string. - Organize Your Beads:
Before you begin stringing, lay out your beads in the desired pattern. For this design, we recommend grouping eight clay beads followed by a square gold spacer bead. The sequence will be eight light pink beads, a gold spacer, eight light blue beads, a gold spacer, and finally eight light yellow beads with another gold spacer.
1
2
3
4
5

6
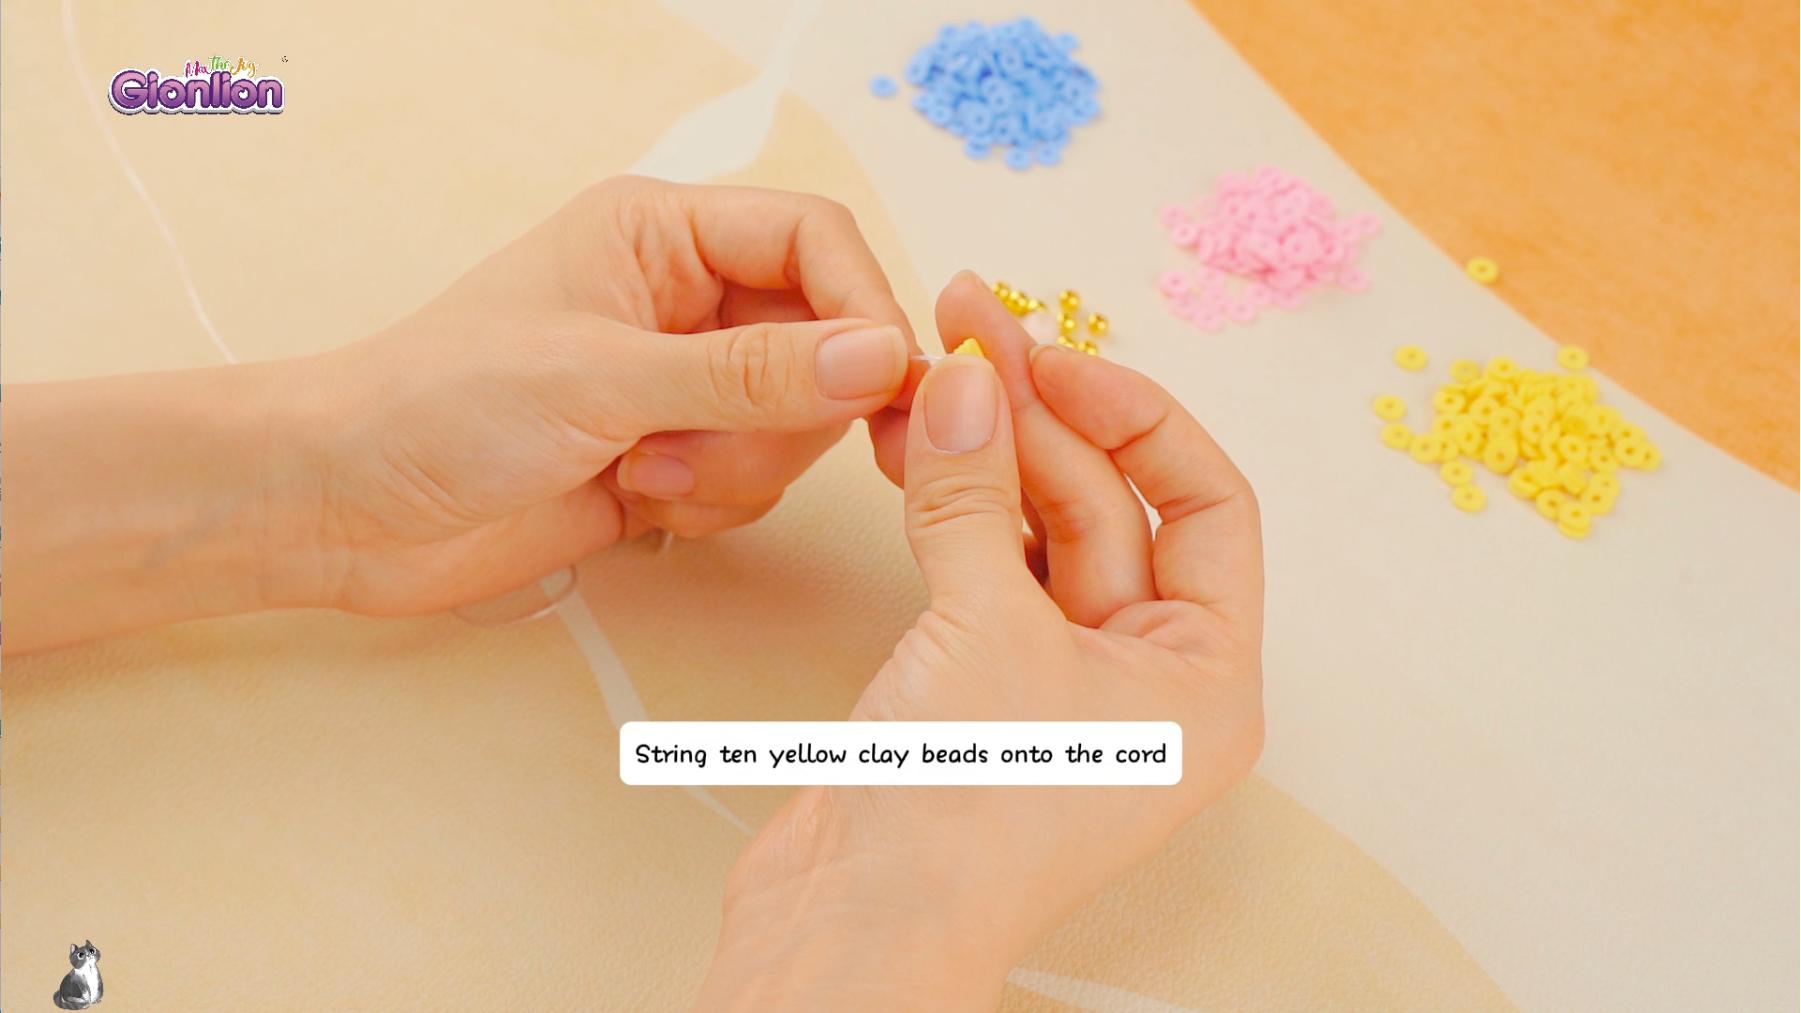
- Start Stringing the Beads:
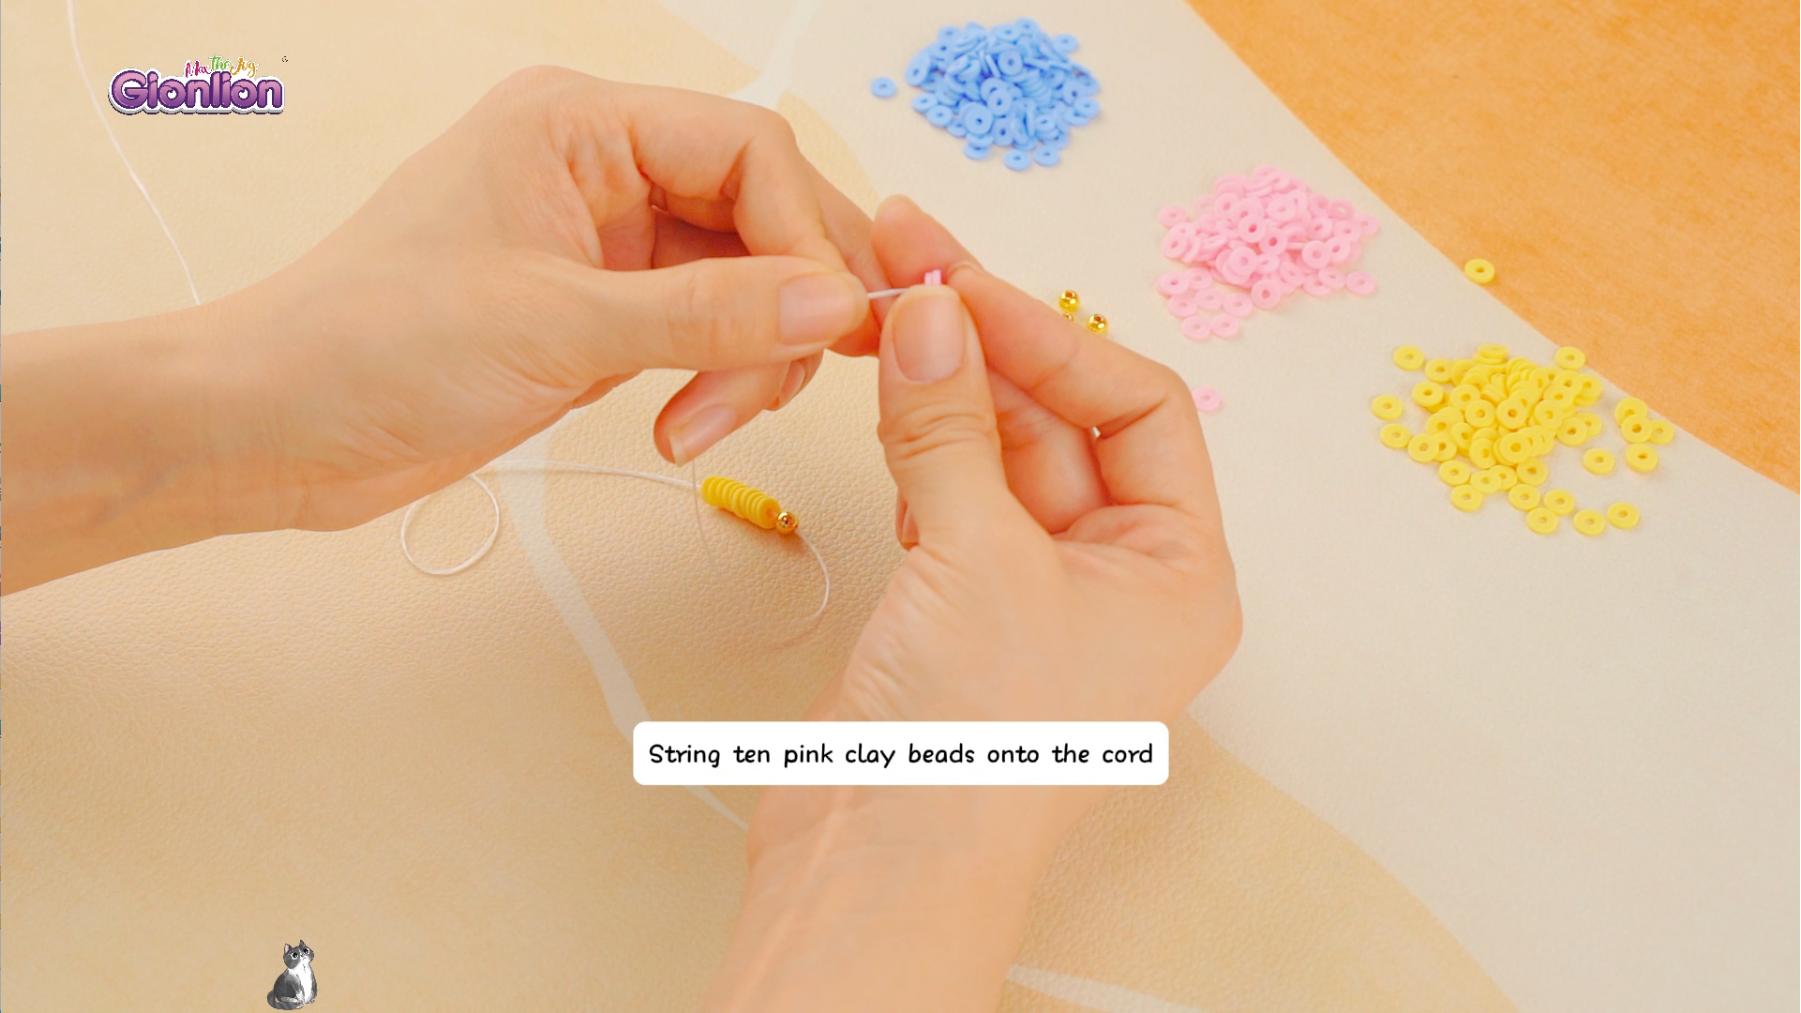
Begin by threading eight light pink clay beads onto the string. After the eighth bead, add a gold spacer. Repeat this process with the light blue and light yellow beads, following the same pattern. - Personalize with Letter Beads (Optional):
If you want to add a personal touch, leave a small gap after the last set of clay beads and string on your chosen letter beads. These can spell out a name, initials, or a word that holds special meaning to you. - Tie and Secure the Bracelet:
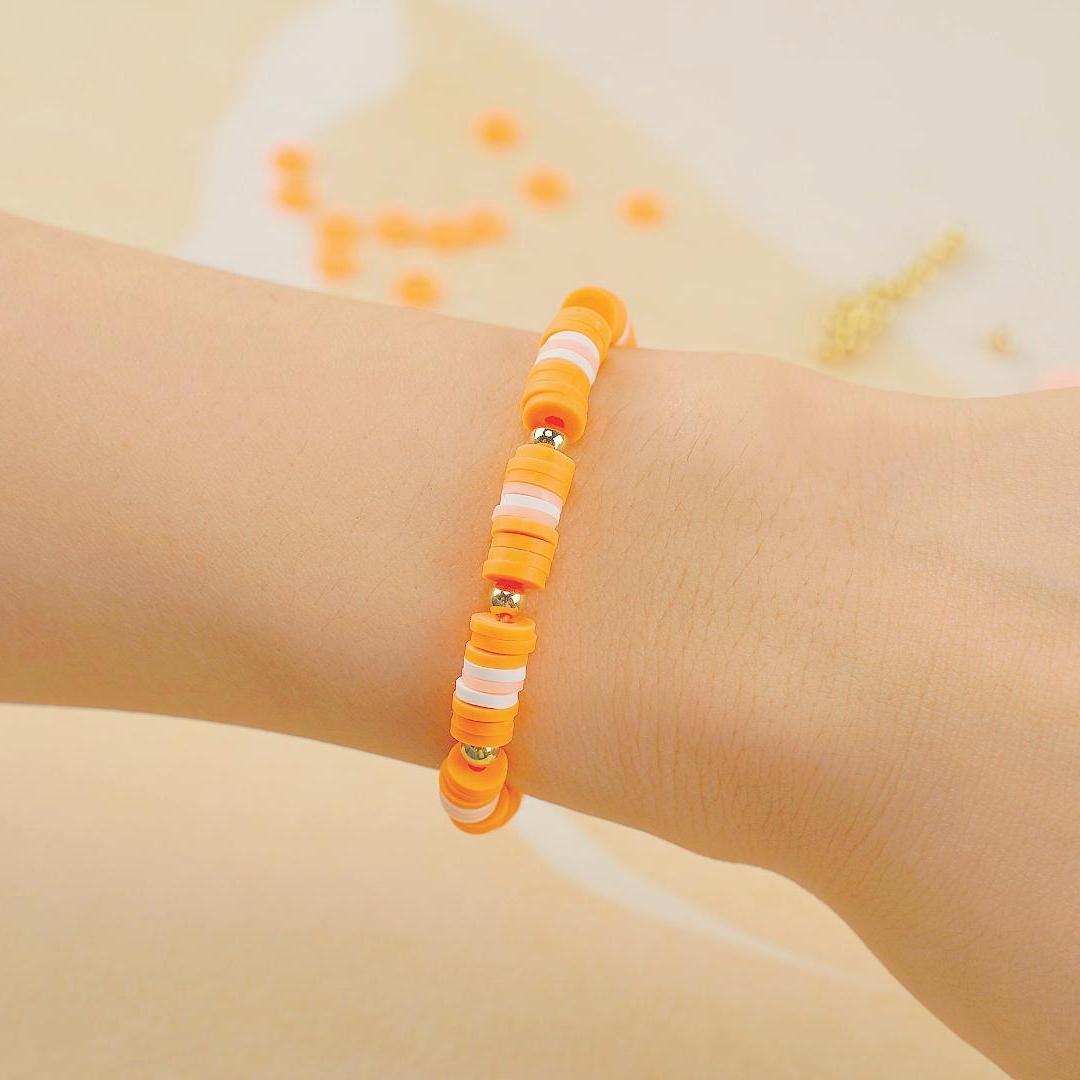
Once all the beads are strung, carefully tie a secure knot to close the bracelet. Make sure the knot is tight to prevent it from coming undone. For extra security, you might consider double knotting. Trim any excess string, but leave a small tail to ensure the knot stays secure. - Final Adjustments:
After tying the knot, slide the beads around slightly to ensure they are evenly distributed. This will help the bracelet sit comfortably on your wrist. If needed, adjust the knot or the placement of the beads to achieve the perfect fit. - Add Charms or Additional Details (Optional):
If you want to take your bracelet to the next level, consider adding small charms or additional beads that complement the pastel colors. Charms like stars, hearts, or initials can make your bracelet even more special.
Additional Tips:
- Experiment with Bead Sizes:
While this guide focuses on standard-sized clay beads, you can experiment with different sizes to create a more textured look. Mixing small and large beads can add depth and interest to your design. - Use a Bead Board for Planning:
A bead board is a helpful tool that allows you to arrange your beads and visualize the final design before you start stringing. This is especially useful if you’re experimenting with new patterns or colors. - Practice Knotting Techniques:
If you’re new to jewelry making, take a few minutes to practice your knotting technique before starting your project. A well-tied knot is essential for keeping your bracelet secure and looking professional. - Store Your Bracelet Properly:
To keep your bracelet in top condition, store it in a cool, dry place. Avoid exposing it to water or harsh chemicals, as these can damage the beads and weaken the string over time.
1 comment
Gigi
I like it
I like it