Clay Bead bracelet
Creative Ideas for A Pastel Clay Bead Bracelet
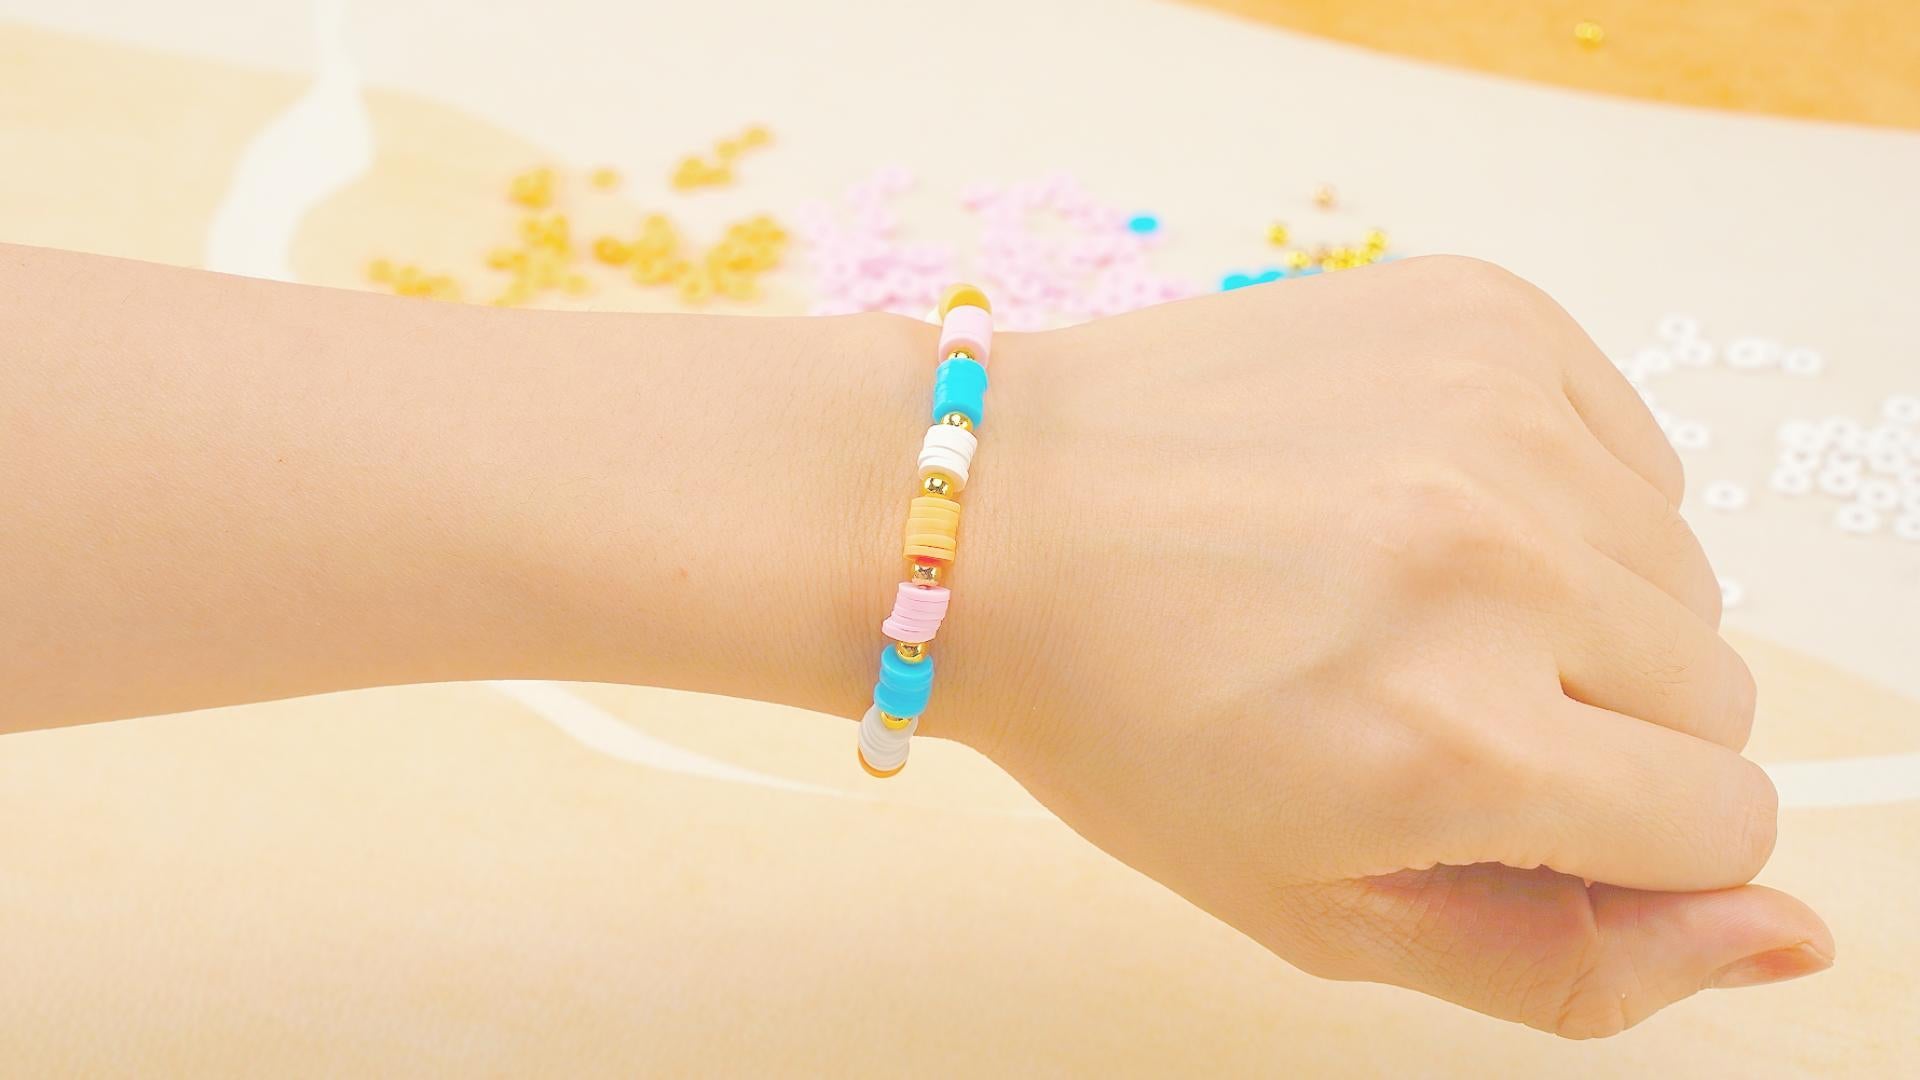
Designing and crafting a pastel clay bead bracelet is a delightful way to express your creativity. Whether you’re creating a piece for yourself or as a meaningful gift, this bracelet combines soft colors and a touch of elegance. In this tutorial, we’ll guide you through the steps to create a beautiful pastel clay bead bracelet, using simple materials and techniques. This project is perfect for anyone looking for friendship bracelet ideas or those using a friendship bracelet making kit.
Required Materials
To create this pastel clay bead bracelet, make sure you have the following materials and tools:
- Blue Clay Beads
Light blue clay beads are one of the primary colors in this bracelet design, radiating a serene and calming vibe. Depending on your wrist size, you'll need about 20 to 30 light blue clay beads to ensure evenness and aesthetic appeal. - White Clay Beads
The addition of white clay beads brings a touch of purity to the bracelet while creating a sharp contrast with other colors. Prepare around 20 to 30 white clay beads to add depth and dimension to your bracelet. - Yellow Clay Beads
Yellow clay beads infuse this bracelet with a dash of energy and enthusiasm. You’ll need the same amount of yellow clay beads, about 20 to 30 pieces, depending on your wrist size. - Pink Clay Beads
Light pink clay beads add a gentle and sweet touch to the design. Approximately 20 to 30 light pink clay beads will add more visual appeal to your bracelet. - Gold Round Spacer Beads
Gold round spacer beads are essential in this bracelet design, adding a touch of shimmer and sophistication. Typically, a spacer bead is placed between each group of clay beads, so having 8 to 10 spacer beads on hand is ideal. - Letter Beads
Letter beads are what give this bracelet its unique personality, allowing you to spell out names, initials, or meaningful words. Prepare an appropriate number of letter beads based on your design needs. - Elastic Cord
Elastic cord is the foundation that ties all the beads together. Choose a high-quality elastic cord suitable for bracelet designs, usually around 1 meter in length, enough to create a bracelet that fits most wrists. - Scissors
Scissors are used to trim the elastic cord and excess threads, ensuring a neat and tidy finish to the bracelet. - Beading Needle
A beading needle can help you easily thread the beads onto the elastic cord, especially when the end of the cord becomes frayed. It’s a handy tool for precision work.
Light Color Clay Bead Bracelet - FULL TUTORIAL VIDEO
How to Create the Pastel Clay Bead Bracelet
Now that you have all the materials ready, let’s start crafting your bracelet.
- Start with the First Color Group
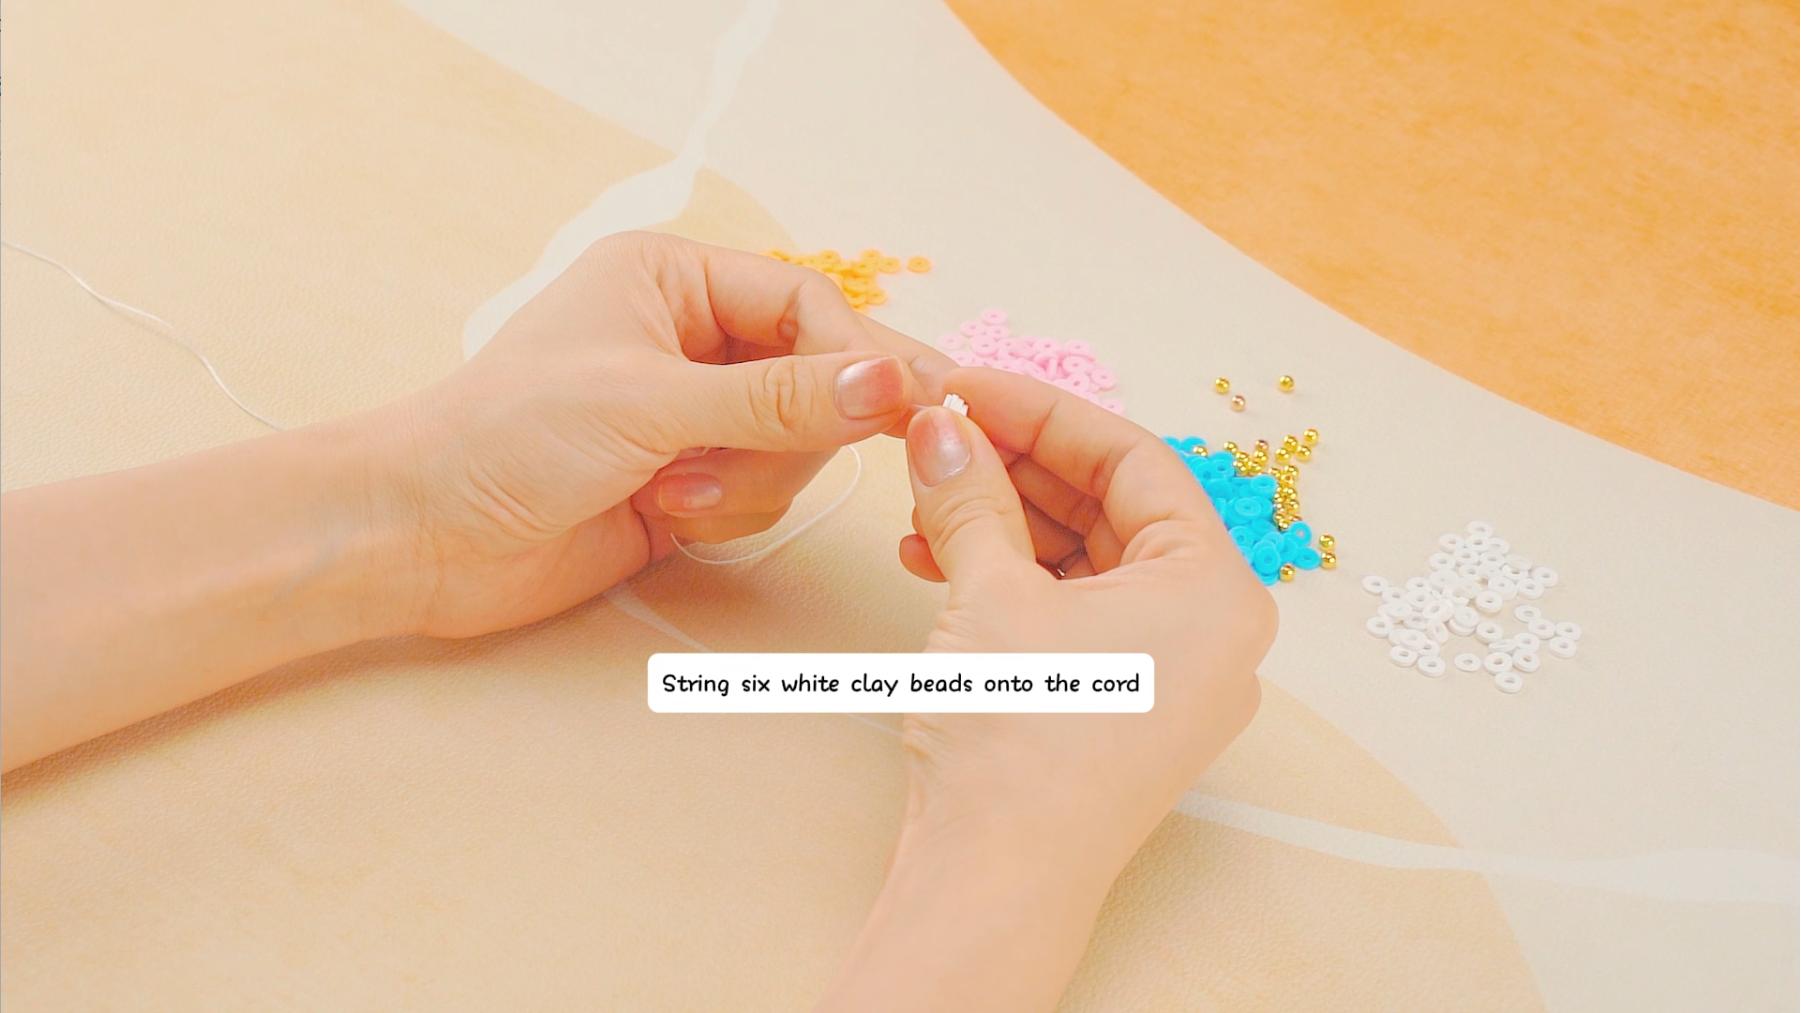
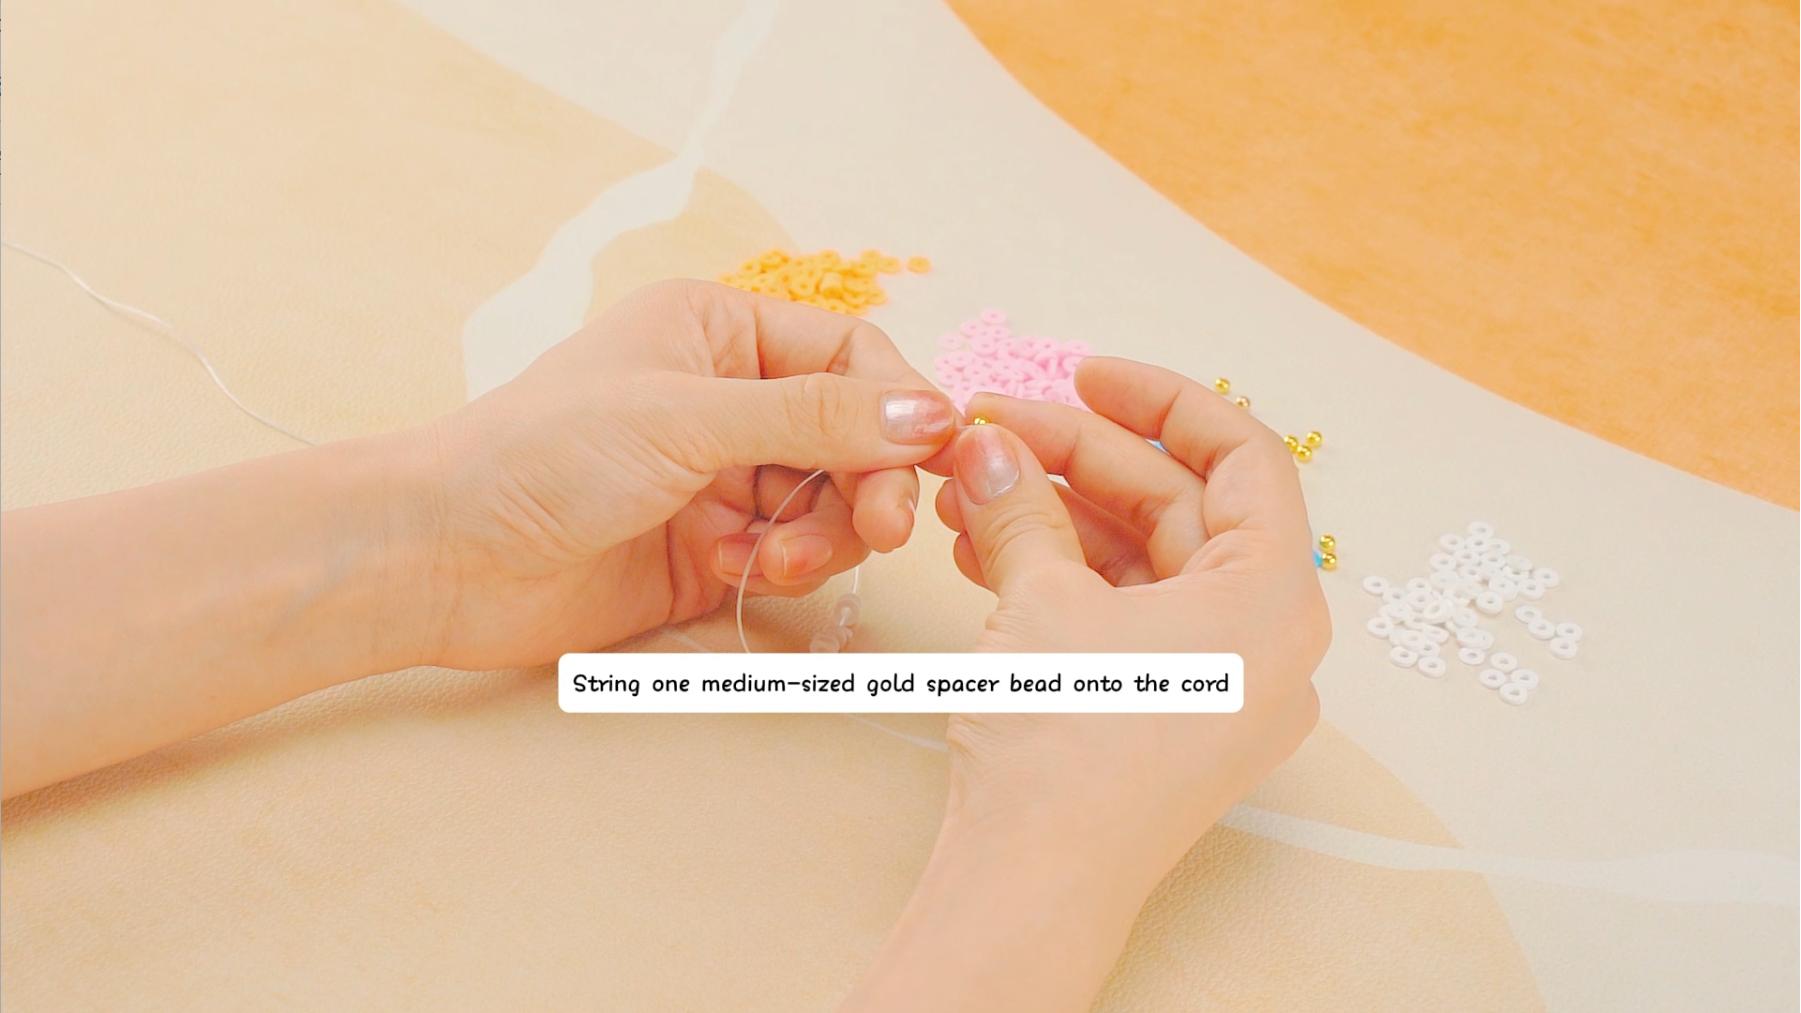
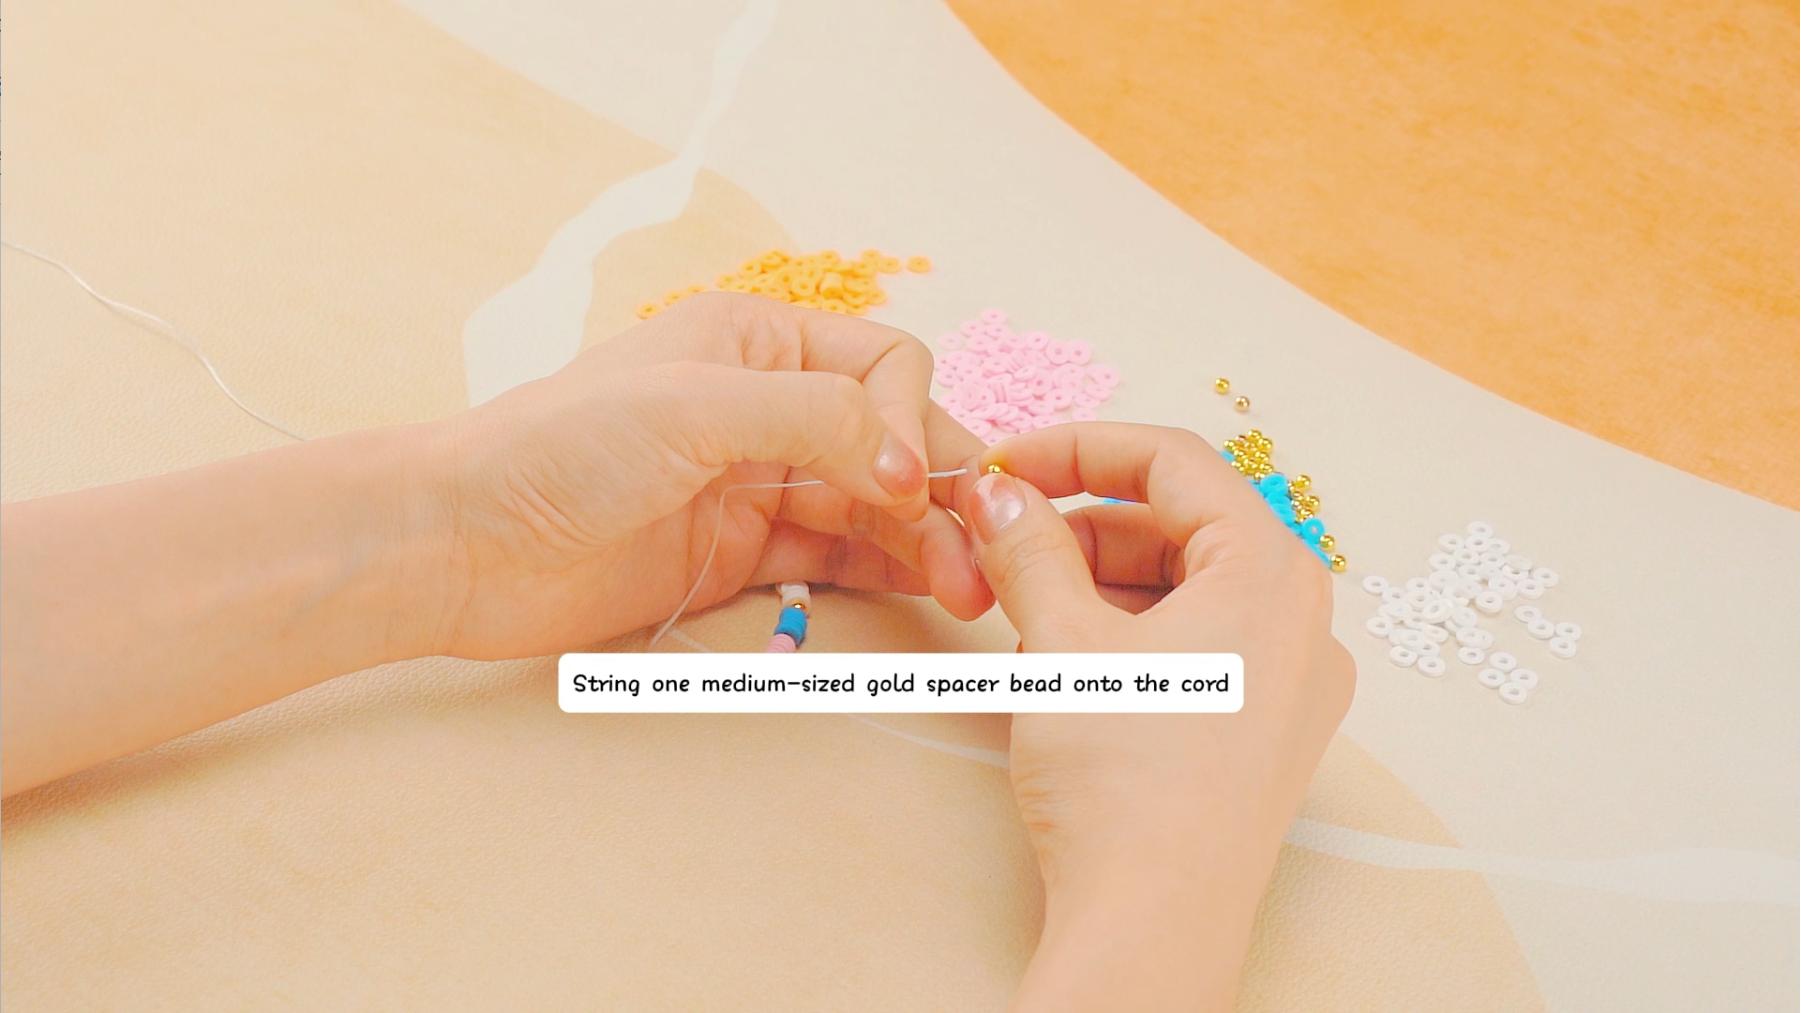
Begin by threading six white clay beads onto the elastic cord. Follow this with a gold round spacer bead. This combination creates the first section of your bracelet.
1
2
- Add the Next Color Group
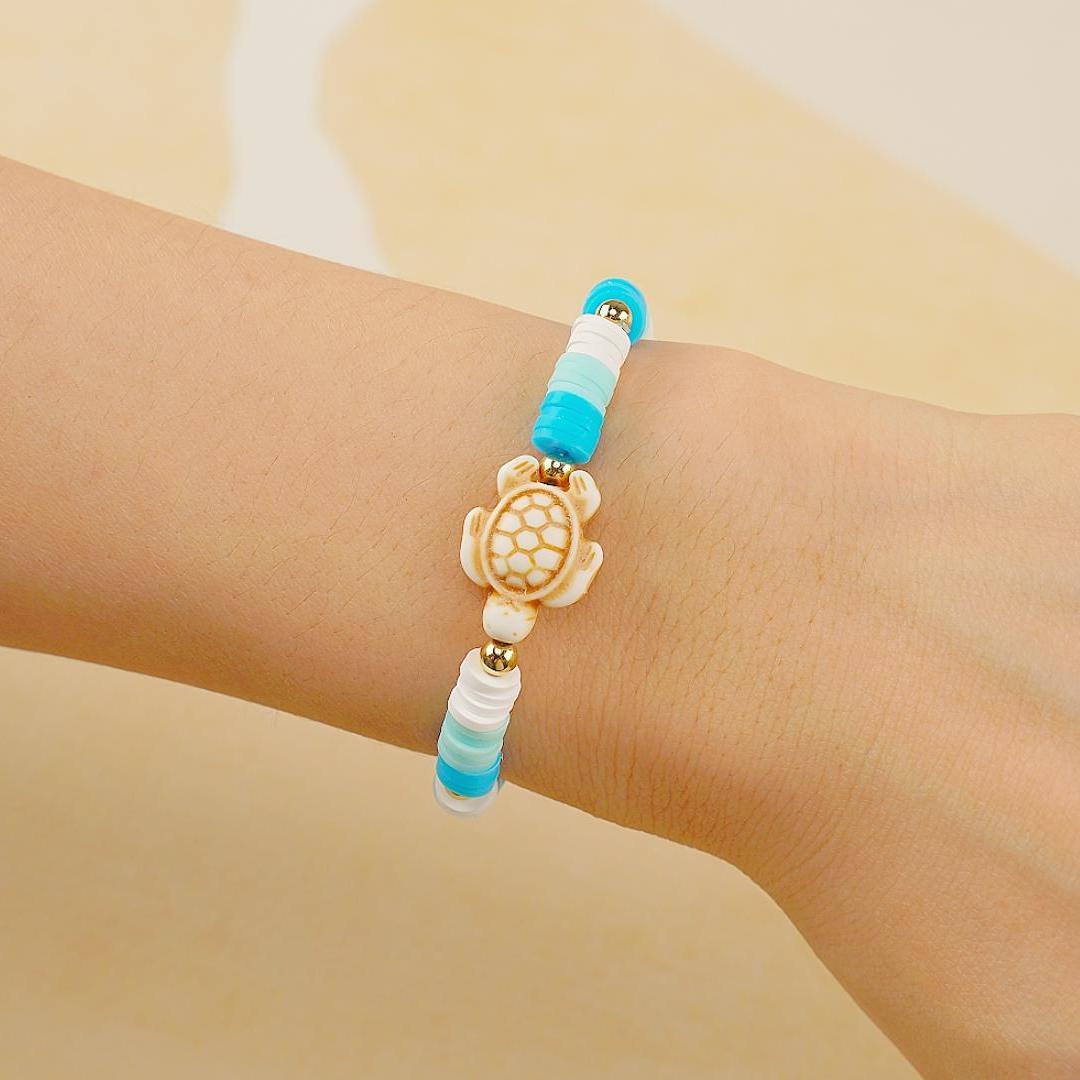
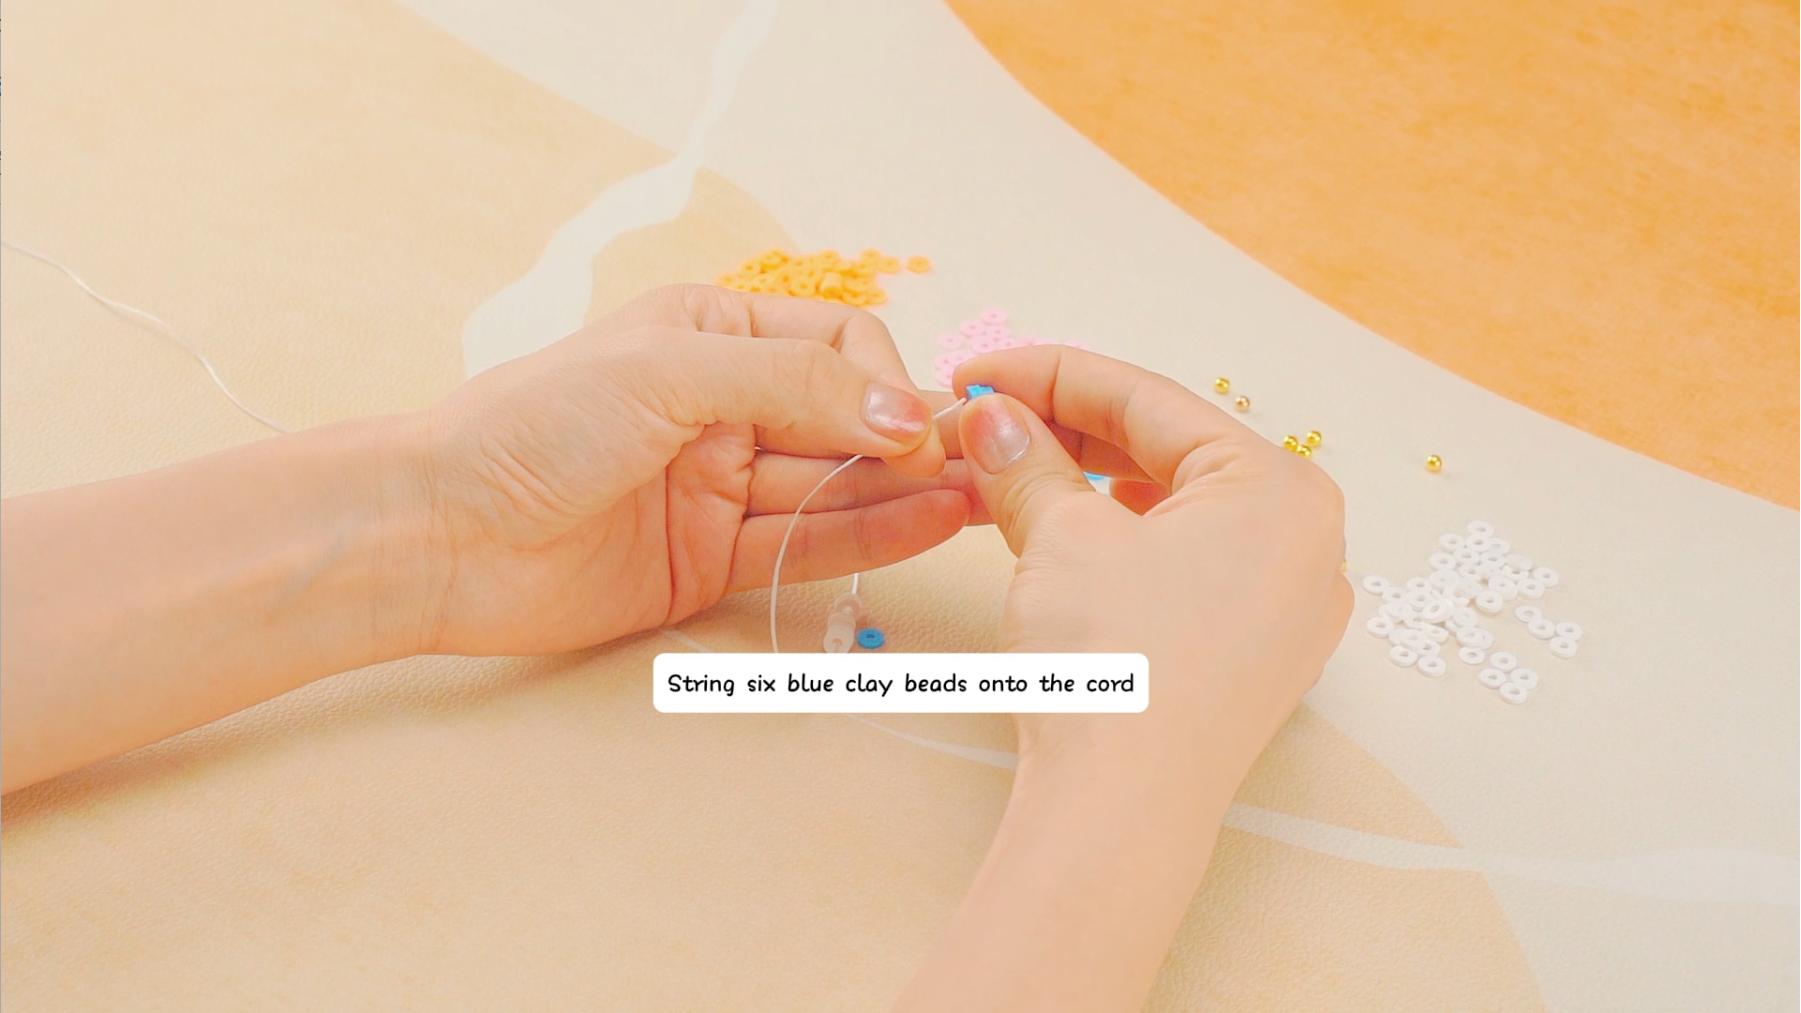
Next, thread six light blue clay beads, followed by another gold round spacer bead. This second section will contrast beautifully with the first, adding visual interest to your design.
3
4
- Incorporate the Third Color Group
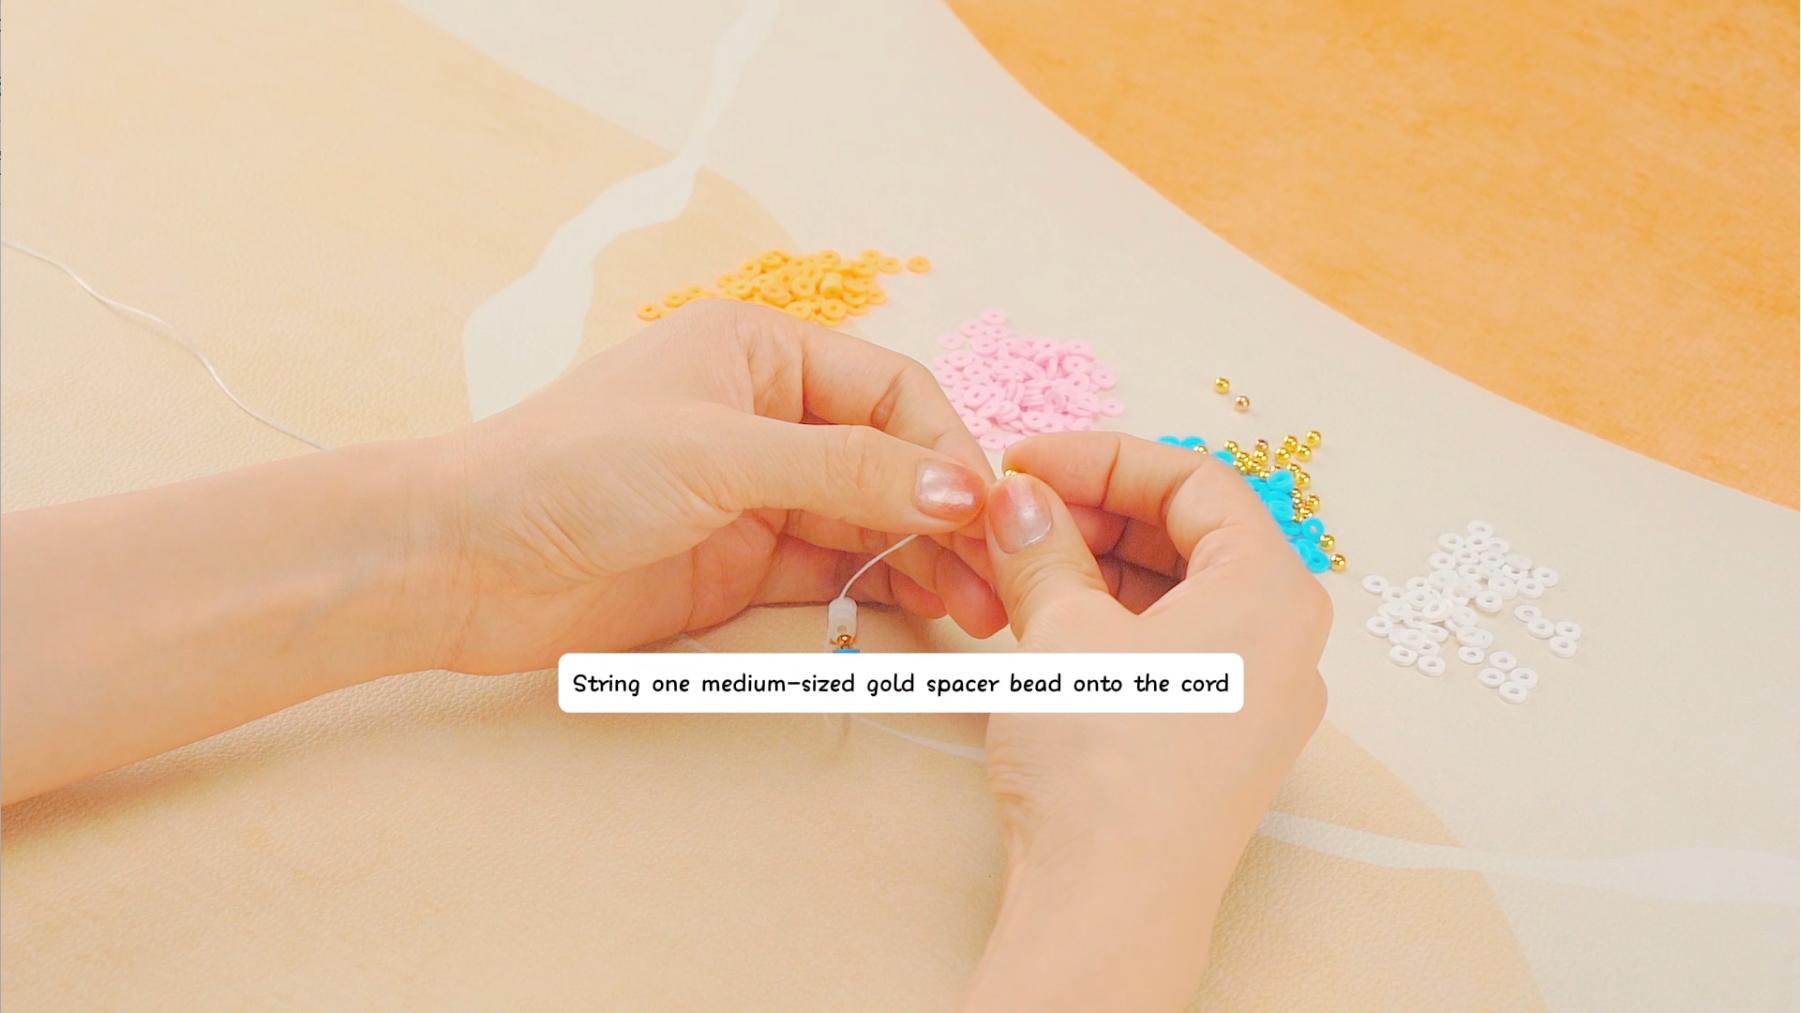
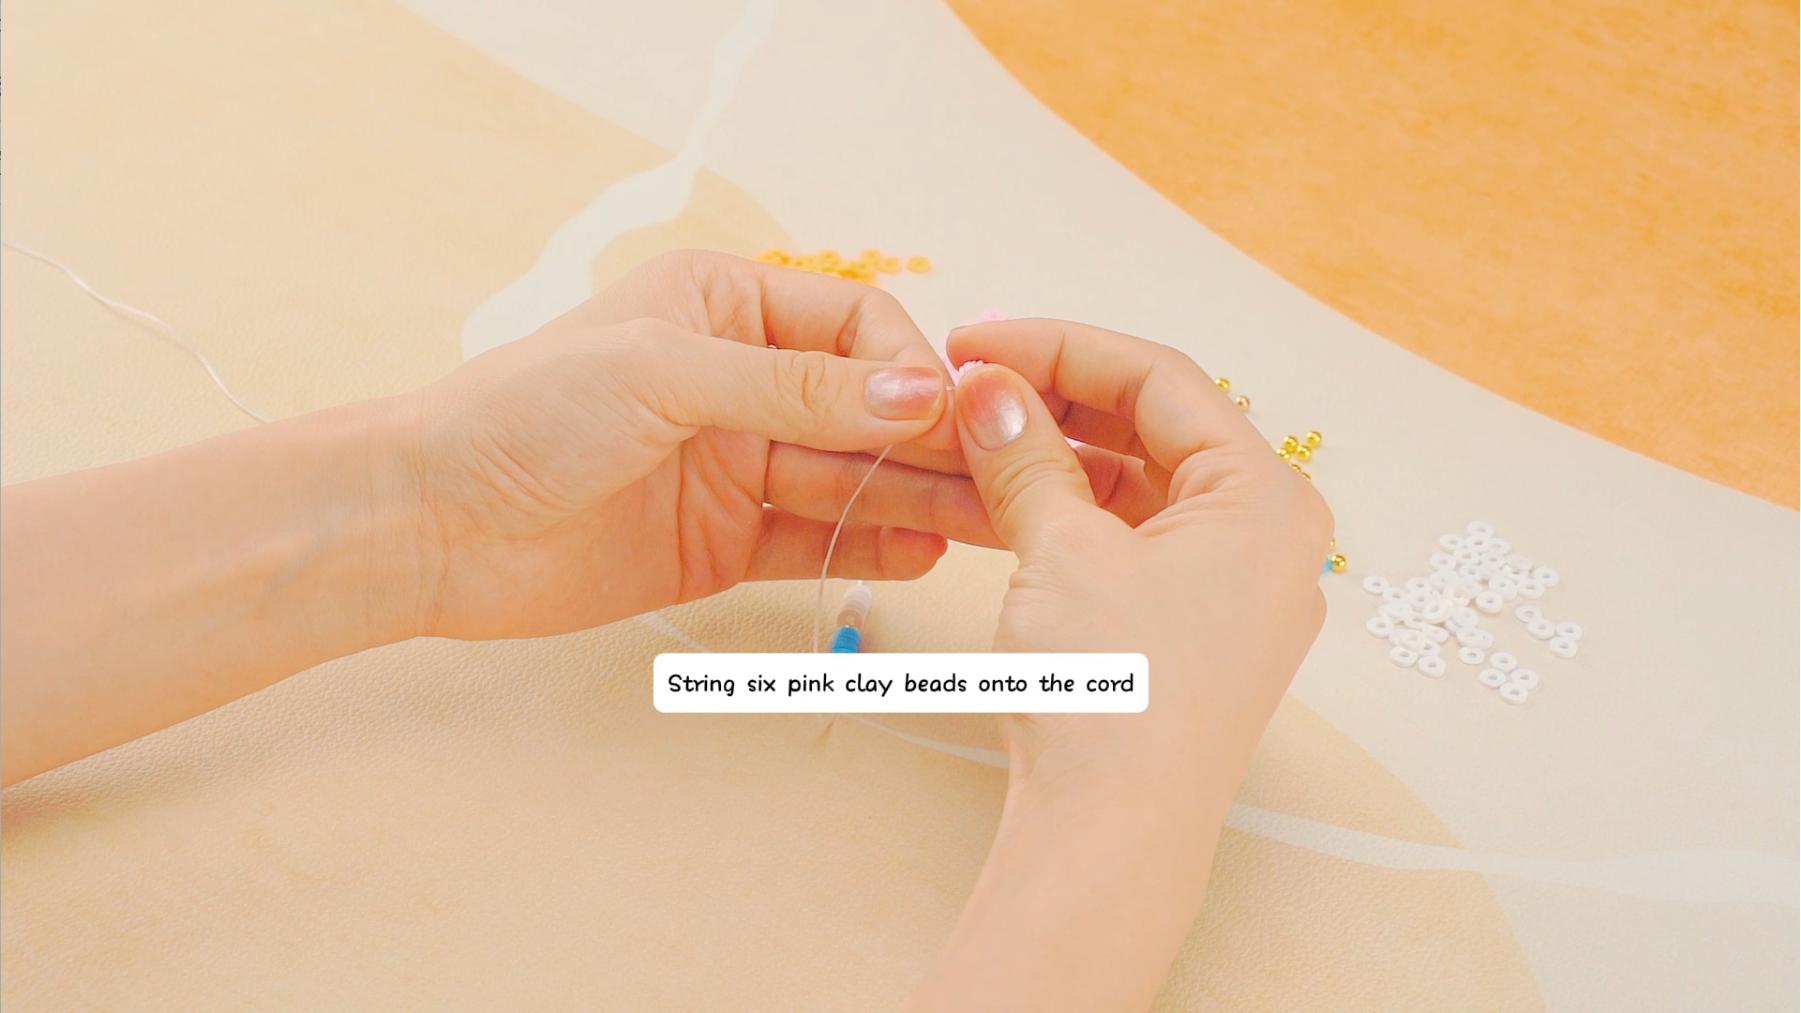
Now, add six pink clay beads and a gold round spacer bead. The orange beads bring a vibrant touch, balancing the cooler tones of the previous sections.
5
6
- Complete with the Final Color Group
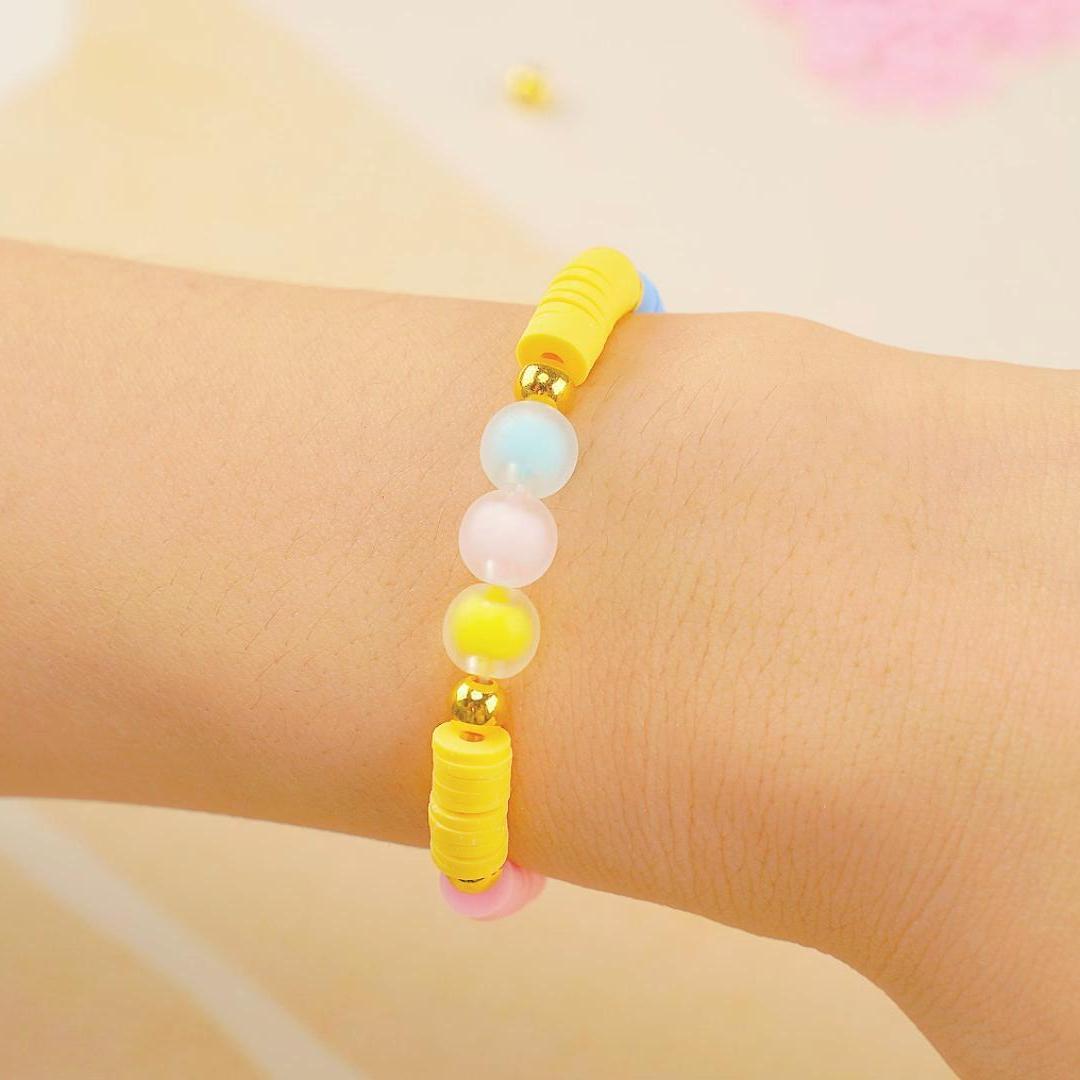
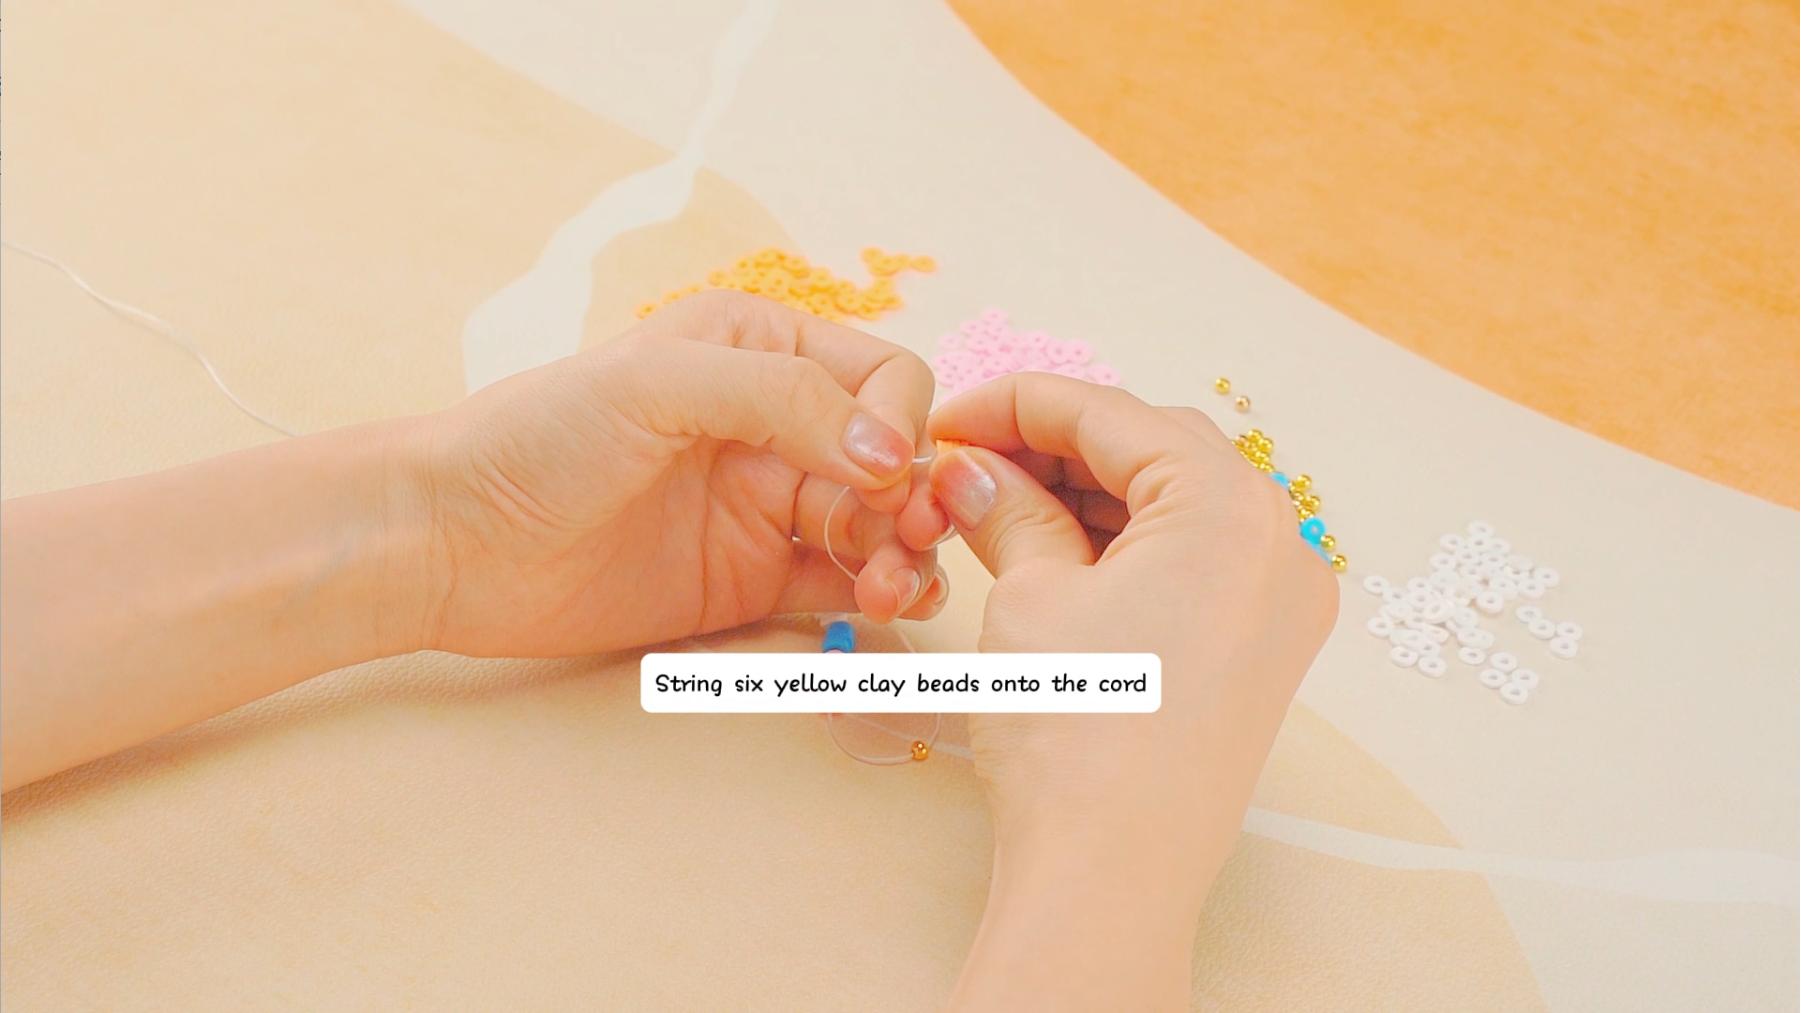
Finally, thread six yellow clay beads and another gold round spacer bead. The light pink adds a soft, warm tone that complements the other colors.
7

8
- Add Letter Beads (Optional)
If you wish to personalize your bracelet, now is the time to add letter beads. Spell out a name, initials, or a meaningful word before tying off the bracelet. - Tie the Knot
Once all the beads are in place, carefully tie a secure knot to finish your bracelet. Trim any excess cord with scissors, ensuring a clean and neat appearance. - Adjust and Wear
Adjust the bracelet to fit your wrist, ensuring that it sits comfortably. Your beautiful pastel clay bead bracelet is now ready to wear!
Additional Tips for a Perfect Bracelet
- Experiment with Bead Placement: Feel free to experiment with different color patterns and bead placements. You can alternate colors, add more gold spacer beads, or even mix in different shapes and sizes of beads for a unique look.
- Use a Bead Board: A bead board can help you plan your design before you start threading. This tool allows you to visualize the layout and make adjustments as needed.
- Consider Adding Charms: If you want to add an extra personal touch, consider incorporating small charms between the beads. Charms can symbolize something special to you or the person you're gifting the bracelet to.
- Ensure a Tight Knot: To make sure your bracelet stays secure, double-check that your final knot is tight and sturdy. You may also want to tie an additional knot for extra security.
- Store Properly: To keep your bracelet looking fresh and new, store it in a cool, dry place when not in use. This will help prevent the elastic from stretching and the beads from tarnishing.
Creating a pastel clay bead bracelet is a fun and rewarding project that allows you to express your creativity. By following this guide and adding your own personal touches, you’ll have a beautiful piece of jewelry that’s perfect for any occasion.