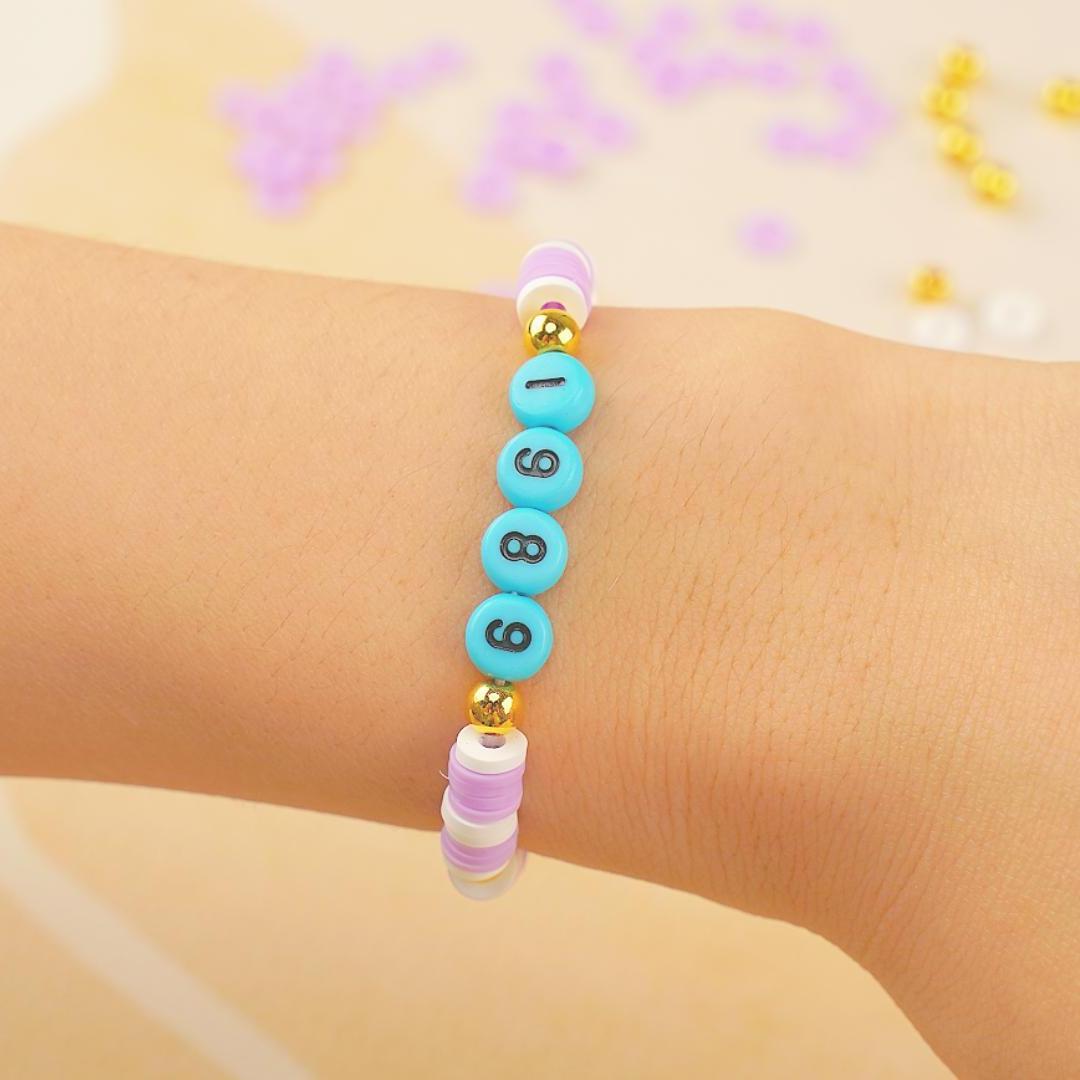
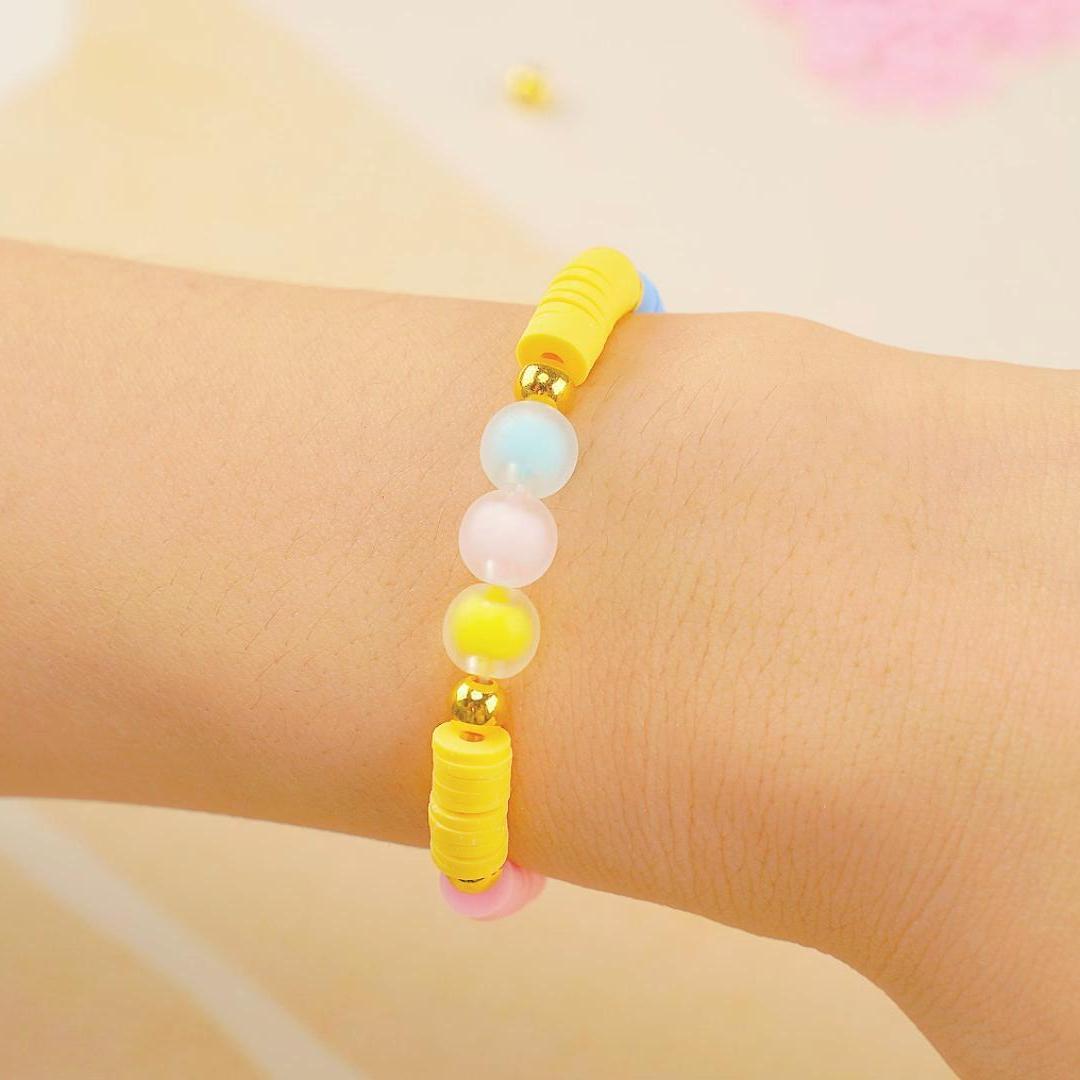
Clay Bead bracelet
Unique Sunset Bracelet: Creative Designs And DIY Guide
Capturing the breathtaking beauty of a sunset in a handmade bracelet is a wonderful way to bring a piece of nature into your everyday life. The Sunset Clay Bead Bracelet is not just an accessory; it’s a reflection of artistry and creativity. If you’re looking to add new designs to your friendship bracelet making kit, this DIY guide offers the perfect project. This tutorial will walk you through the process of creating a unique BFF bracelet.
Why Choose a Sunset Clay Bead Bracelet?
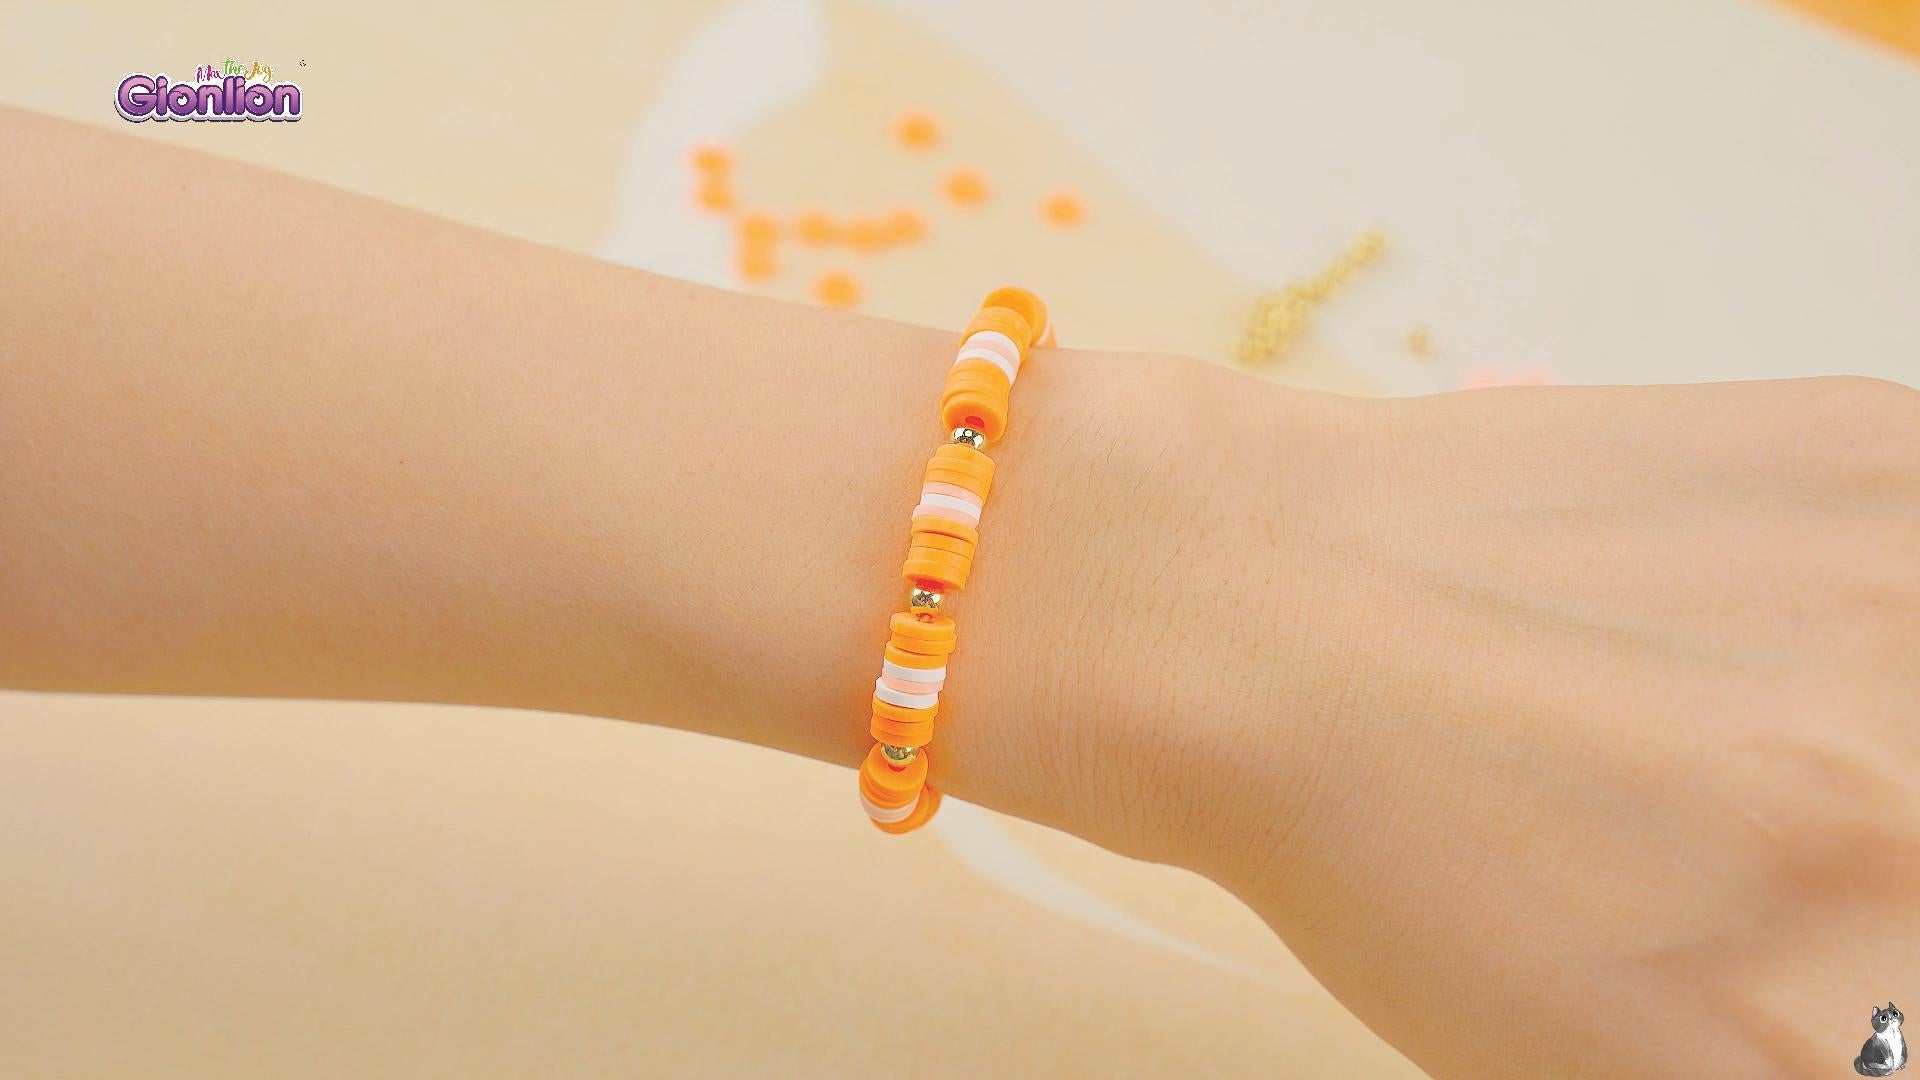
A Sunset Clay Bead Bracelet embodies the warm, vibrant colors of the sky at dusk. The combination of orange, light orange, and white clay beads with small gold spacer beads creates a visually striking piece that can be customized to fit any wrist. This bracelet is a beautiful way to symbolize a special bond with a friend, making it an ideal addition to your collection of friendship bracelet ideas.
Materials Needed:
- Orange Clay Beads: These beads represent the deep hues of the sunset and form the foundation of the bracelet’s design.
- Light Orange Clay Beads: These beads add a softer, more subtle layer to the bracelet, enhancing the overall warmth of the design.
- White Clay Beads: White beads bring a crisp contrast to the warmer colors, mimicking the light that lingers after the sun sets.
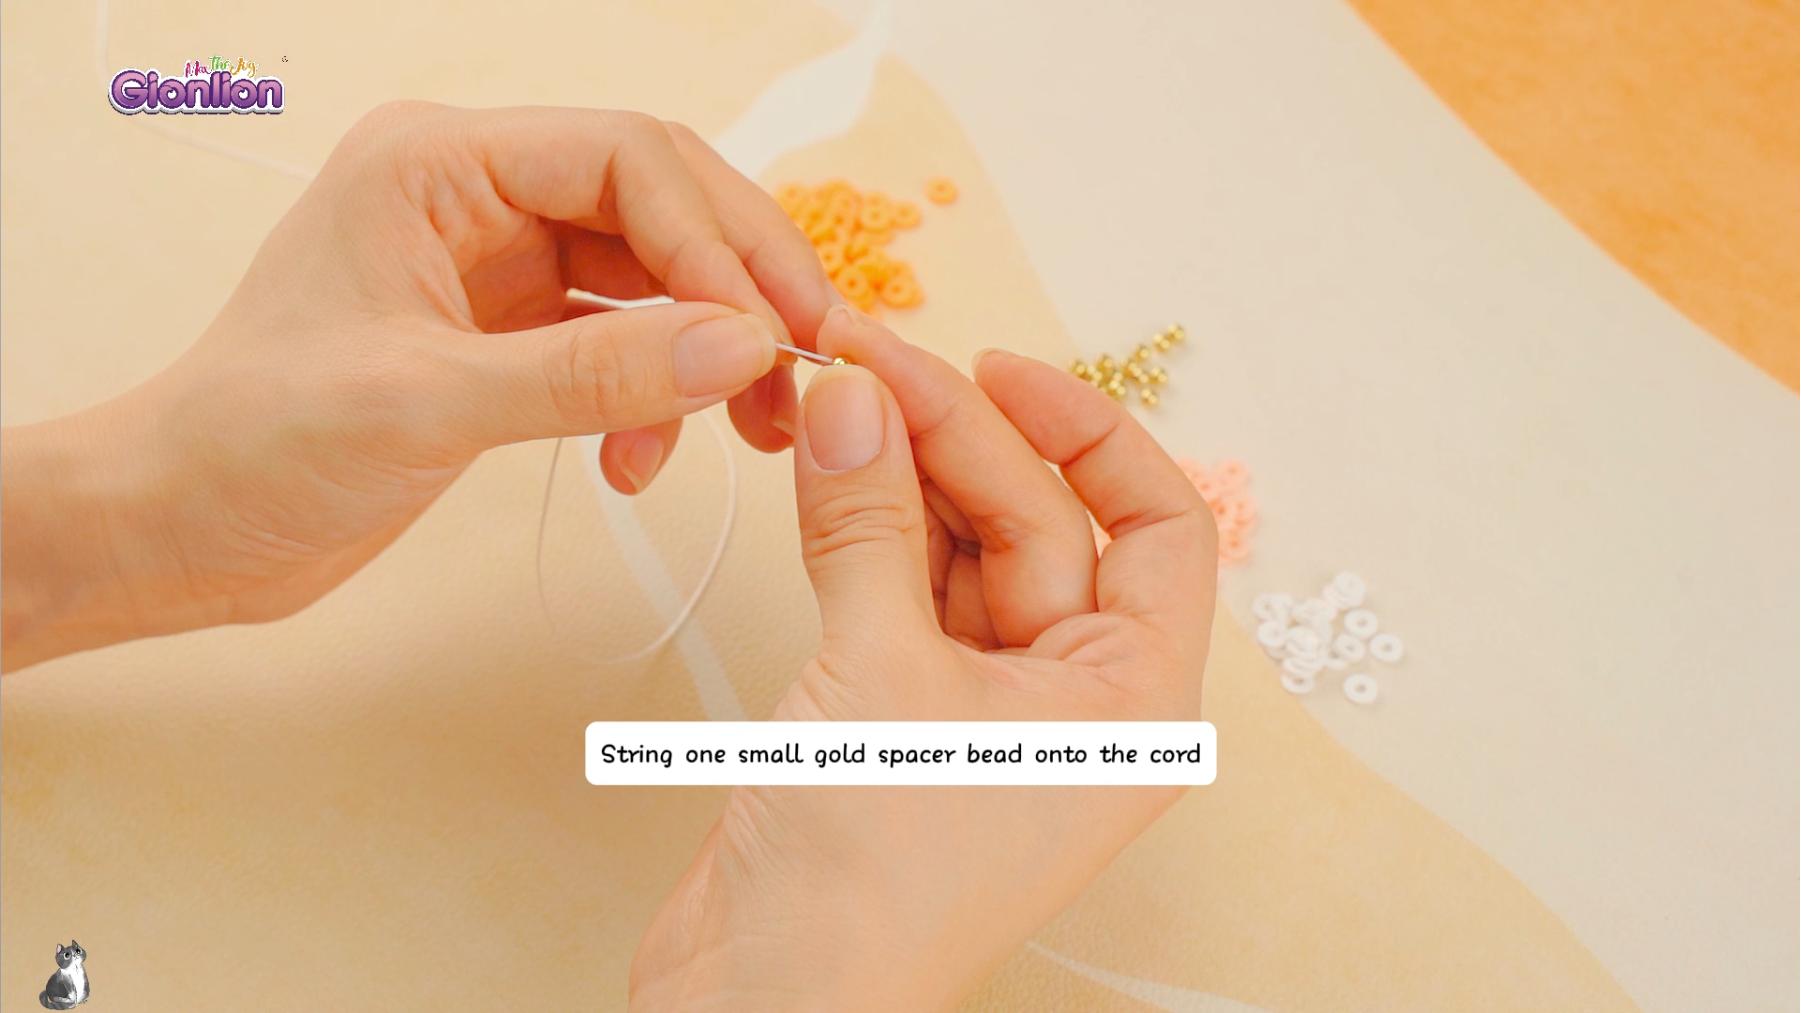
- Gold Spacer Beads: Small, diamond-shaped gold spacer beads are used to add a touch of elegance and break up the sequence of clay beads.
- Elastic Cord: A flexible, strong cord that ensures the bracelet is comfortable to wear and easy to remove.
- Letter Beads (Optional): Personalize your bracelet with letter beads to make it uniquely yours.
- Scissors: For cutting the cord to the appropriate length.
Note: The exact number of beads required will depend on the size of the wrist you’re making the bracelet for. A standard bracelet length is about 7 inches, but this can be adjusted.
Sunset Clay Bead Bracelet - FULL TUTORIAL VIDEO
Step-by-Step Friendship Bracelet Tutorial:
- Cut the Elastic Cord: Begin by cutting a piece of elastic cord that is slightly longer than your wrist measurement. This extra length allows you to tie a secure knot once all the beads are in place.
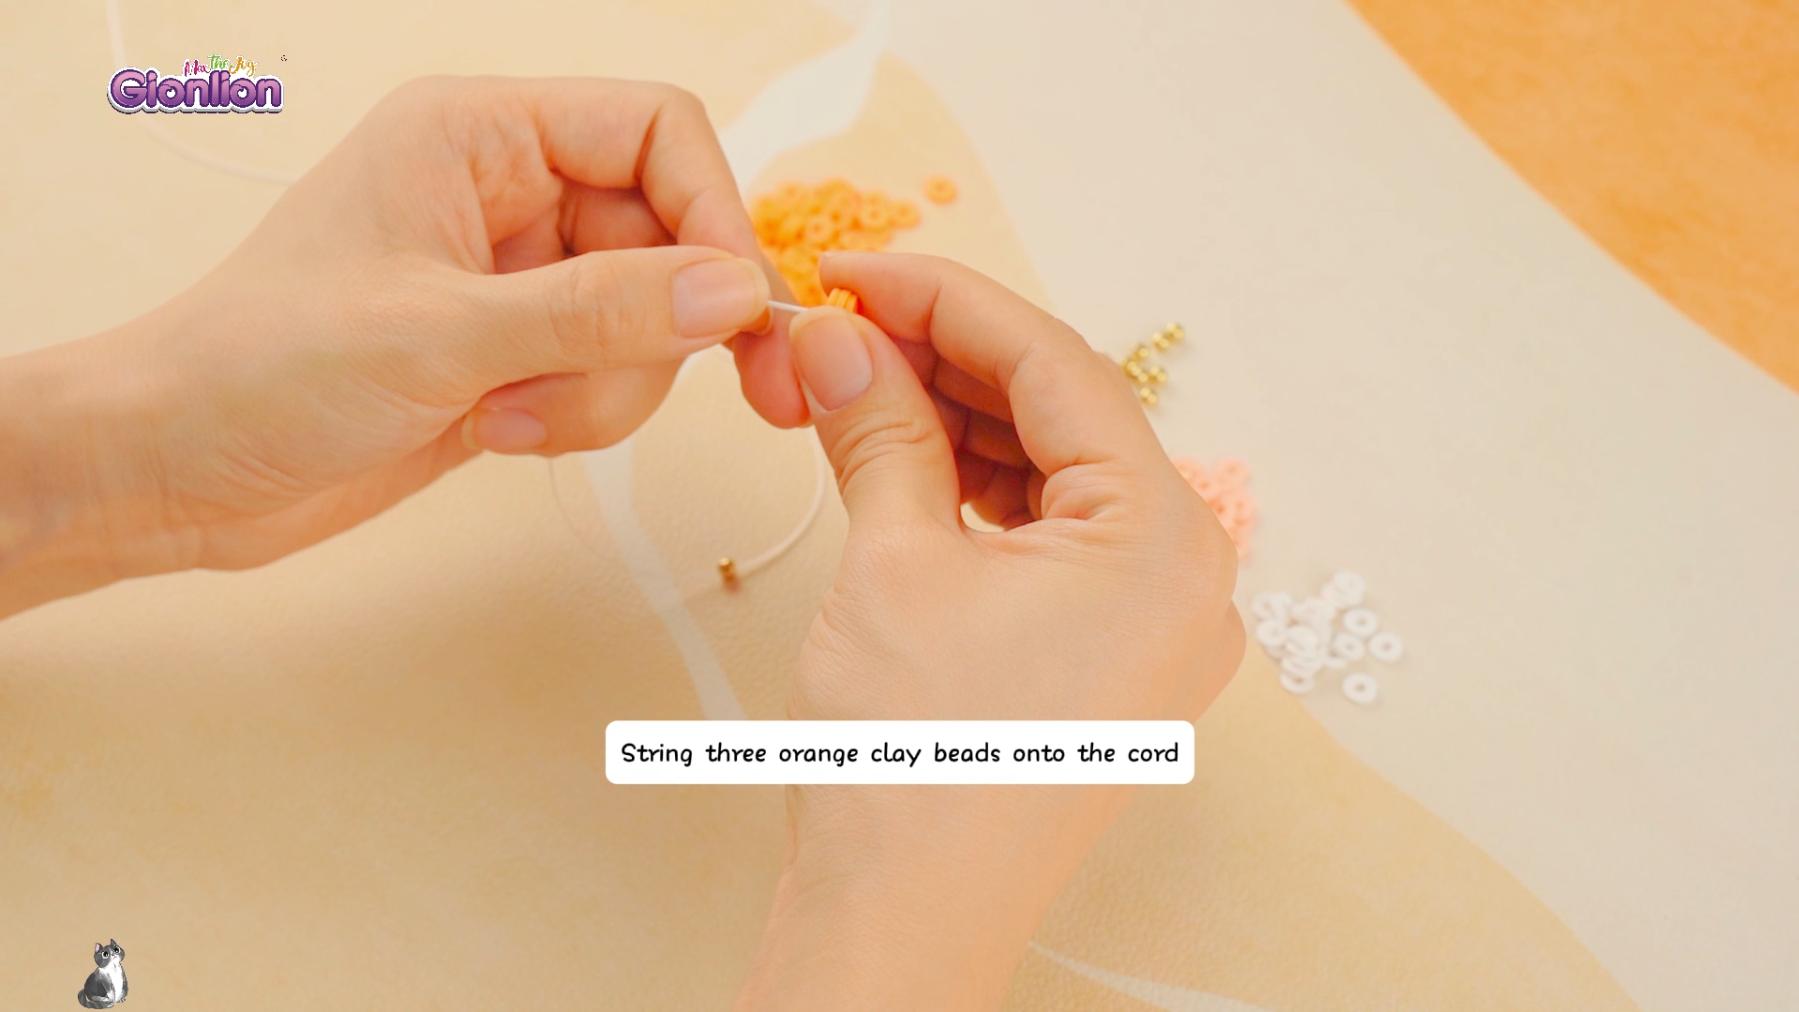
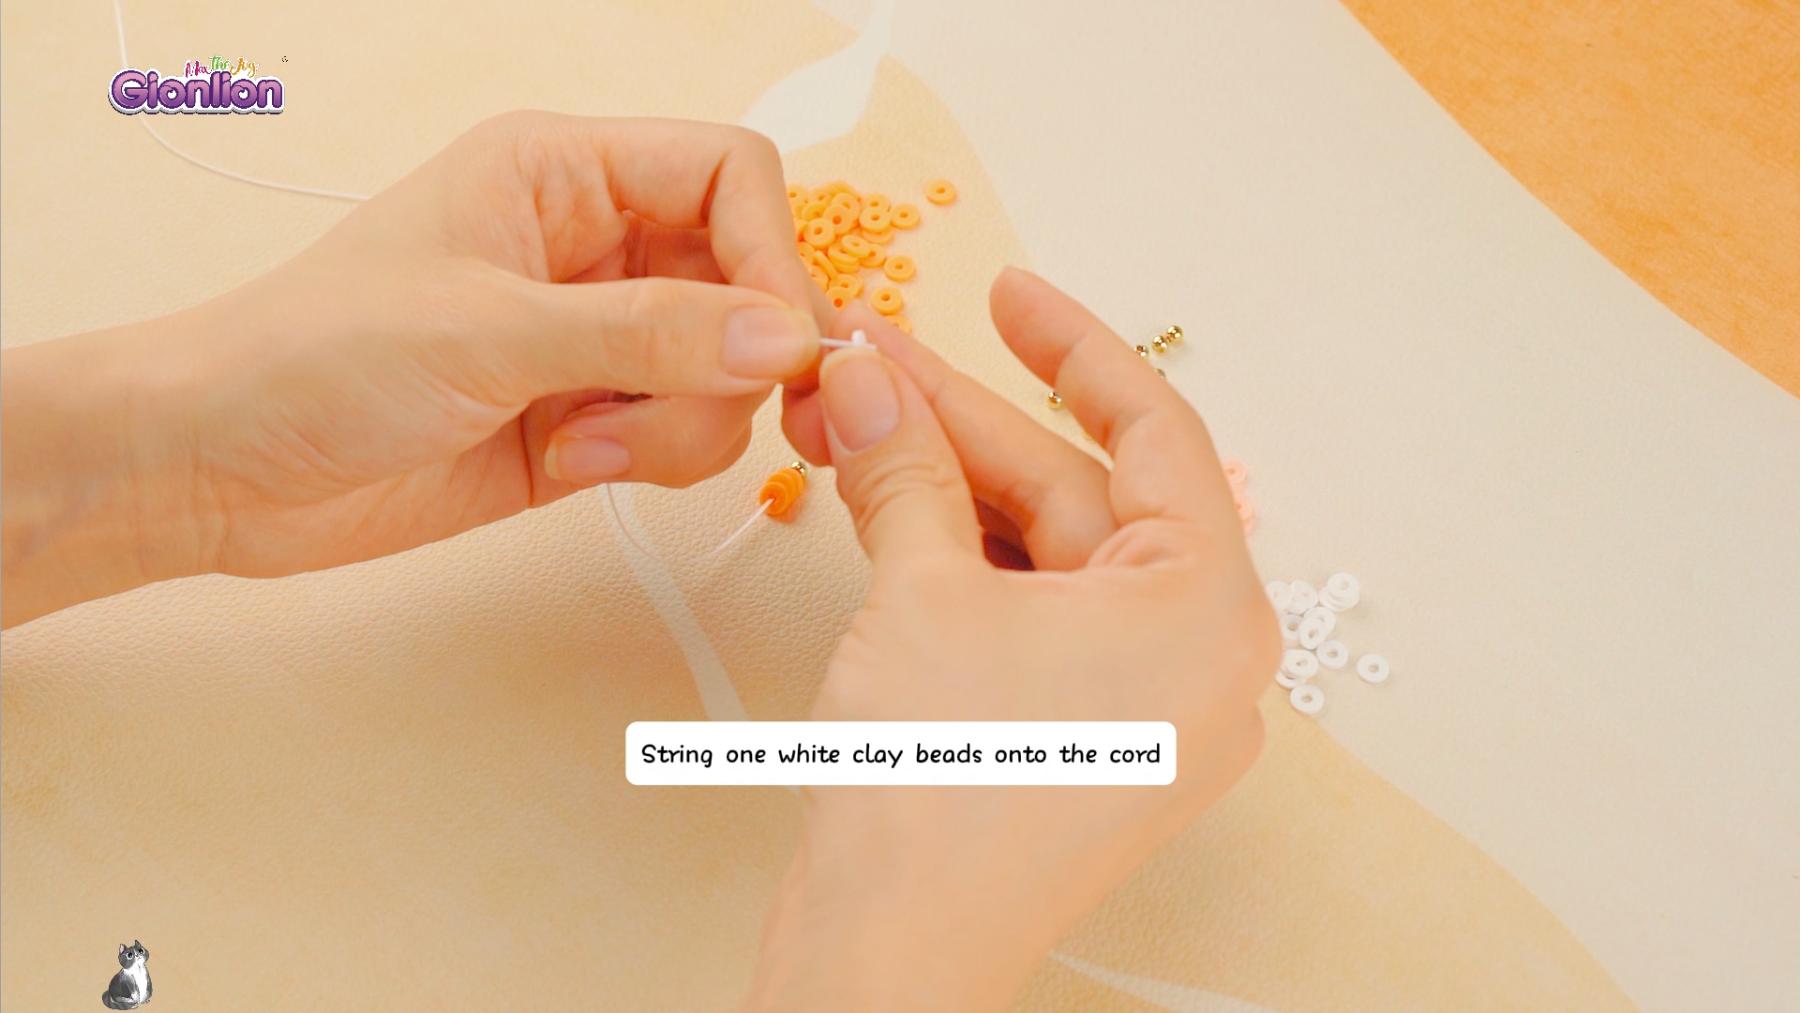
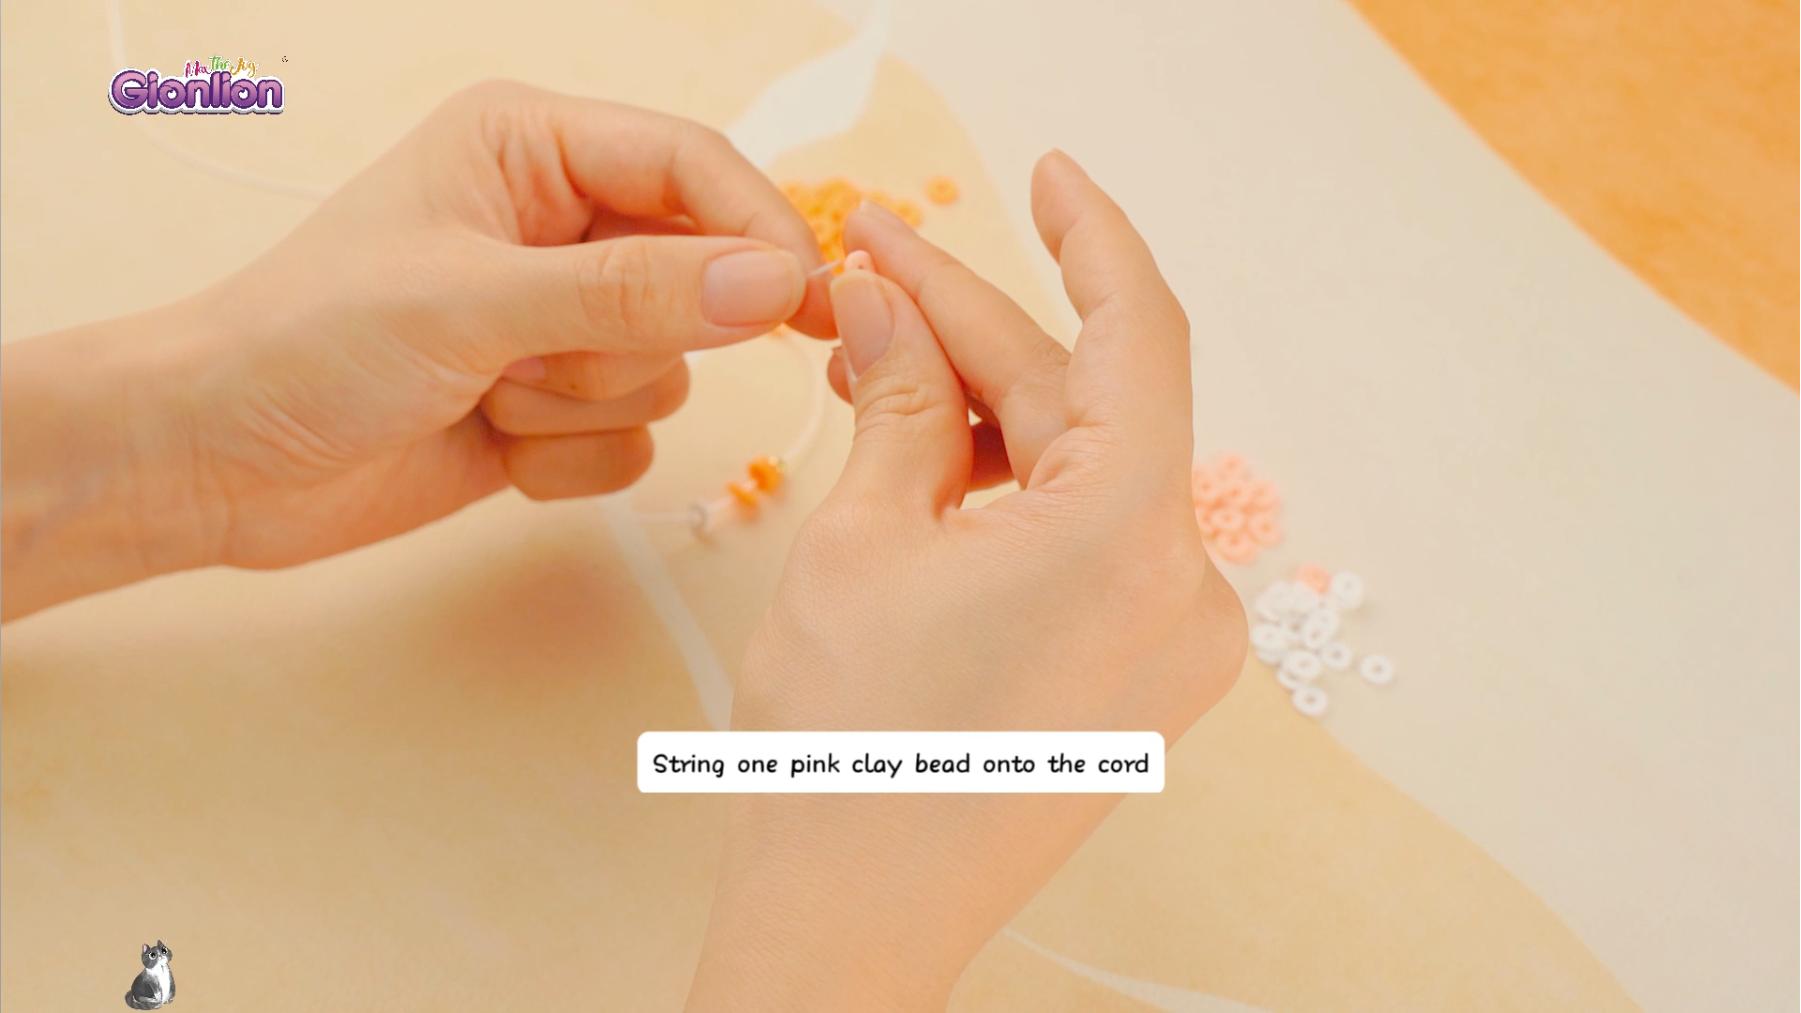
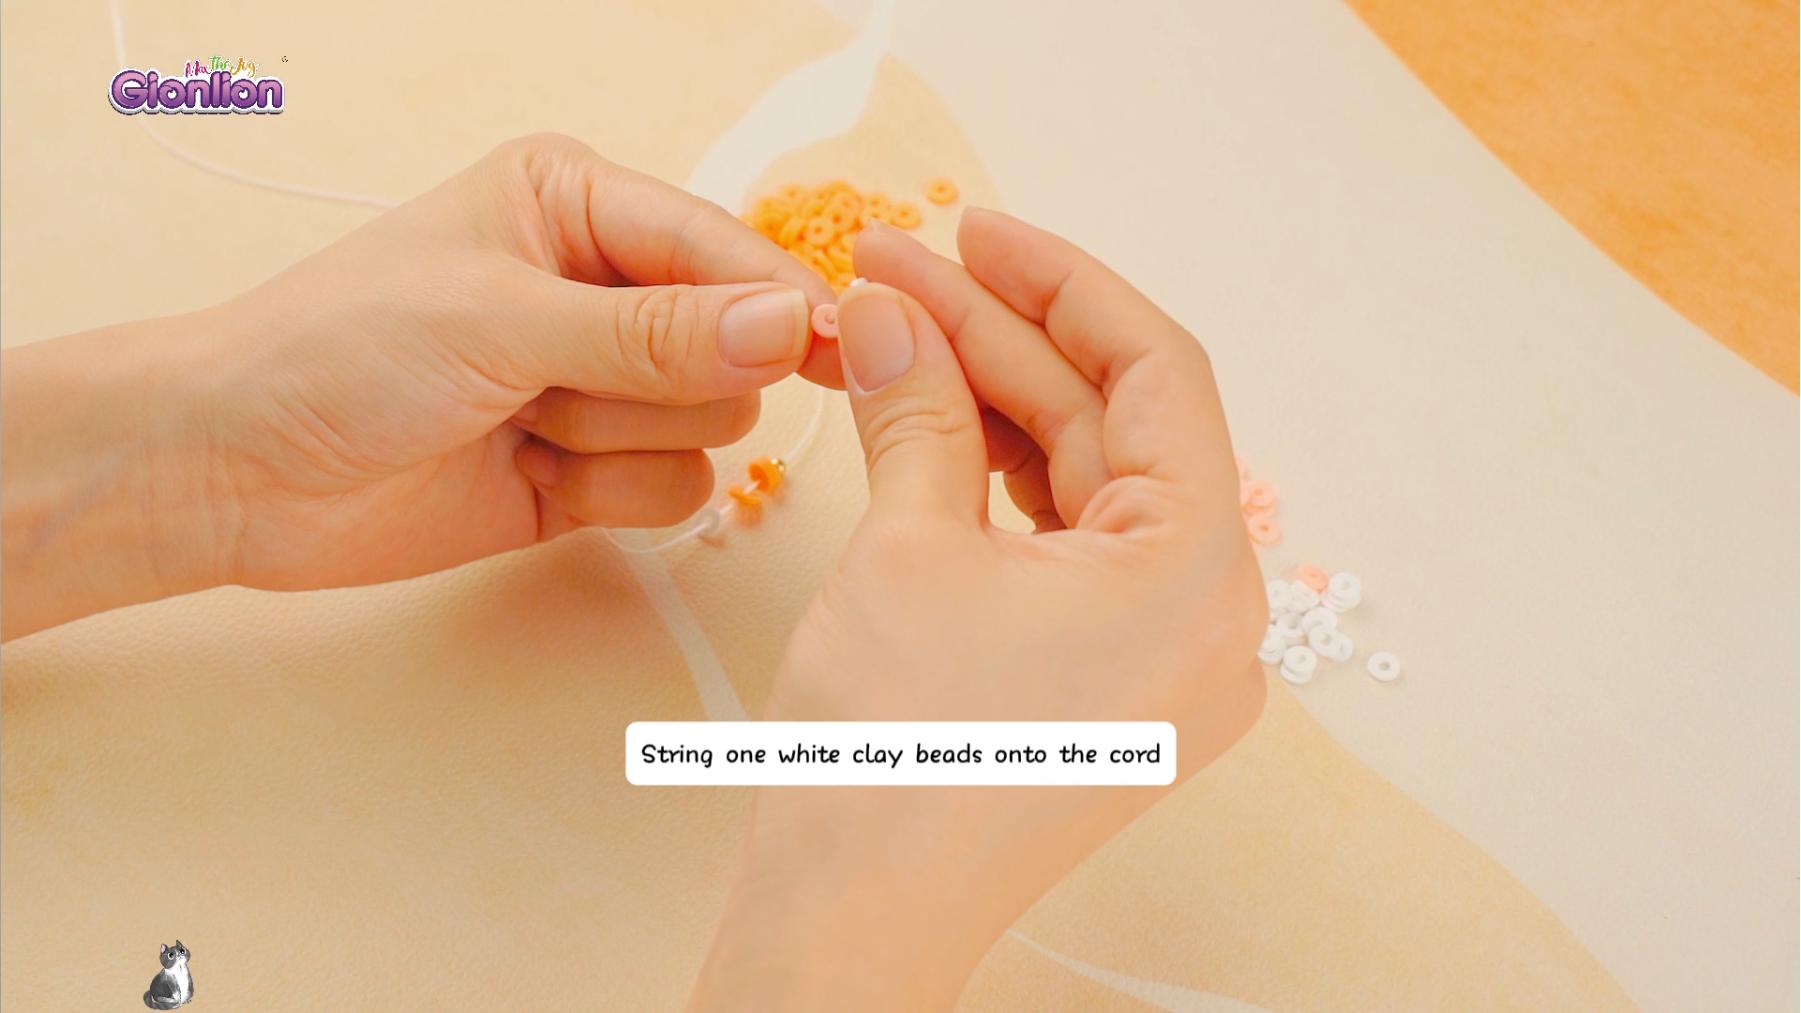
- Arrange Your Beads: Before stringing the beads, arrange them in the following sequence:
1
2
3
4
5
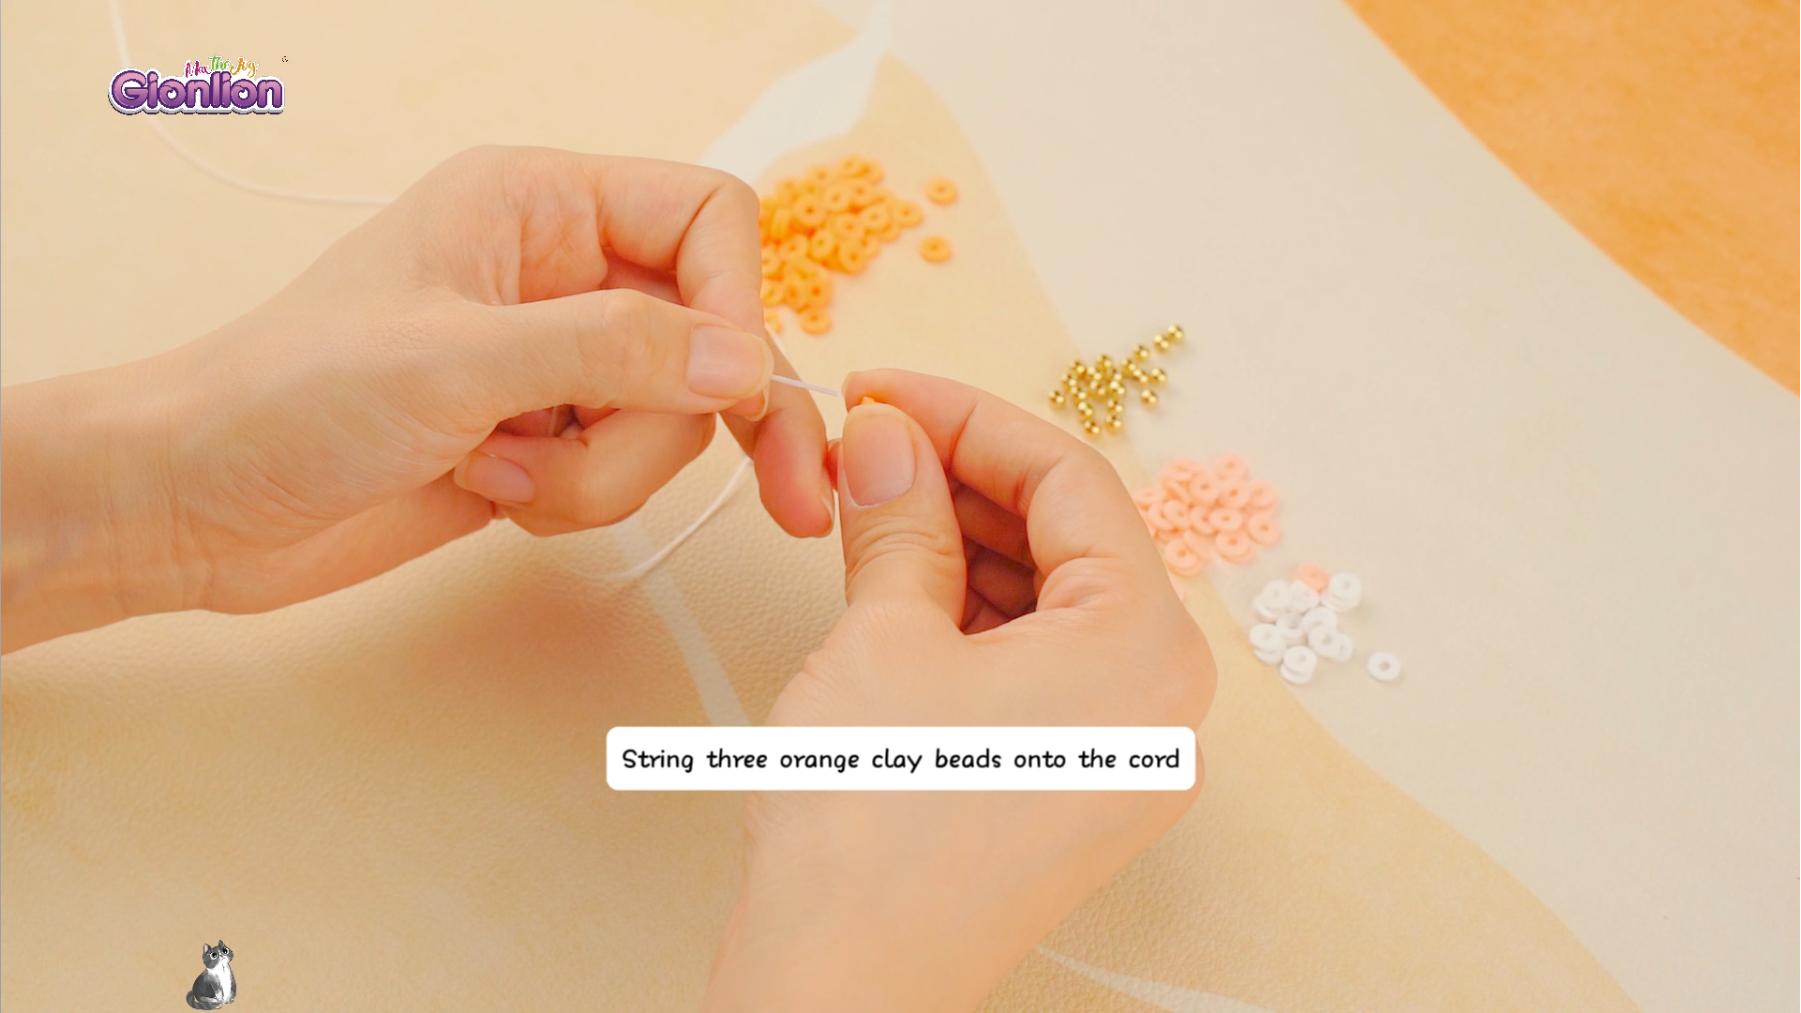
6
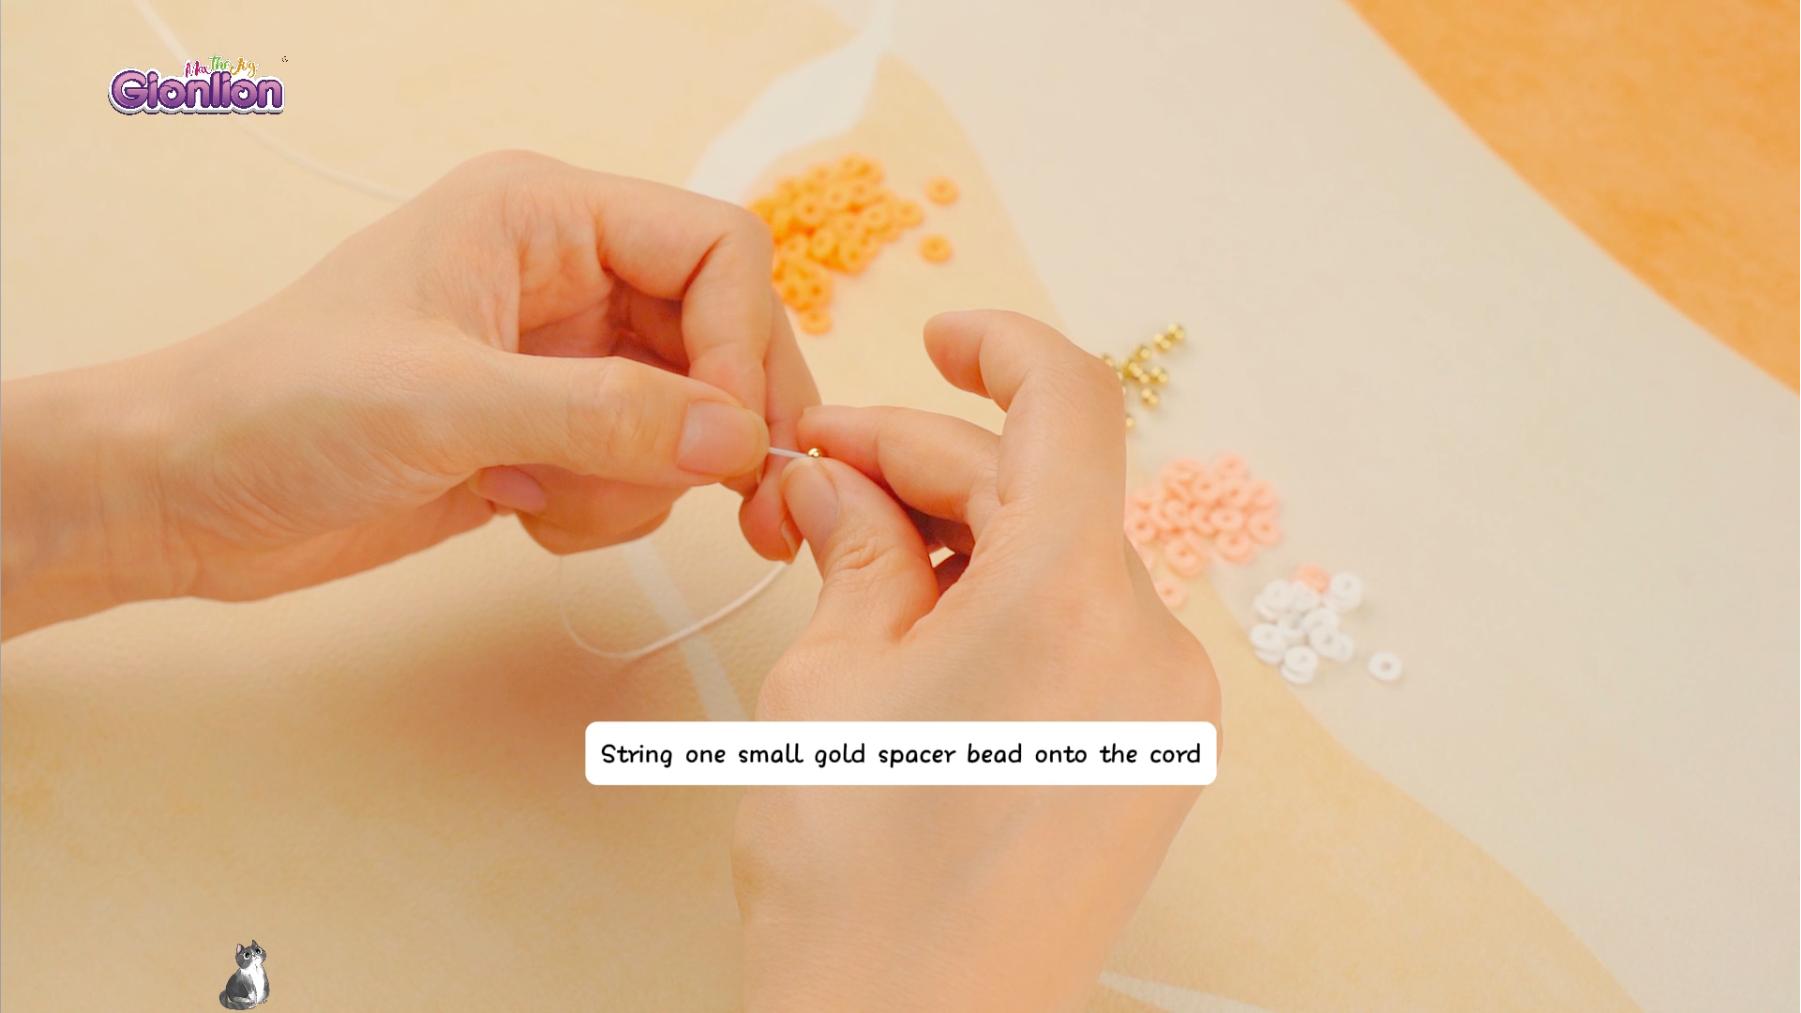
7
- Personalize with Letter Beads: If you want to add a personal touch, incorporate letter beads into the design. Whether you spell out a name, initials, or a meaningful word, the letters can be integrated into the sequence for a custom look.
- String the Beads: Carefully thread the beads onto the elastic cord in the order you’ve arranged. As you string each bead, ensure it sits closely against the previous one to maintain the pattern and keep the bracelet’s shape consistent.
- Measure and Adjust: As you near the end of the sequence, wrap the bracelet around your wrist to check the fit. Adjust the number of beads if necessary to ensure the bracelet fits comfortably.
- Tie the Ends Securely: Once you’re satisfied with the length, tie a double knot at the ends of the cord. For added security, you can apply a small drop of clear jewelry glue to the knot. Allow the glue to dry before trimming any excess cord.
- Conceal the Knot: To give your bracelet a professional finish, tuck the knot into one of the nearby beads. This not only hides the knot but also keeps it from coming undone.
- Add Extra Details (Optional): Consider adding a small charm or additional beads to further enhance the design. A tiny sun or moon charm could beautifully complement the sunset theme.
- Wear or Gift Your Bracelet: Your Sunset Clay Bead Bracelet is now complete! Wear it as a reminder of a beautiful sunset or gift it to a friend as a token of your bond. This bracelet is not just a piece of jewelry but a meaningful keepsake.
Expanding Your Creativity with Friendship Bracelets
Once you’ve mastered the art of making a Sunset Clay Bead Bracelet, the possibilities are endless. You can experiment with different color combinations and bead types to create new designs. Whether you’re looking to add to your BFF bracelet collection or explore more friendship bracelet ideas, the creative journey is limitless.
This DIY project is a perfect blend of creativity and craftsmanship, offering a beautiful and personalized way to express your style or celebrate a friendship. The joy of making and wearing a custom bracelet is unmatched, and with this tutorial, you’re well on your way to creating something truly special.

