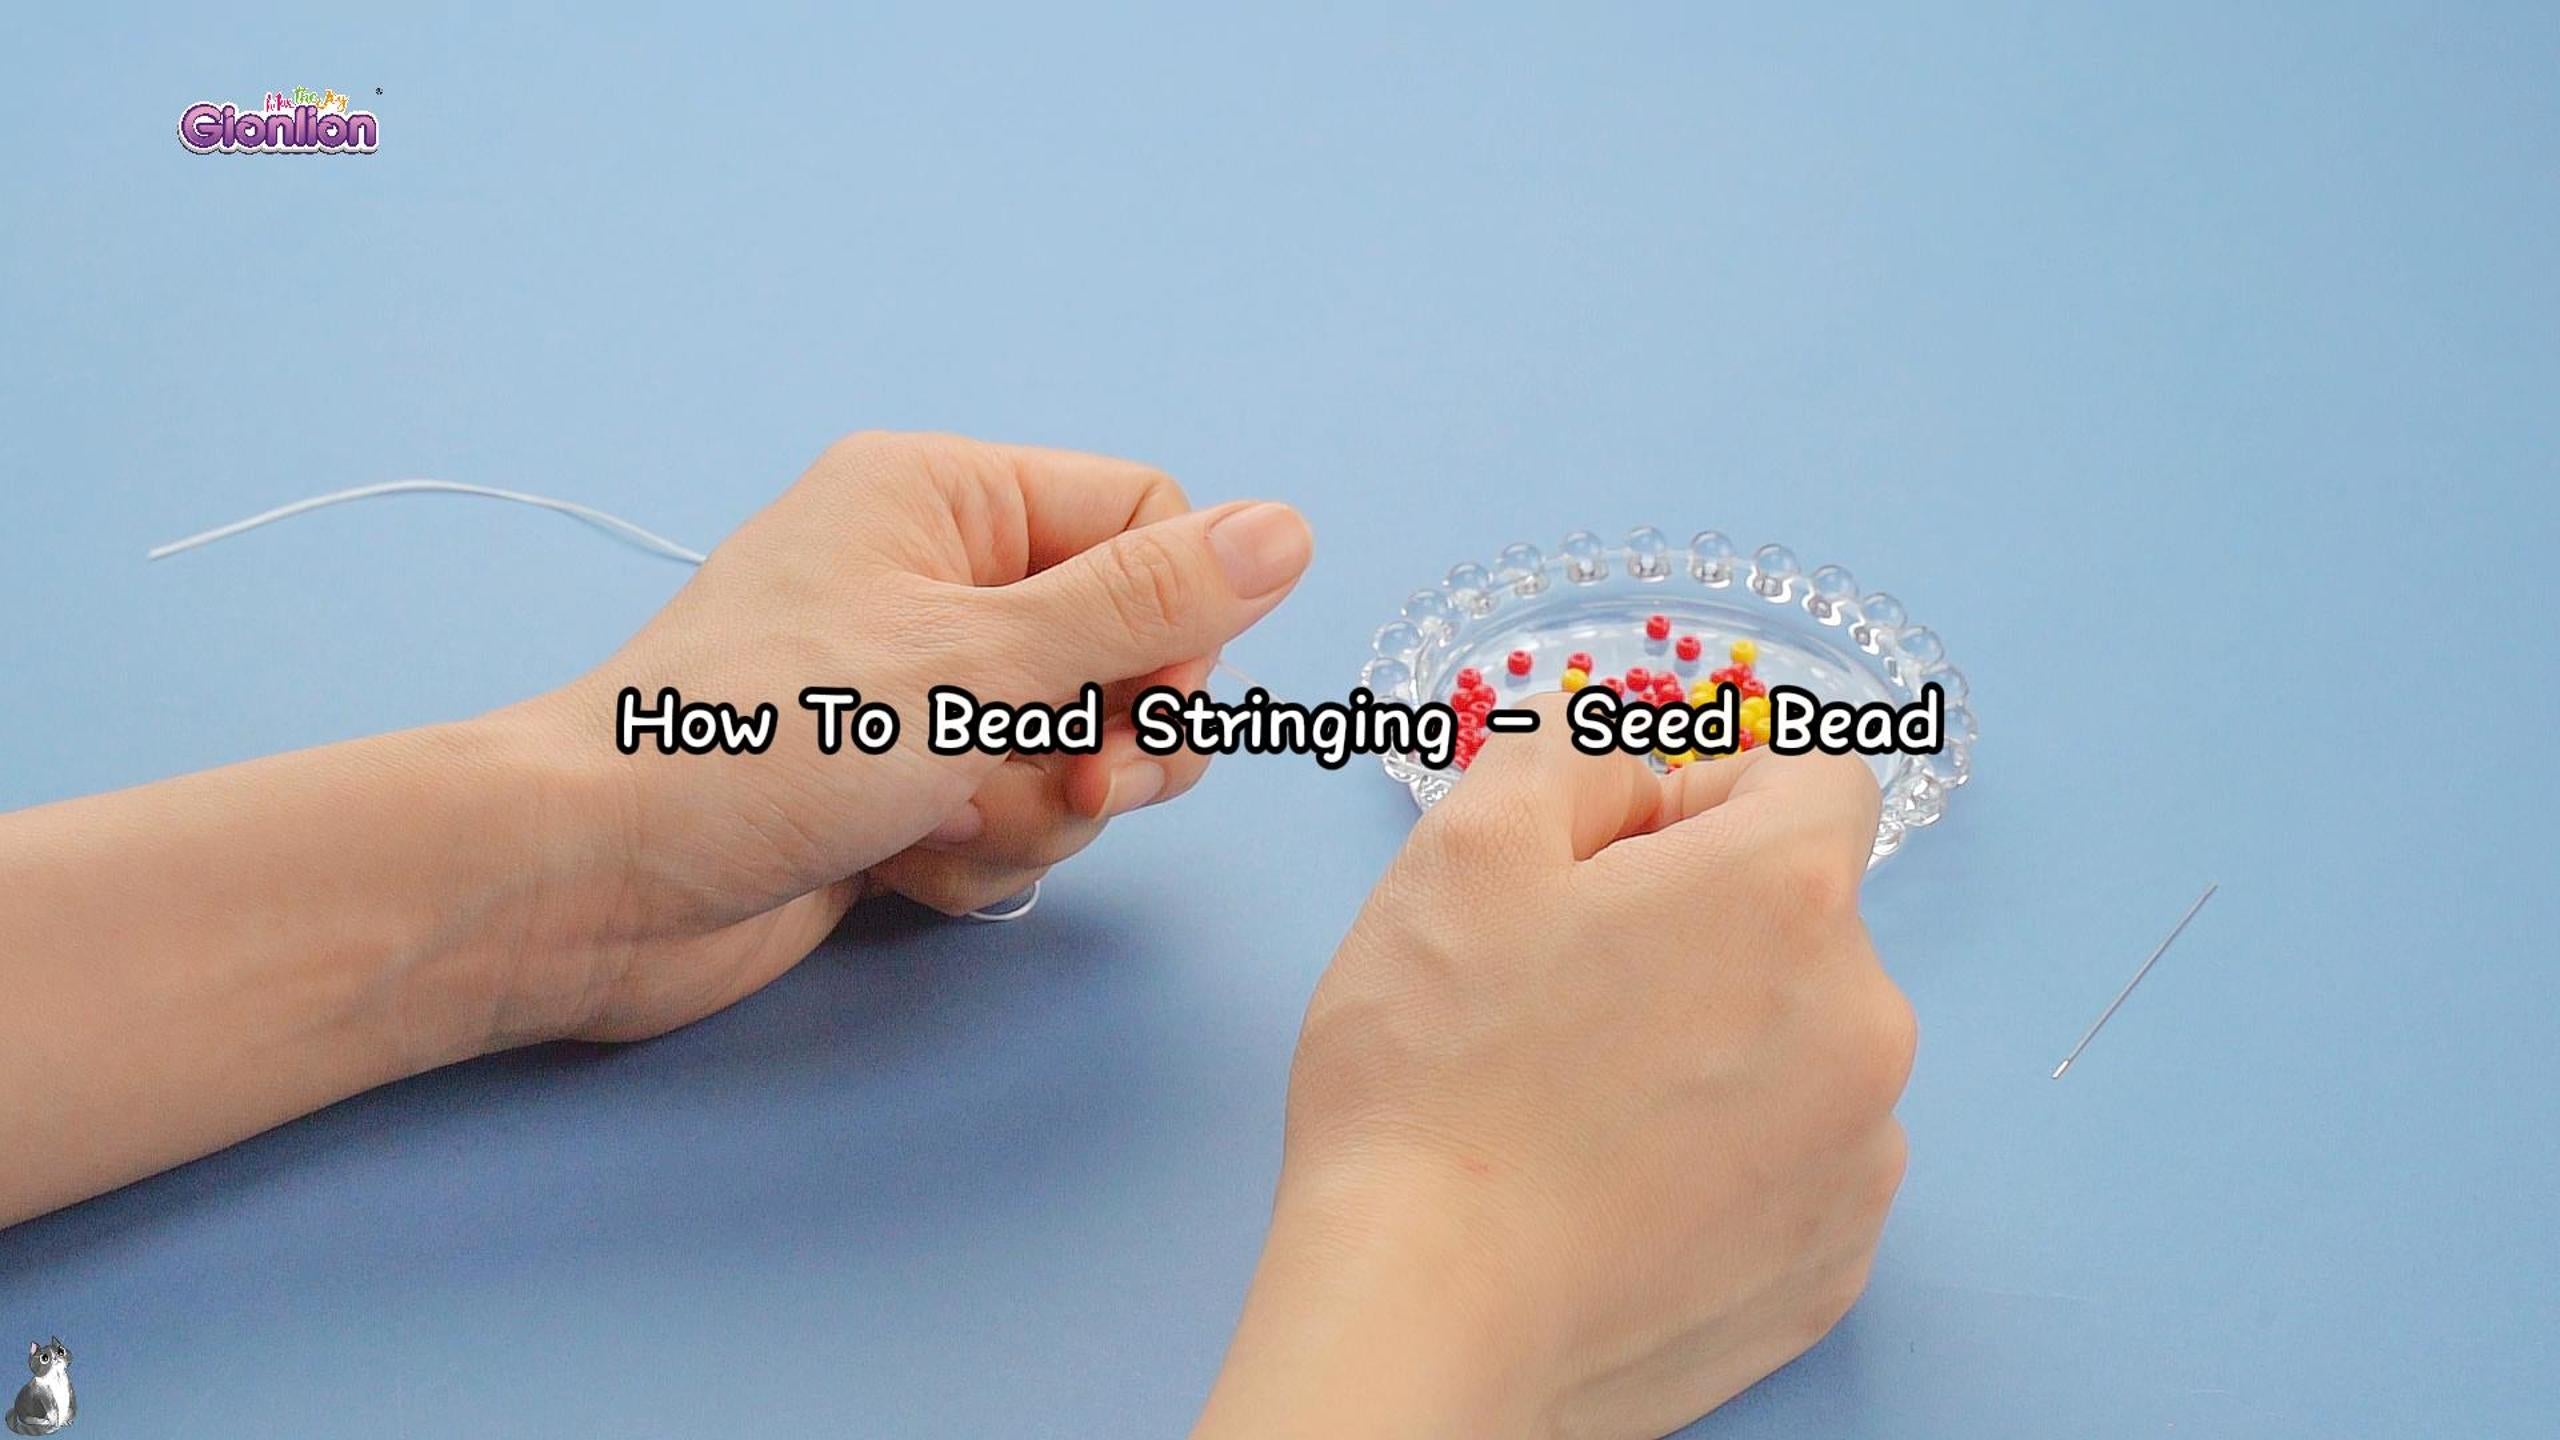
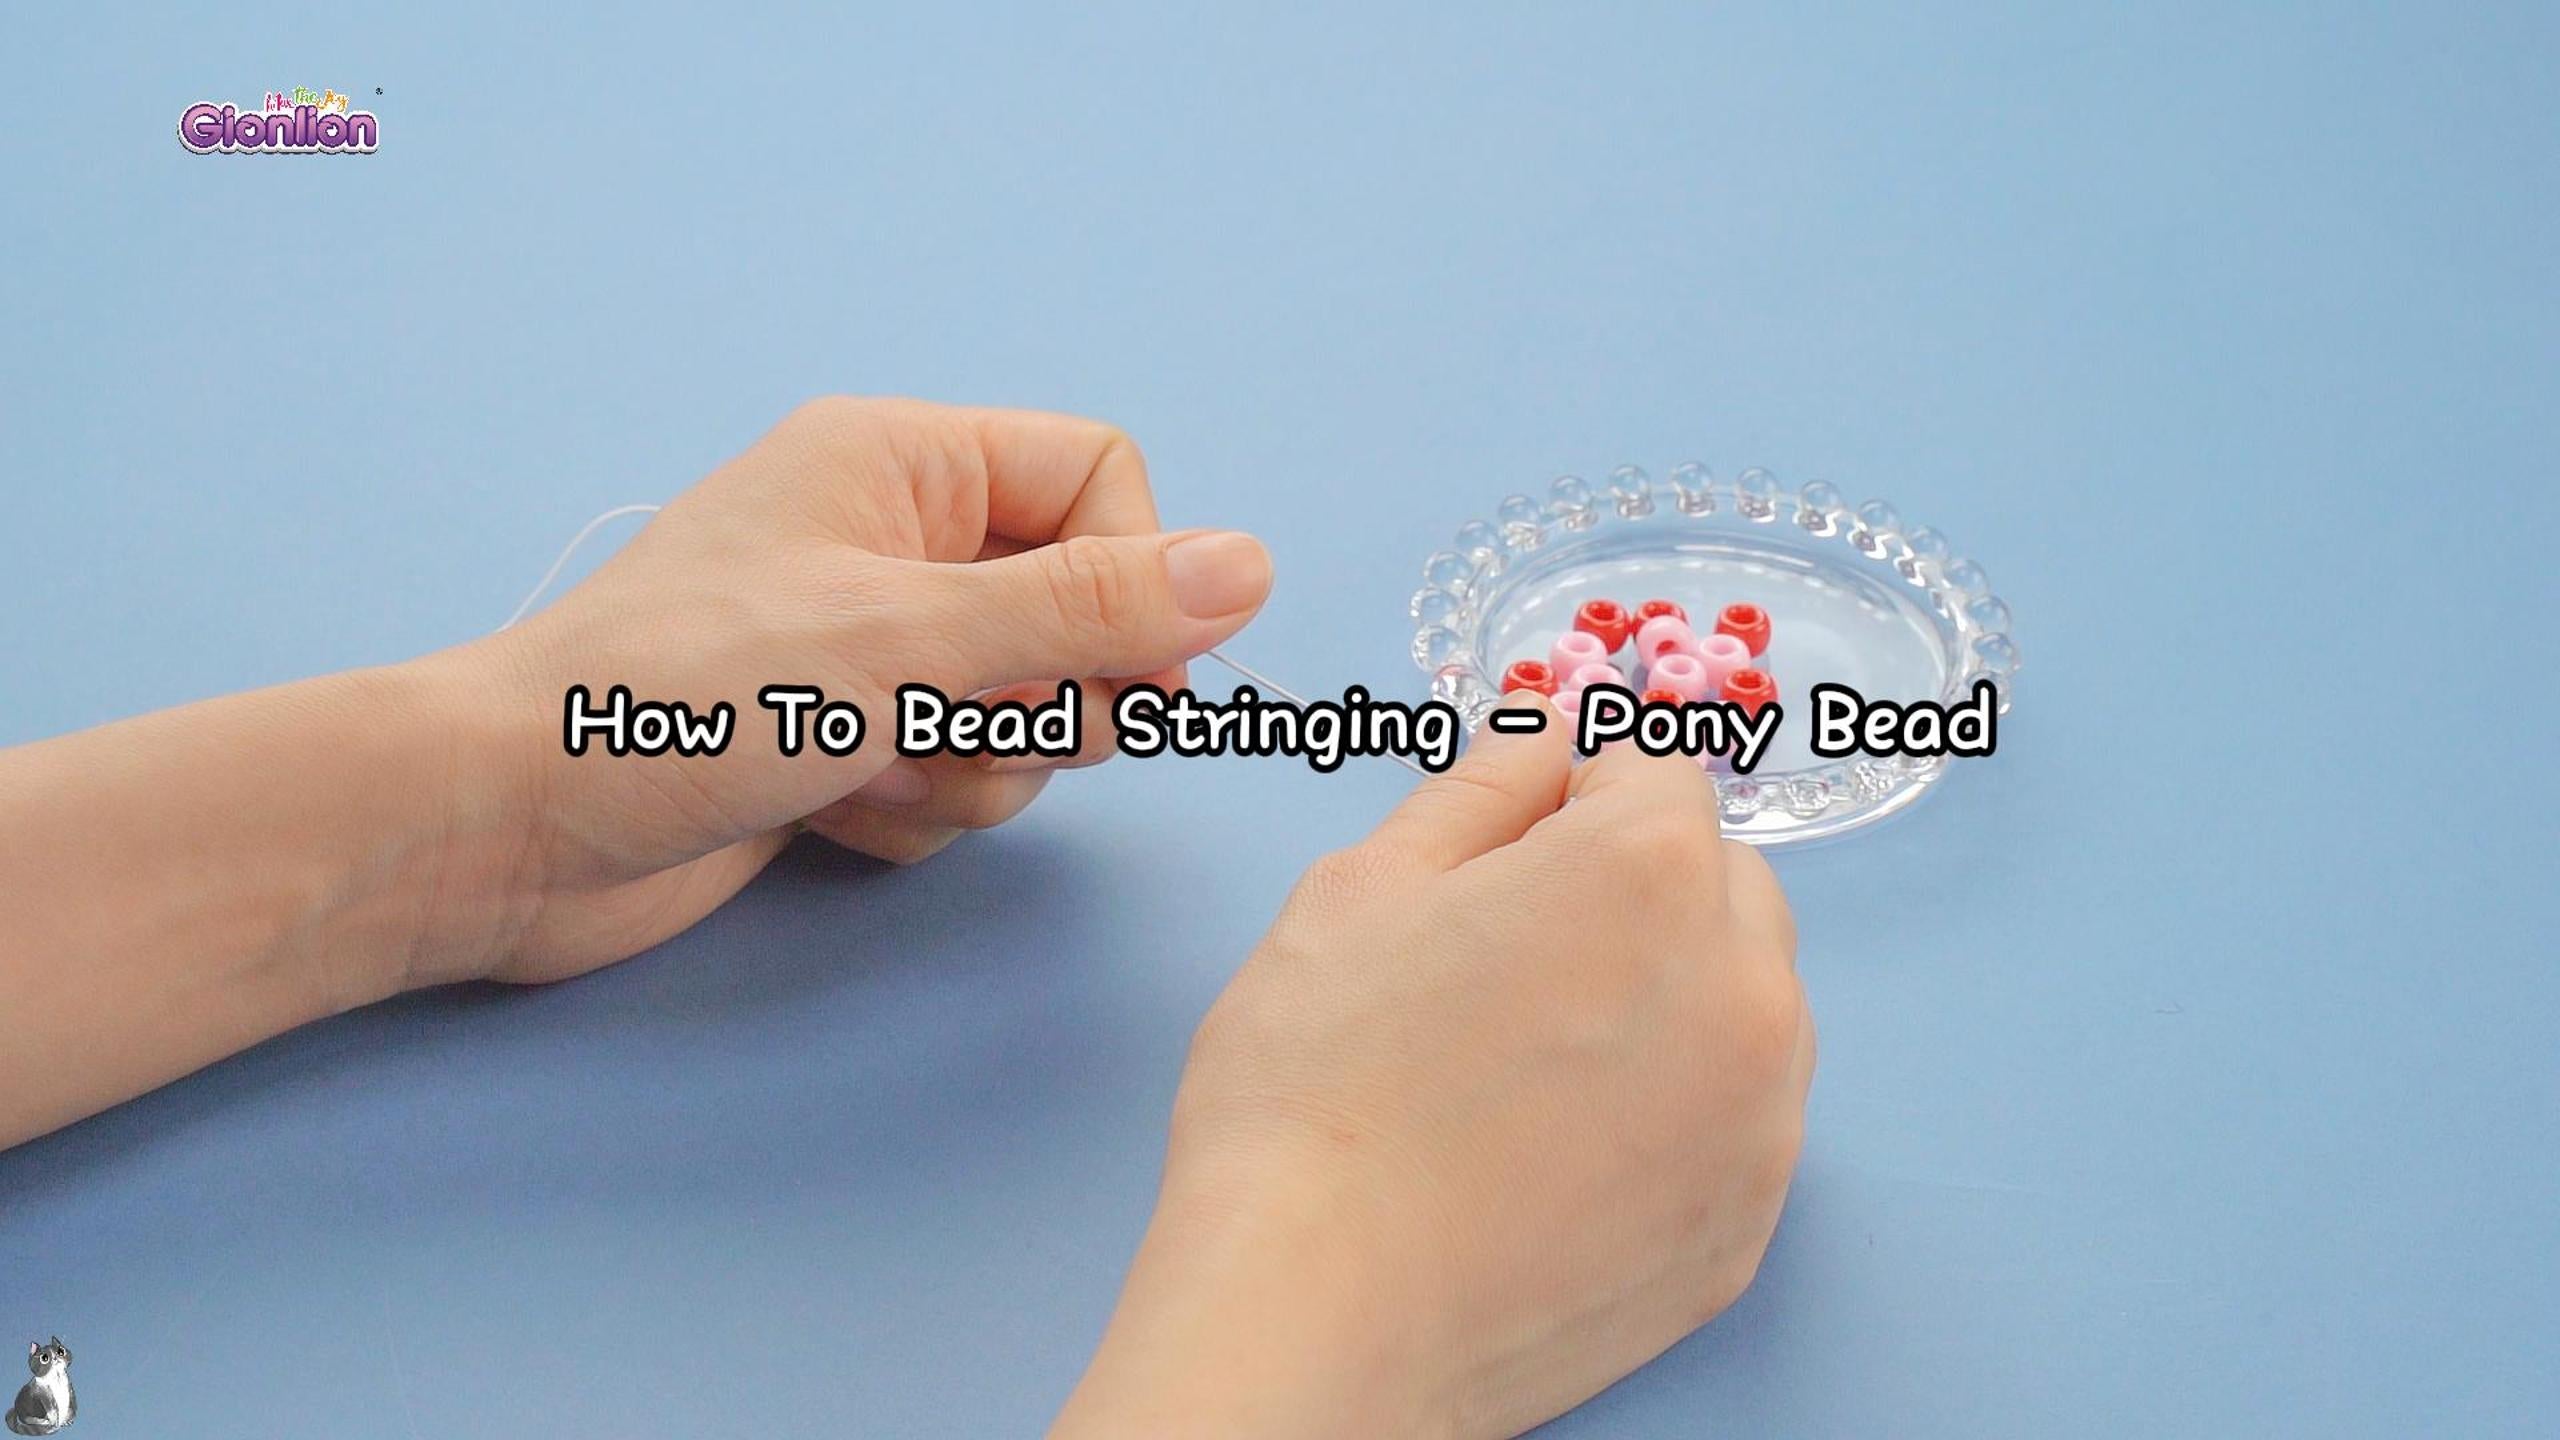
Creating intricate seed bead bracelets is a rewarding and enjoyable craft. With the right techniques and tools, you can design unique pieces that reflect your style. This guide will walk you through the essential steps for bead stringing, helping you make the most of your seed bead bracelet making kit. Whether you're using a friendship bracelet making kit or exploring a new design, these instructions will guide you in crafting stunning bracelets.
Materials You’ll Need
Before you begin, gather all necessary materials:
- Seed beads: Choose your preferred colors and sizes. Seed beads are small and versatile, perfect for intricate designs.
- Stringing material: Select a durable string that suits your design, such as nylon, silk, or beading wire.
- Beading needle: A thin, flexible needle designed specifically for threading small beads.
- Scissors: For cutting your string to the desired length.
- Bead stopper or tape: To prevent beads from slipping off the string as you work.
- Clasp: Optional, for finishing your bracelet with a professional touch.
Step-by-Step Bead Stringing Process
Step 1: Select the Right String and Color Combination
Start by choosing a string that complements your seed bead colors. Consider the thickness and flexibility of the string, ensuring it's appropriate for the size of the beads and the overall design of your bracelet.
Step 2: Prepare the Beading Needle
Take your beading needle and open it from the middle if it's a collapsible eye needle. Thread your chosen string through the needle’s eye. Ensure the string is securely in place before you start adding beads.
Step 3: Begin Stringing the Beads
Carefully start stringing the seed beads onto the needle, allowing them to slide down onto the string. Continue adding beads in your desired pattern, whether it's a uniform color or a combination of various colors from your seed bead bracelet making kit.
Step 4: Adjust the Length
Once you've strung enough beads to match your desired bracelet length, adjust the beads so they are evenly distributed along the string. Measure the bracelet around your wrist to ensure it fits comfortably.
Step 5: Secure the Beads and Finish the Bracelet
Tie a secure knot at the end of the string to hold the beads in place. If you’re using a clasp, attach it to both ends of the bracelet. If not, simply tie the ends together in a knot and trim any excess string.
Extra Tips for Perfect Bead Stringing
- Use a bead board: A bead board can help you lay out your design before stringing, allowing you to visualize the final product.
- Double-check your pattern: As you string the beads, periodically check the pattern to ensure it aligns with your original design.
- Keep your workspace organized: A clean and organized workspace will make the stringing process smoother and prevent beads from getting lost.
Conclusion
With these steps, you can create beautiful seed bead bracelets using your friendship bracelet making kit or any how to bead stringing guide. Enjoy the process of crafting personalized jewelry that showcases your creativity and attention to detail.


