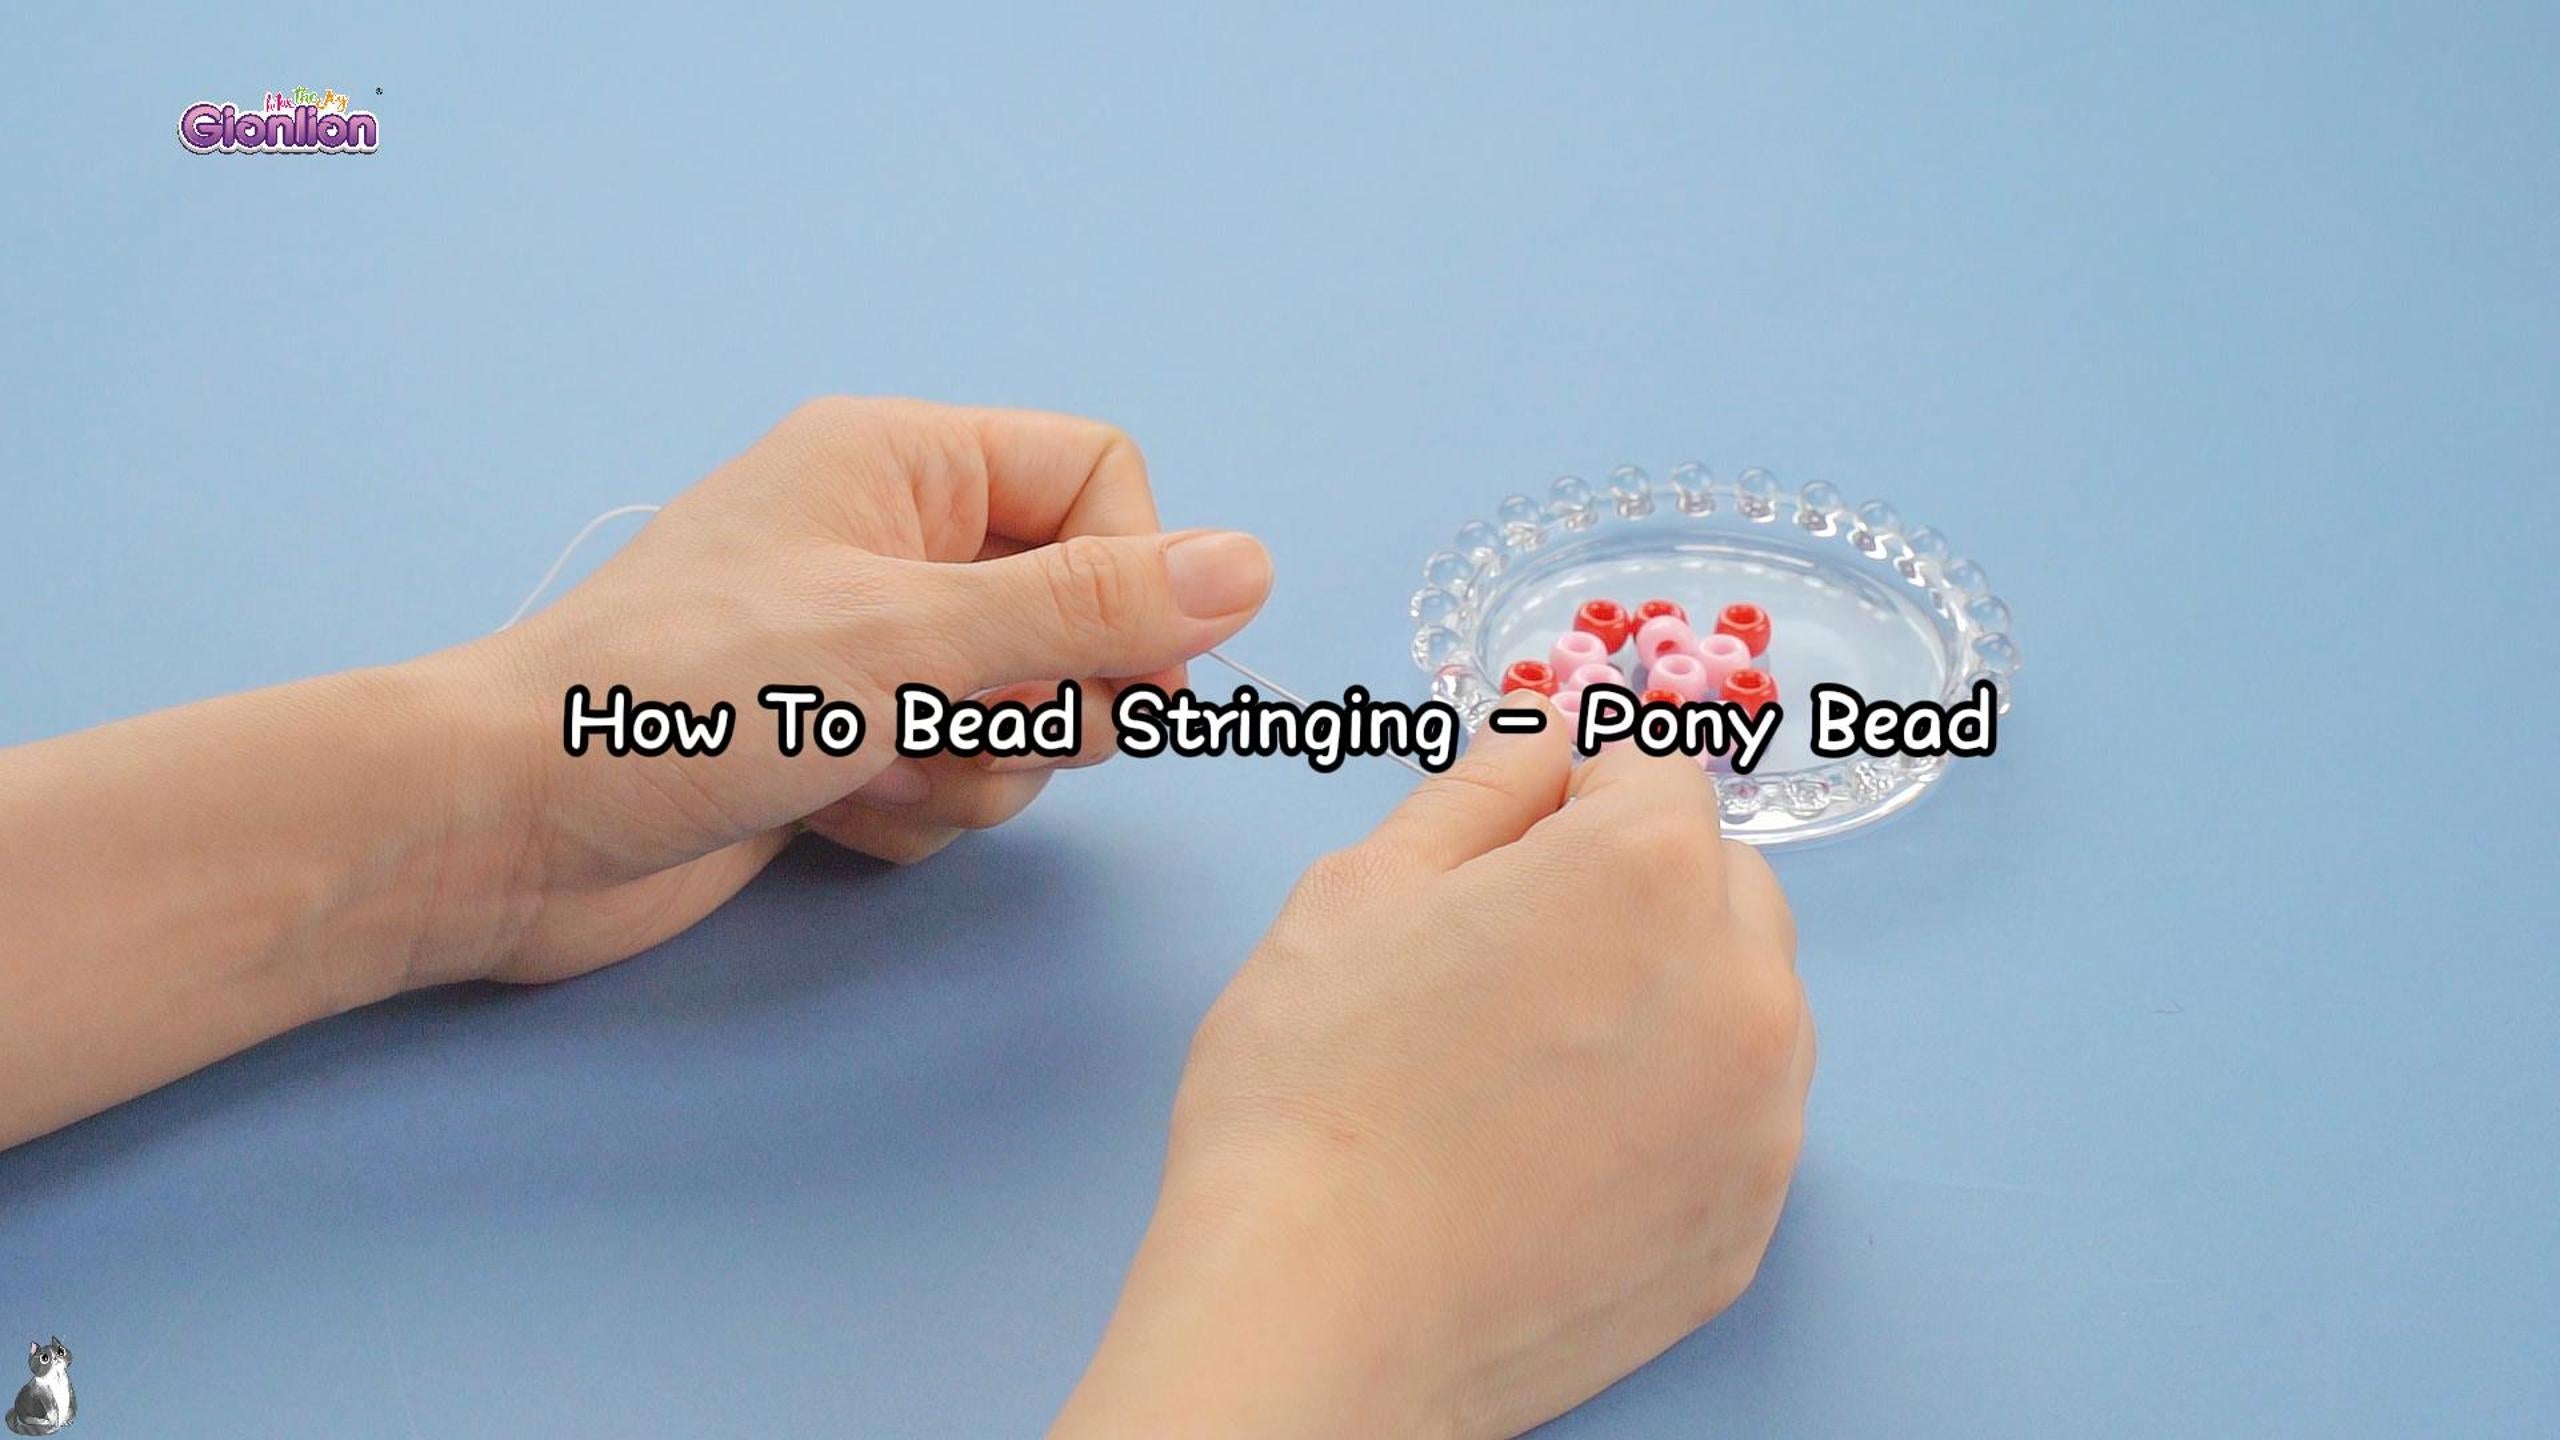
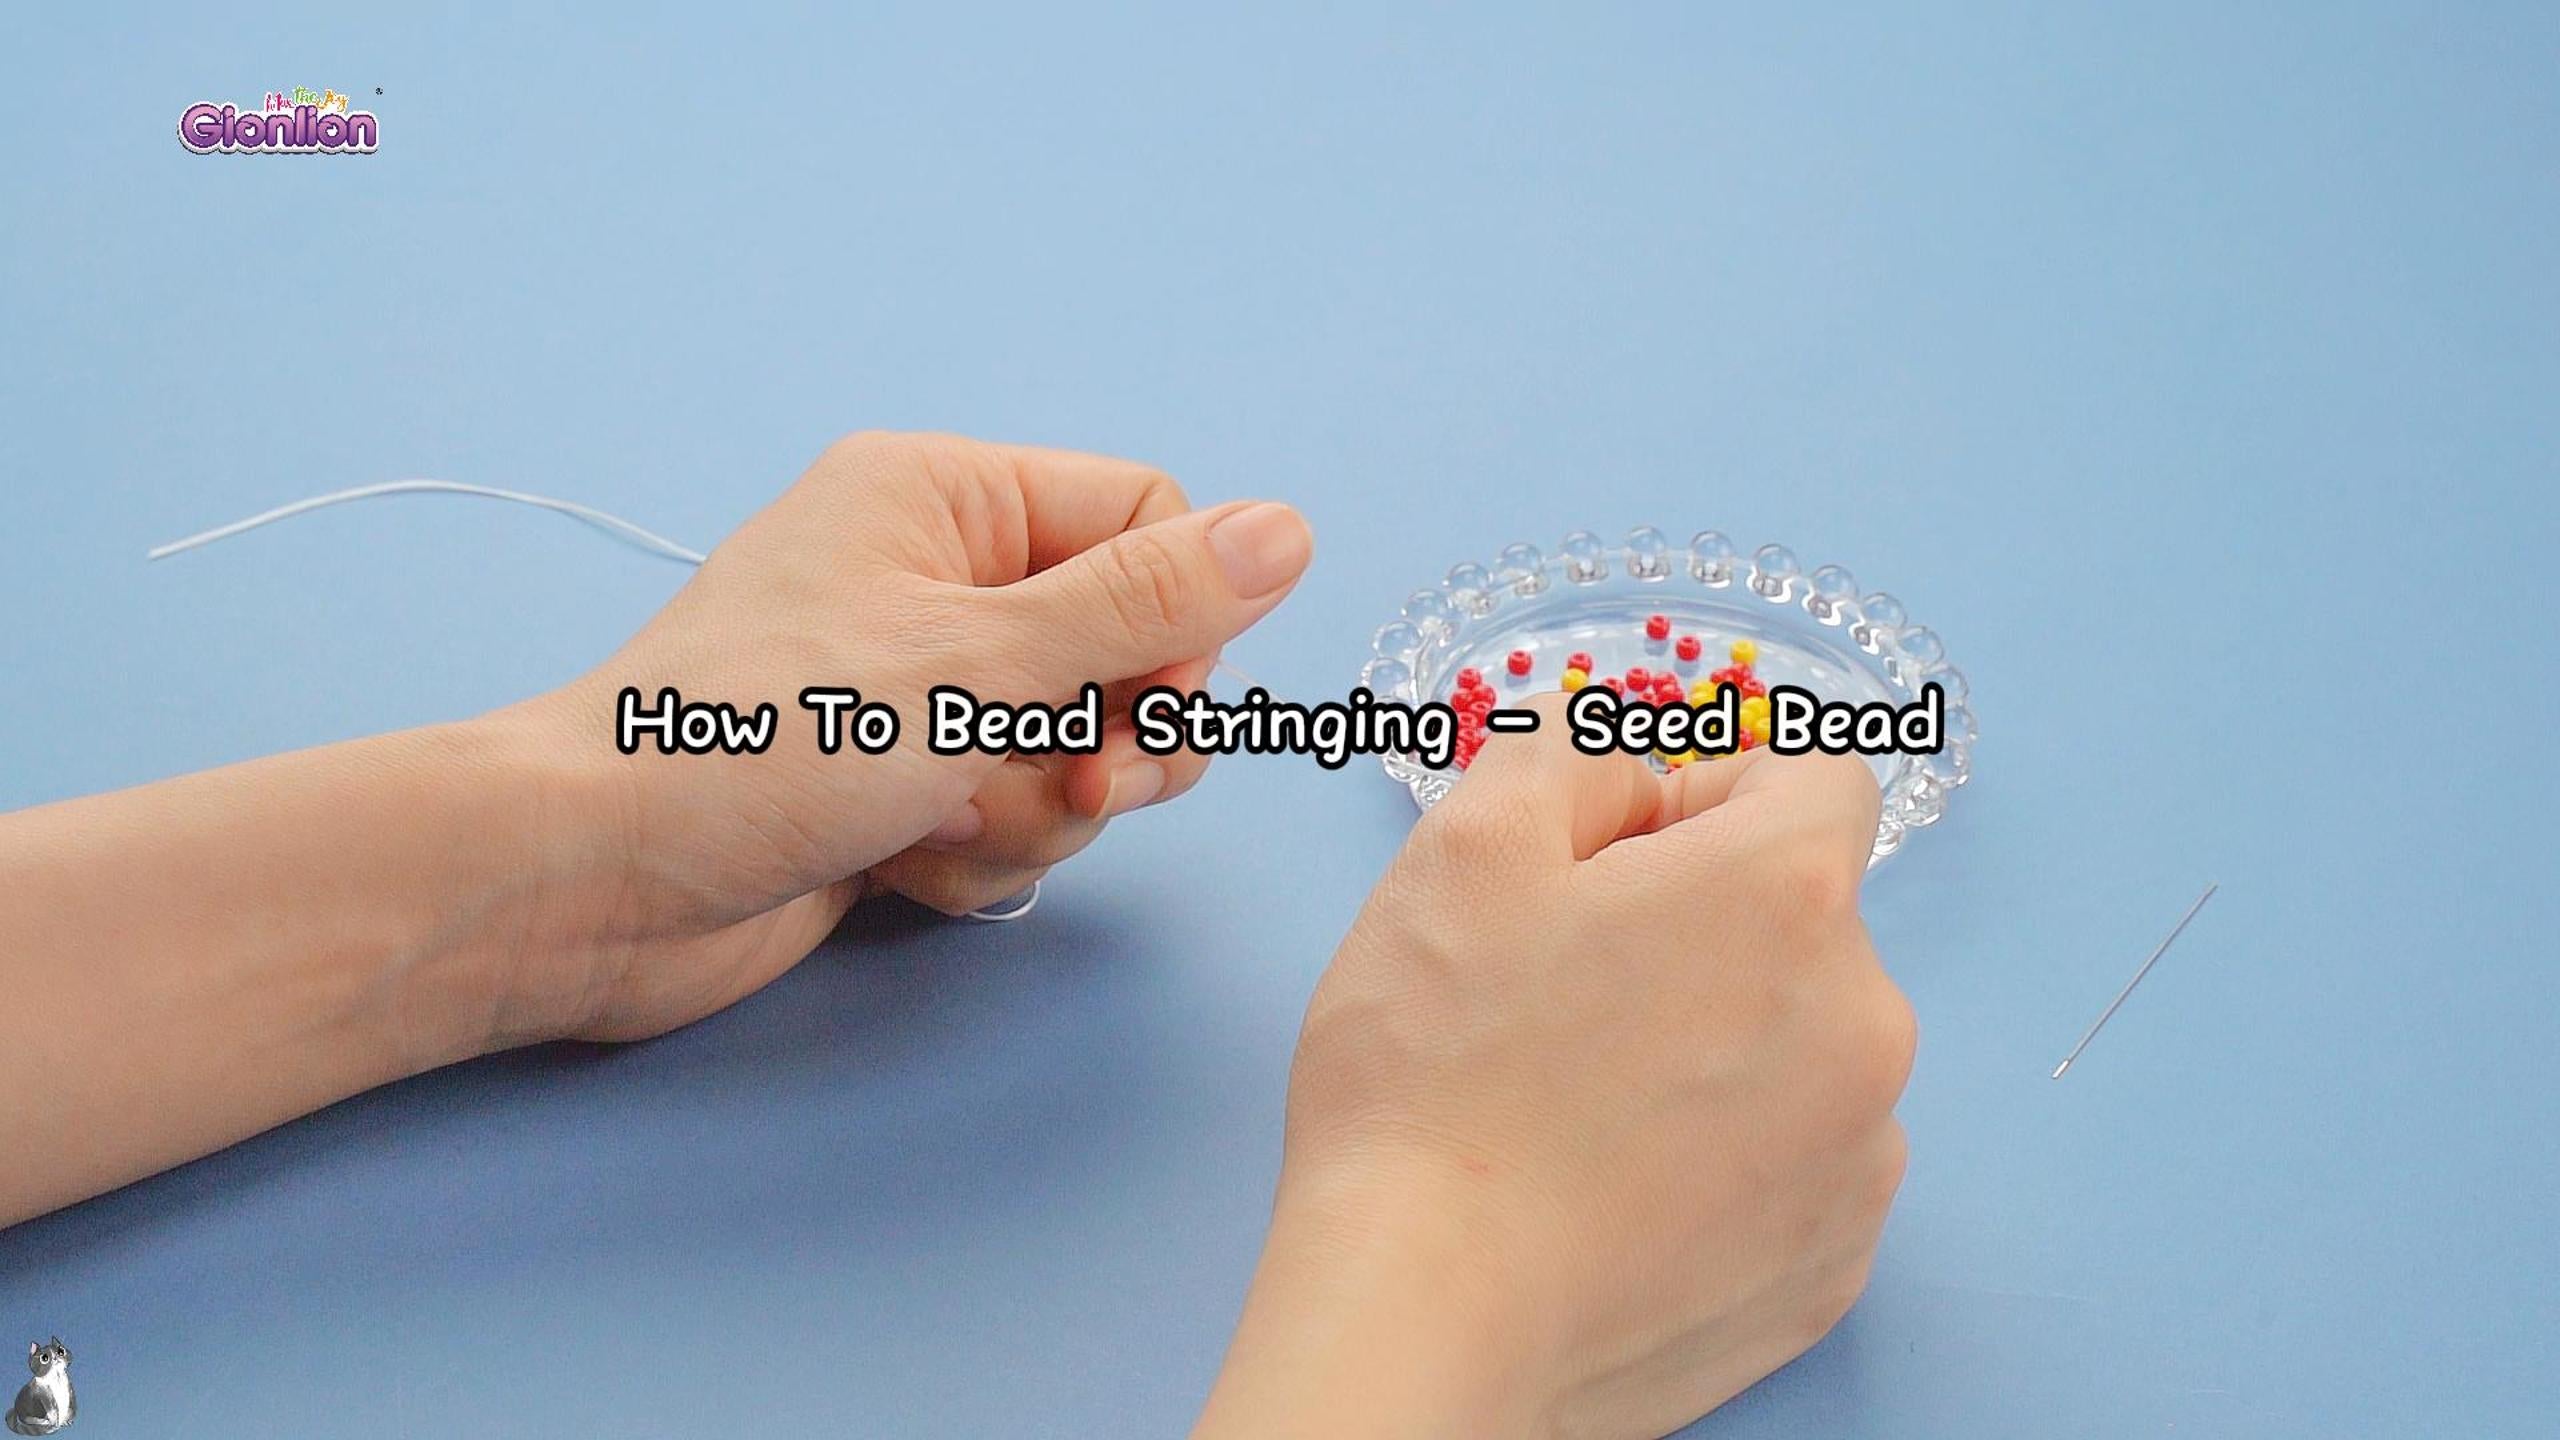
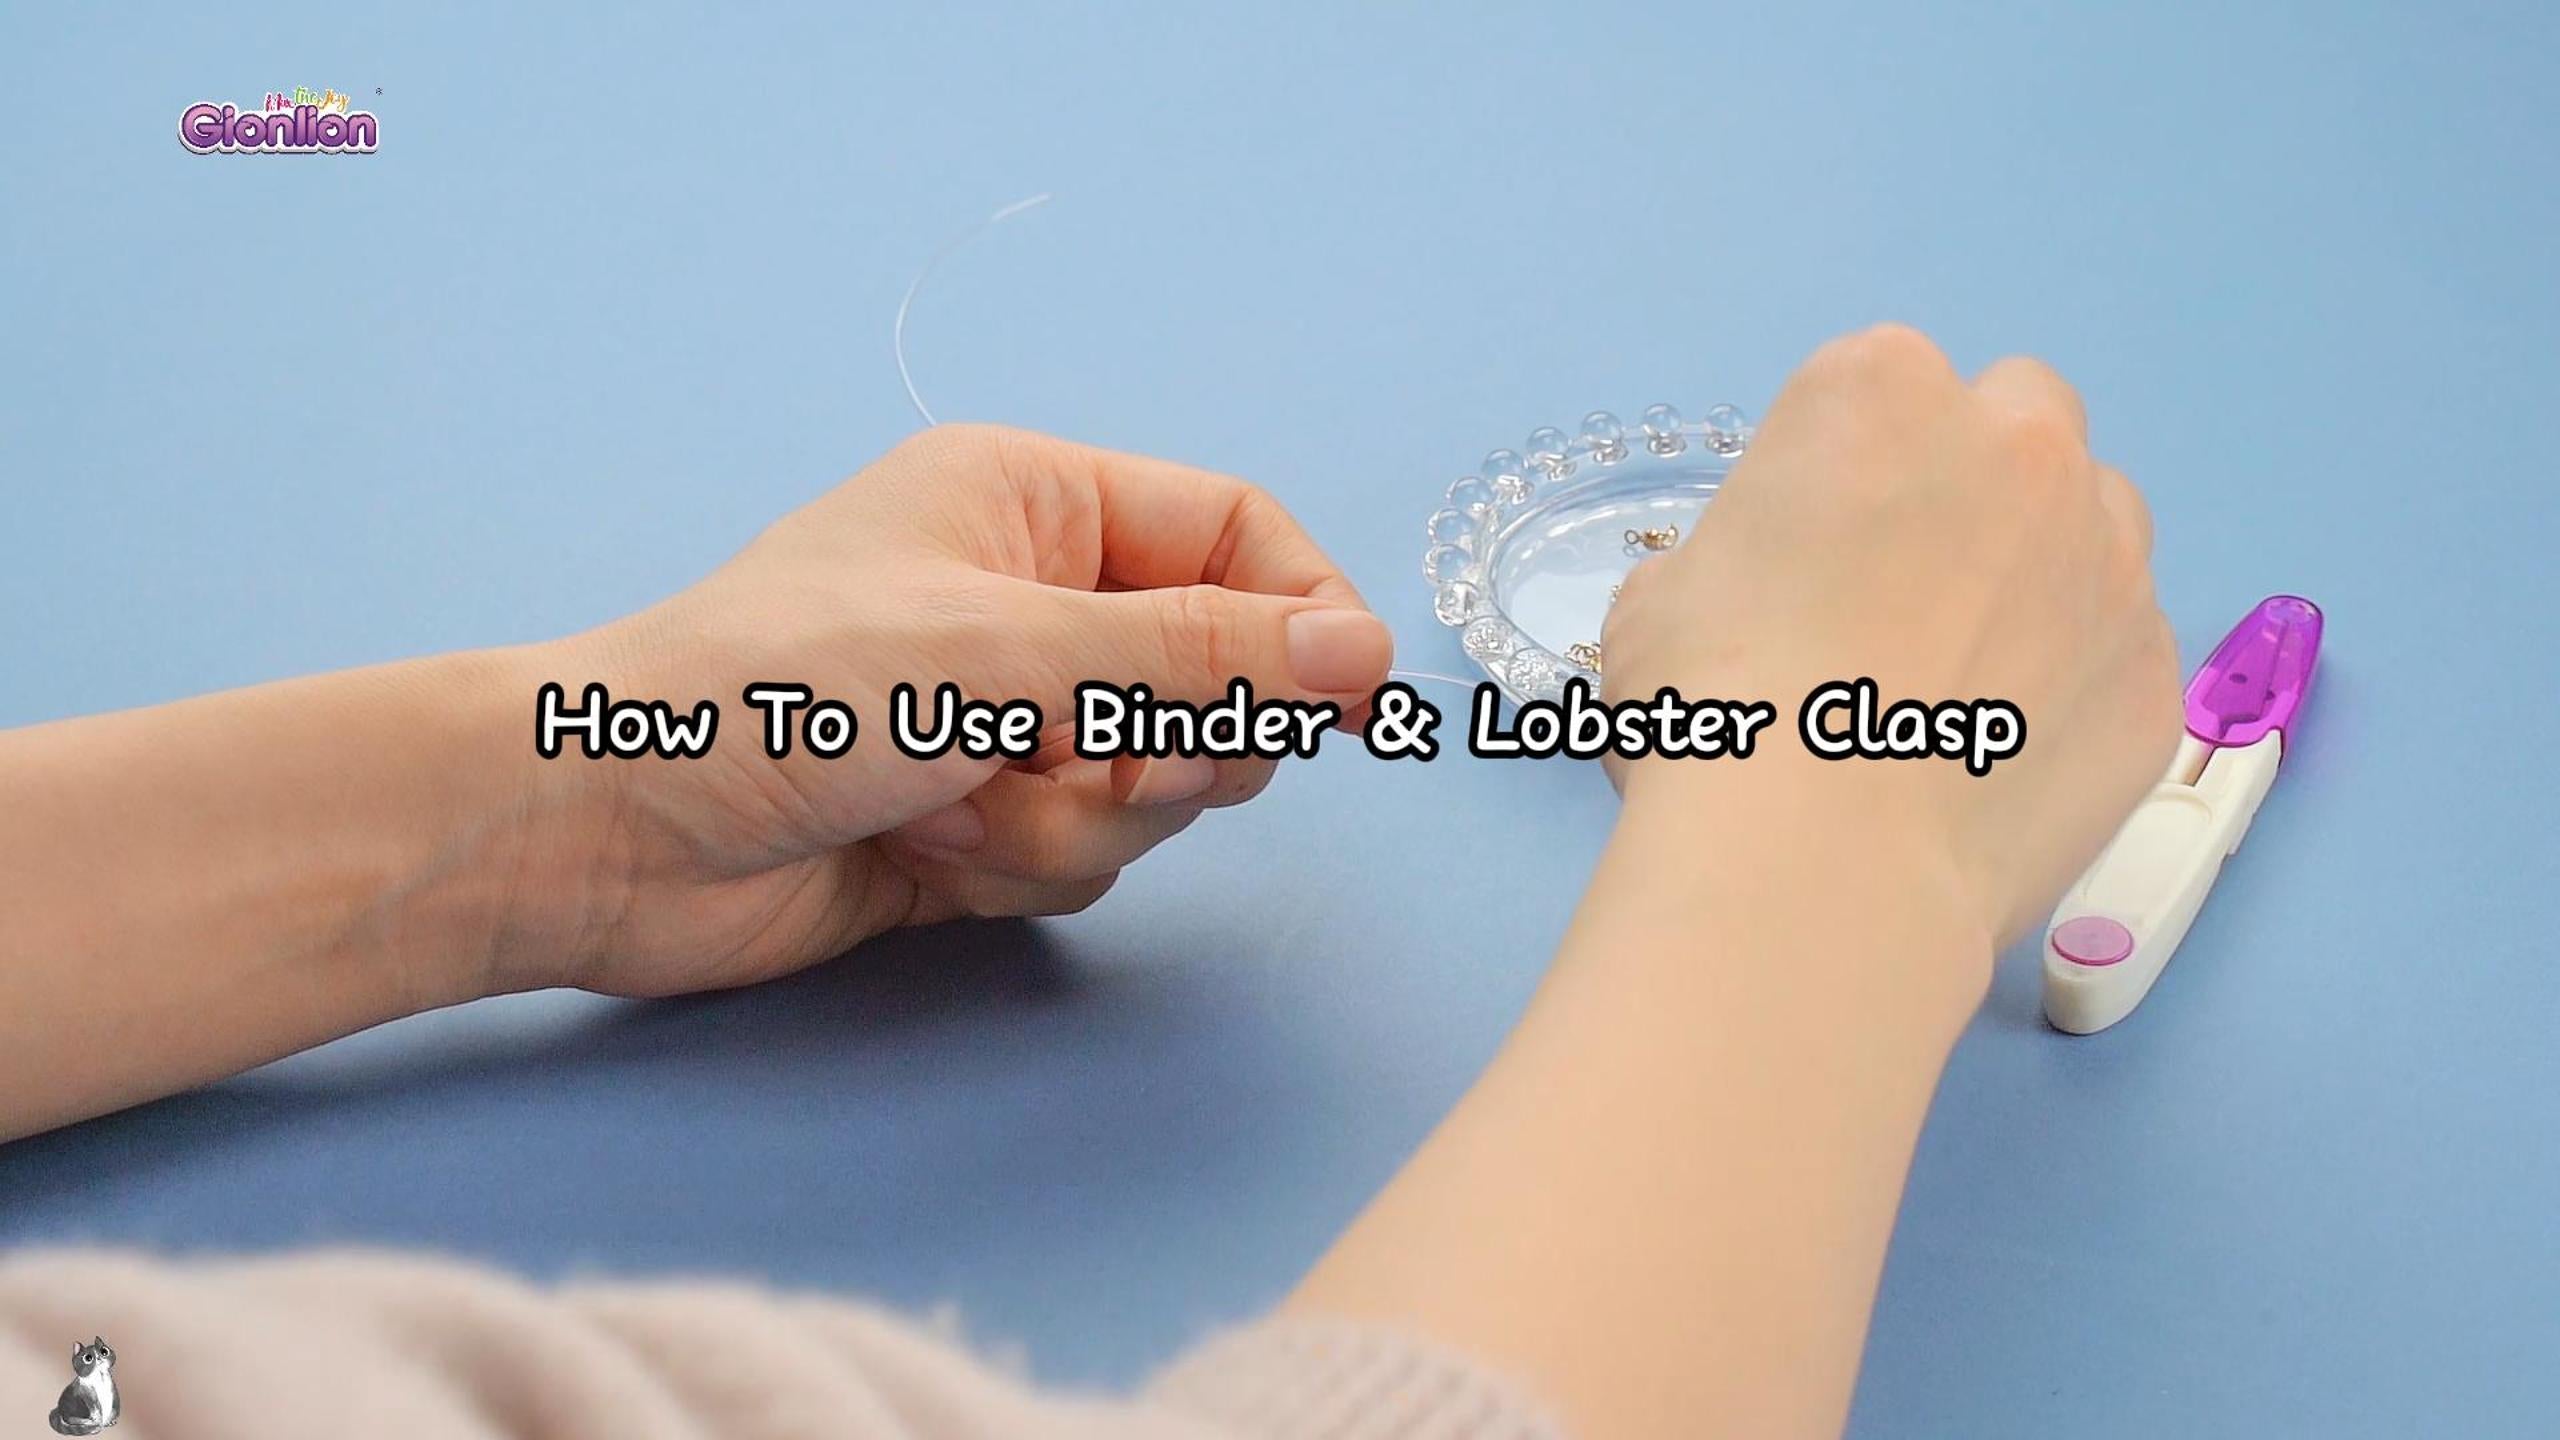
Creating a stylish pony bead bracelet is a fun and rewarding activity that allows you to express your creativity. Whether you're crafting a bracelet for yourself or as a friendship gift, using a friendship bracelet making kit with pony beads opens up endless possibilities. This guide will walk you through the steps of how to bead stringing with pony beads, helping you create a beautiful piece with ease.
Materials Needed:
- Pony beads (in your chosen colors)
- Stringing material (elastic cord, nylon thread, or any preferred string)
- Scissors
- Tape or a bead stopper (optional, to prevent beads from slipping off)
- Pony bead bracelet making kit
Step-by-Step Bead Stringing Process:
1. Select the Right String and Colors
Begin by choosing the appropriate stringing material. The string should be sturdy enough to hold the weight of the beads and flexible enough to tie knots easily. Common choices include elastic cords for stretch bracelets or nylon threads for more delicate designs. After selecting the string, decide on your color combination. A harmonious color palette enhances the overall look of your bracelet, making it a visually appealing piece.
2. Start Stringing Your Beads
Cut your string to the desired length, leaving extra length for tying knots at the end. If you're new to how to bead stringing, it might help to tape one end of the string to your work surface to prevent beads from sliding off. Begin threading the pony beads onto the string in your chosen pattern. Whether you're going for a uniform look with a single color or a vibrant mix, the design is entirely up to you. Take your time to ensure each bead is securely placed on the string.
3. Continue Stringing to the Desired Length
As you string the beads, periodically check the length by wrapping the unfinished bracelet around your wrist. This ensures that you achieve the perfect fit. Adjust the pattern if needed and continue adding beads until you've reached your desired length. Make sure to leave a little extra space at the ends for tying the final knot.
4. Tie the Knot and Finish
Once the bracelet is the correct length, it's time to tie a secure knot. If you're using elastic cord, a square knot or surgeon's knot is ideal as they hold well and stay tight. For non-elastic strings, consider a double knot for added security. After tying the knot, trim any excess string, but leave a small tail that can be hidden inside the nearby beads for a cleaner finish.
5. Final Adjustments
Finally, inspect your bracelet to ensure the beads are evenly spaced and the knot is secure. If the beads have shifted during the knotting process, gently adjust them until you're satisfied with the appearance. Once everything is in place, your pony bead bracelet is ready to wear or gift to a friend.
Additional Tips:
- Experiment with Patterns: Don’t hesitate to mix different bead sizes, colors, and textures. This adds depth and personality to your bracelet.
- Use a Bead Board: If you’re planning a complex design, a bead board can help you lay out the pattern before stringing, making the process smoother.
- Add Charms or Pendants: For a unique twist, incorporate charms or pendants between the beads. This can turn a simple bracelet into a statement piece.
- Practice Knotting Techniques: Different knotting techniques can change the bracelet's look and feel, so practice a few to find the one that best suits your style.
Creating a pony bead bracelet is a delightful and straightforward craft that offers endless customization options. With this guide, you’re equipped to design your perfect bracelet, whether for yourself or as a heartfelt gift.


