SEED BEAD
Creative Ideas for Making A Seed Bead Rabbit Ring
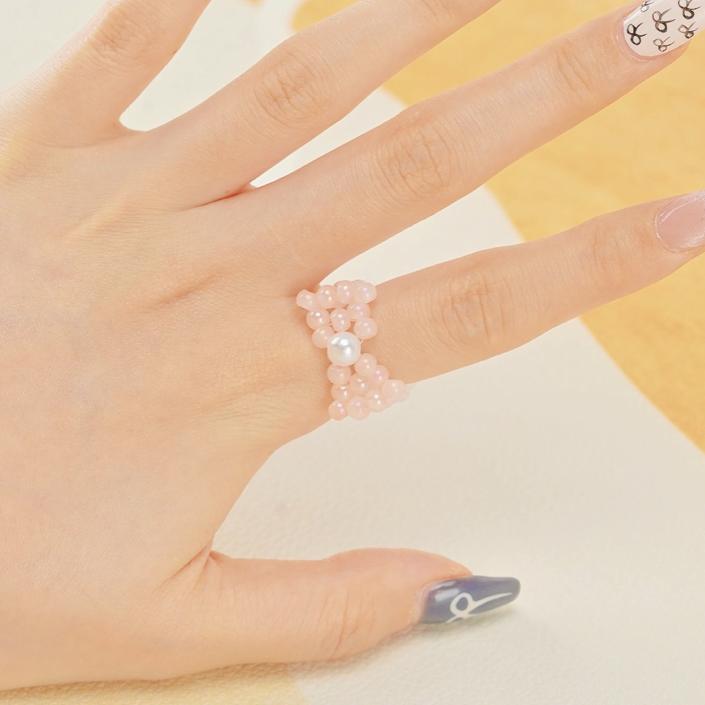
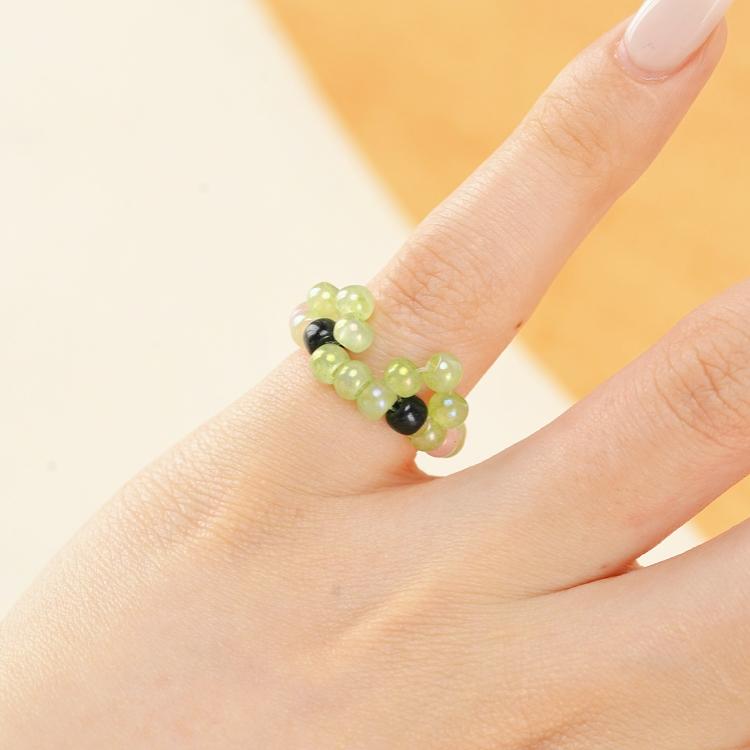
Creating a seed bead rabbit ring is a delightful way to add some whimsy to your jewelry collection. This DIY project uses carefully arranged seed beads to form a cute rabbit design, perfect for both beginners and experienced beaders. Whether you’re into beading, DIY jewelry, or looking for unique handmade accessories, this project combines creativity with ease. In this guide, we'll walk you through the steps to make your own seed bead rabbit ring, including all the materials you need and a detailed process.
Essential Materials
Here’s what you’ll need to make this adorable rabbit ring:
- 17 light pink seed beads (for the main body)
- 2 light purple seed beads (for the eyes)
- 1 red seed bead (for the nose)
- Nylon thread or jewelry wire
- Scissors
- Beading needle (optional but helpful)
The bead count for the ring band may vary depending on your finger size, so adjust as needed for a perfect fit.
Step-by-Step Guide: How to Make a Seed Bead Rabbit Ring
Ready to get started? Follow these steps to create your rabbit ring:
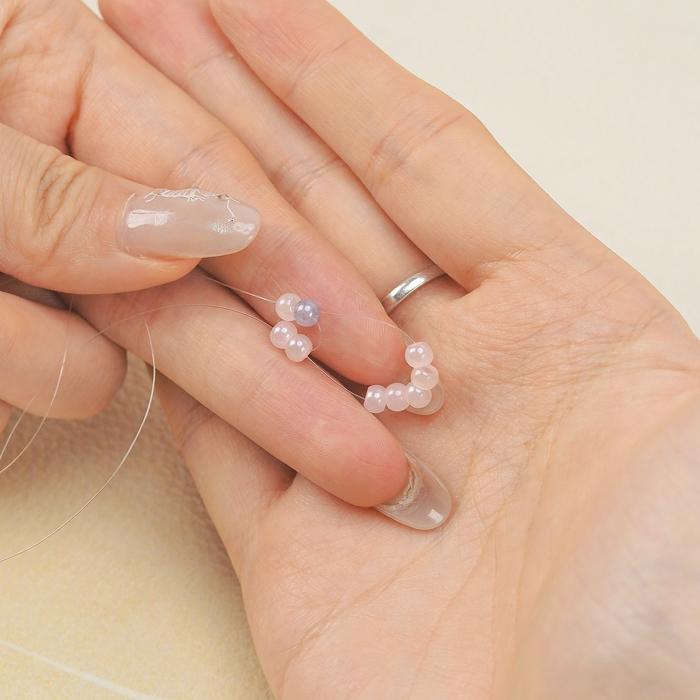
Step 1
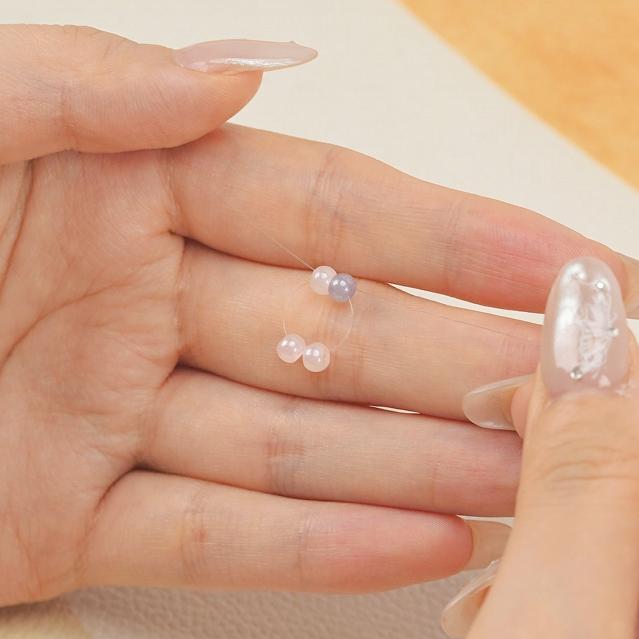
Thread three light pink seed beads and one light purple seed bead onto your string in order. Then, take both ends of the string and pass them through the last two beads, as shown in the instructions.
Step 2
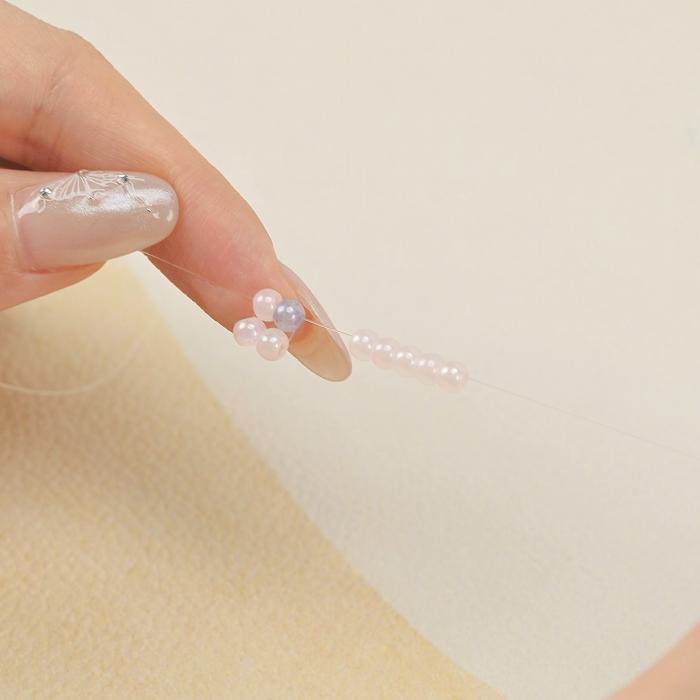
On the right string, threadfive light pink seed beads.
Step 3
As illustrated, take the right string and pass it through the two light pink beads at the bottom. This helps to hold the shape of the ring.
1
2
3
Step 4
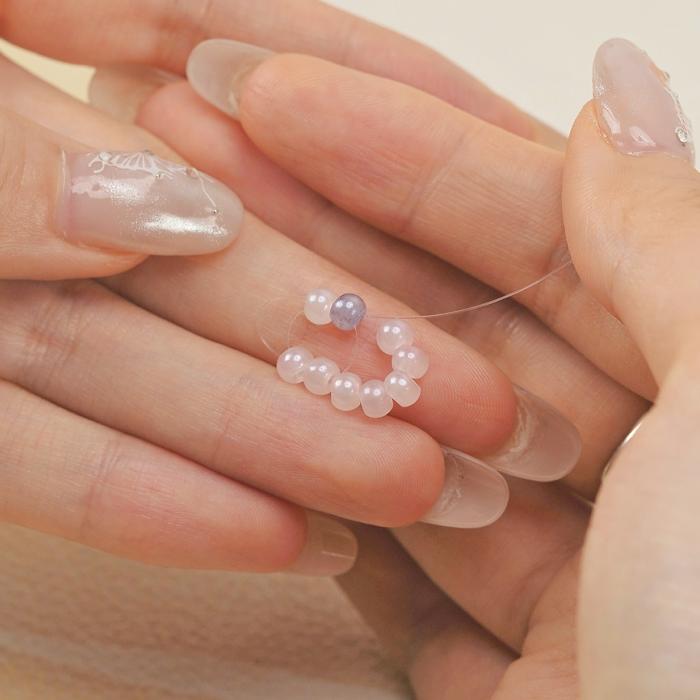
Next, thread the string up through the two top beads, then pull it out through thelight purple seed bead. Pull tight to secure the structure.
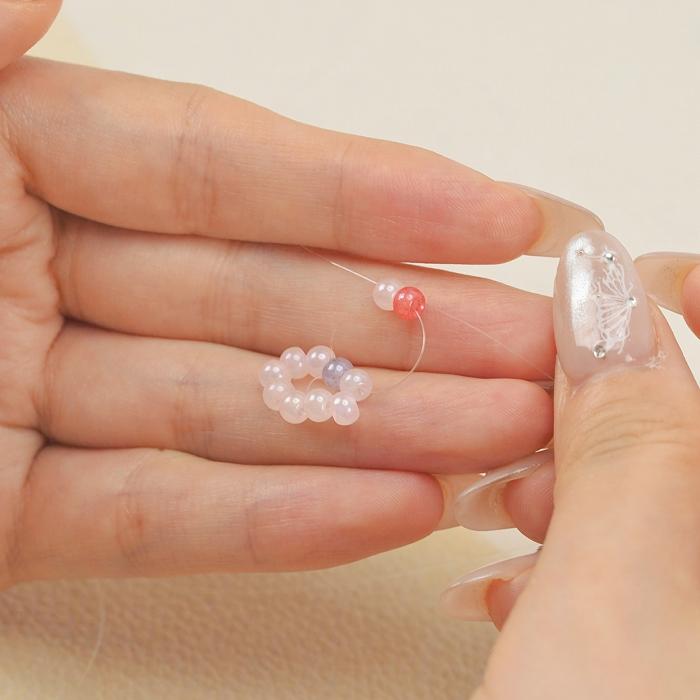
Step 5
Pass both ends of the string throughone light pink seed beadandone red seed bead. The red bead will act as the rabbit’s nose.
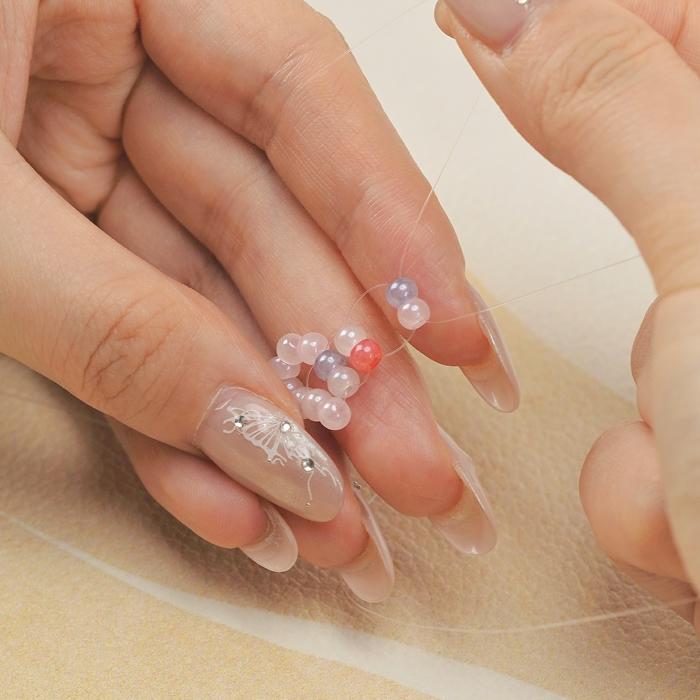
Step 6
With both ends of the string, thread throughone light purple seed beadand thenone light pink seed bead.
4
5
6
Step 7
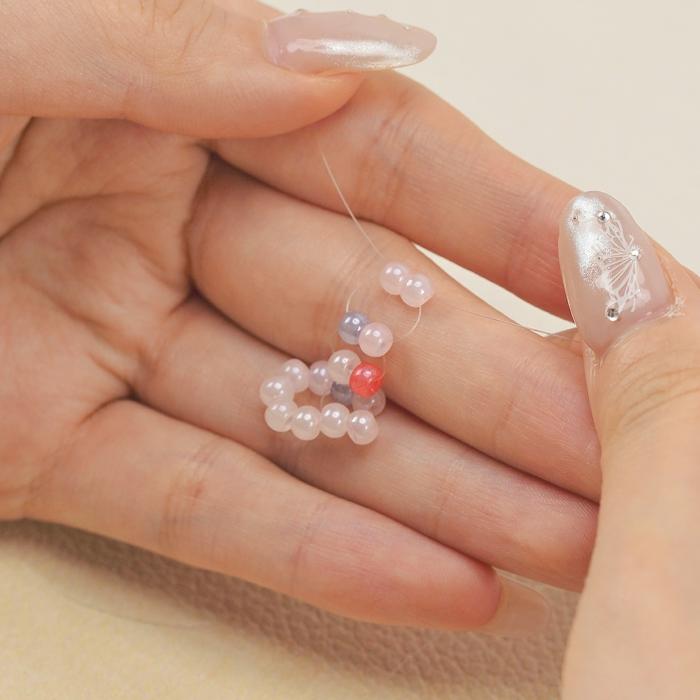
Thread both ends throughtwo more light pink seed beadsto finish the face.
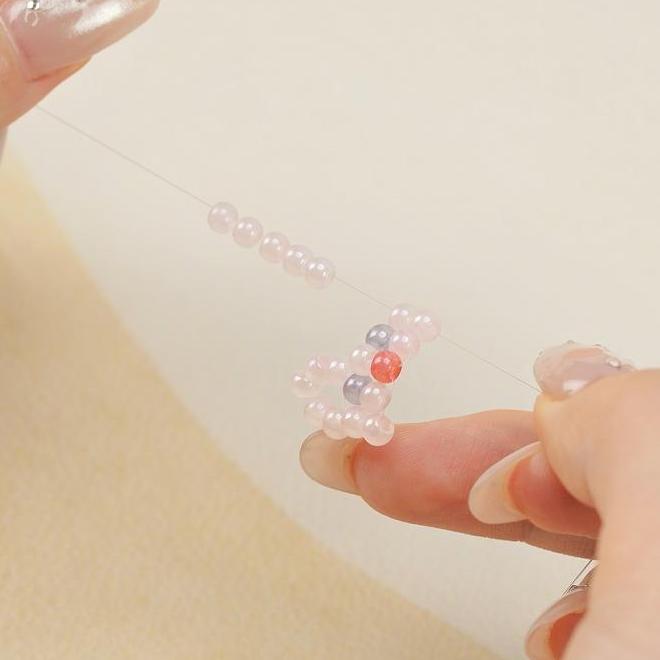
Step 8
On the left string, addfive light pink seed beads
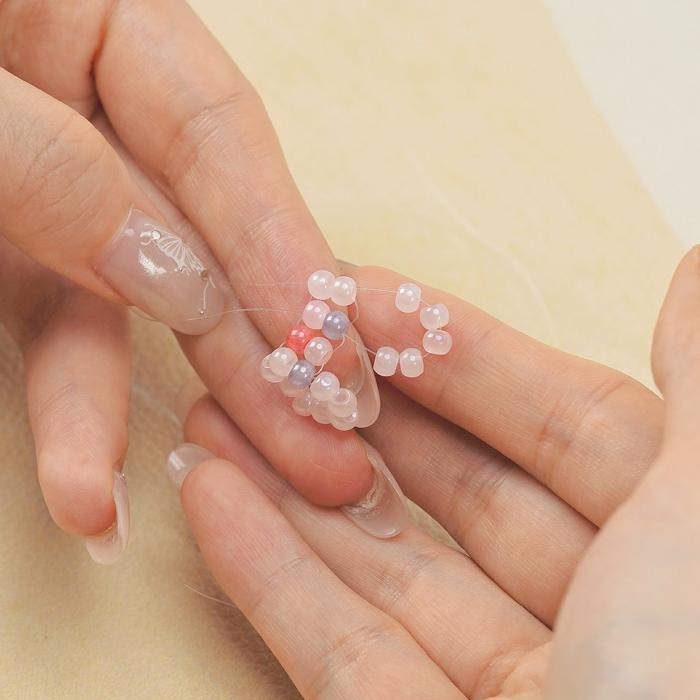
Step 9
Thread the left string back through thelight purpleandlight pink seed beads, as shown in the diagram. This secures the left side of the rabbit’s face.
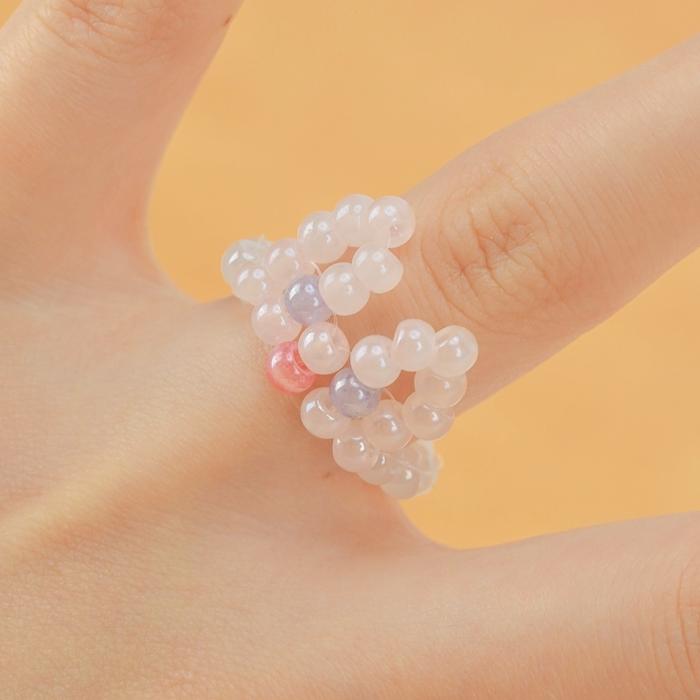
Step 10
Thread additional light pink beads to complete the ring band, adjusting the bead count to fit your finger comfortably. Tie off and trim the ends, and your rabbit ring is complete!
7
8
9
Additional Tips
- Customization: Experiment with different colors to create a unique rabbit. You can replace light pink beads with any color you prefer.
- Adjusting Size: To make the ring fit different finger sizes, simply add or reduce beads on the band.
- Using a Beading Needle: A beading needle makes it easier to thread through small beads, which is particularly useful for intricate designs like this.
Why Seed Bead Jewelry is Perfect for DIY Projects
Seed bead jewelry has surged in popularity as a handmade jewelry trend because of its simplicity and adaptability. Creating designs with seed beads allows for a high level of creativity without requiring a lot of expensive materials. Whether you’re making rings, necklaces, or bracelets, seed beads offer a lightweight and colorful way to express your style. This rabbit ring is a wonderful example of how you can turn simple beads into a playful, stylish accessory.
Try this project to add a touch of cuteness to your collection, and feel free to share the joy of beading with friends who might enjoy this delightful DIY jewelry project!
display

