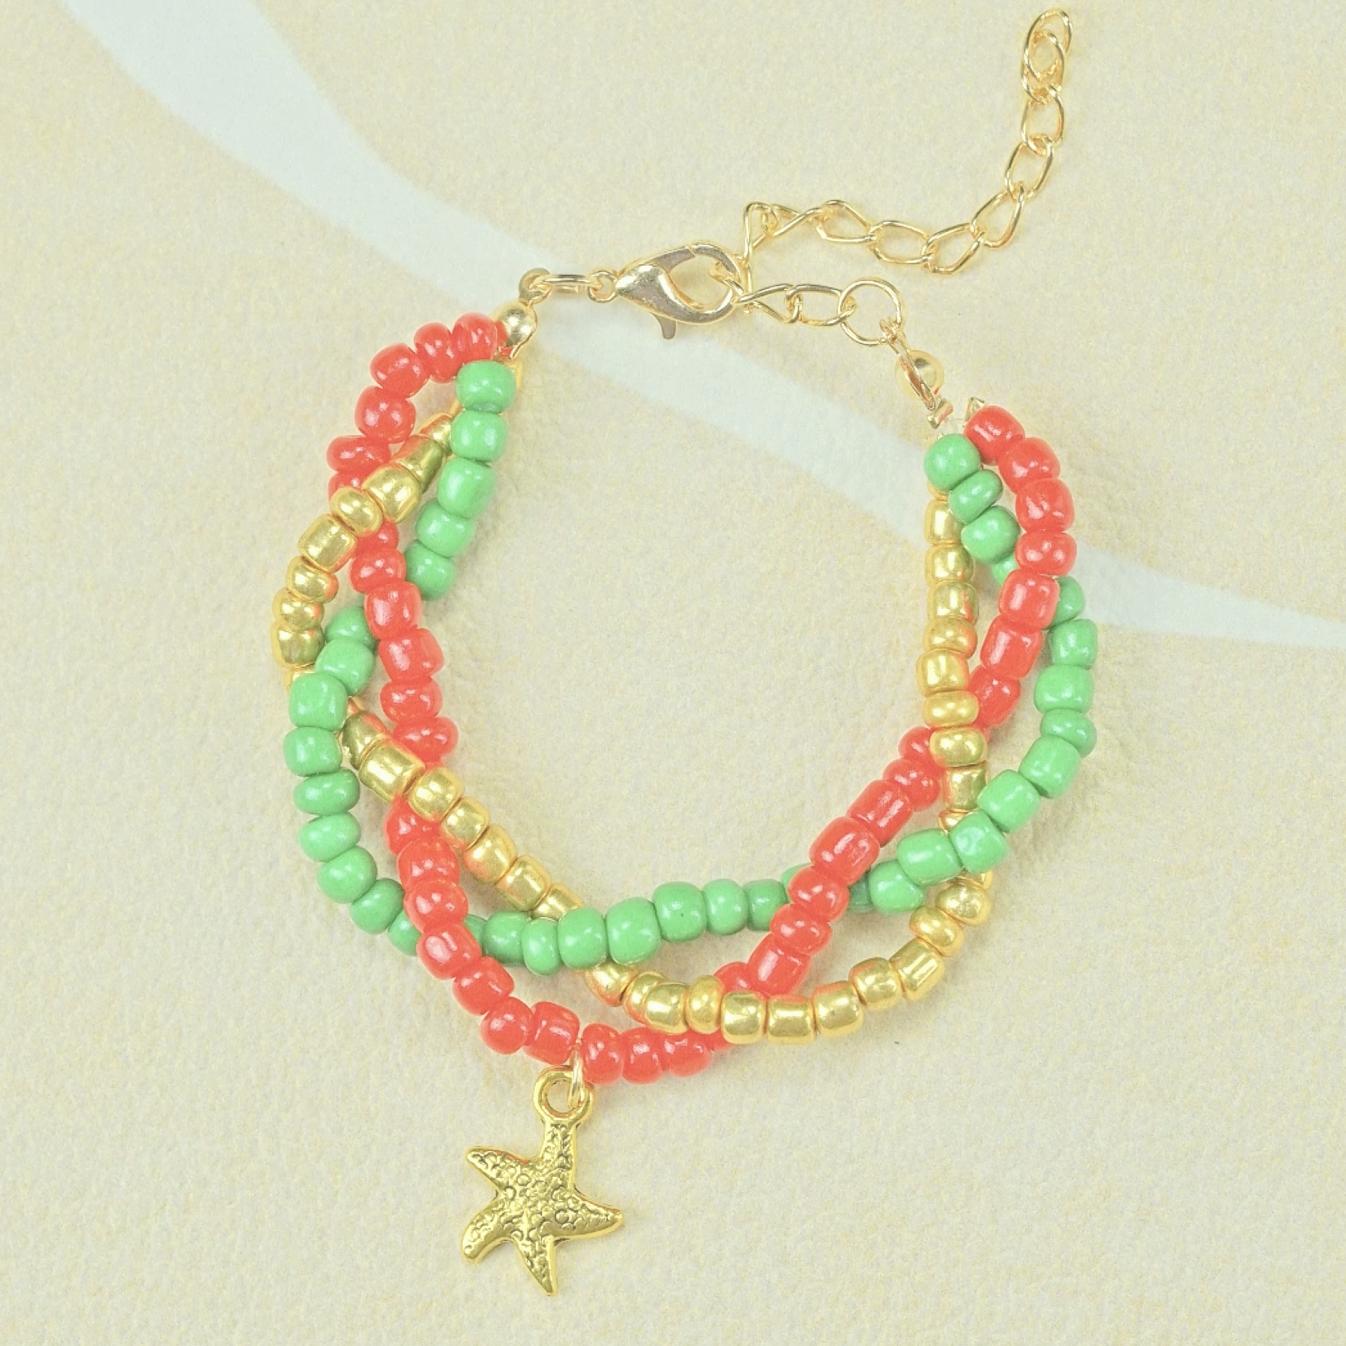
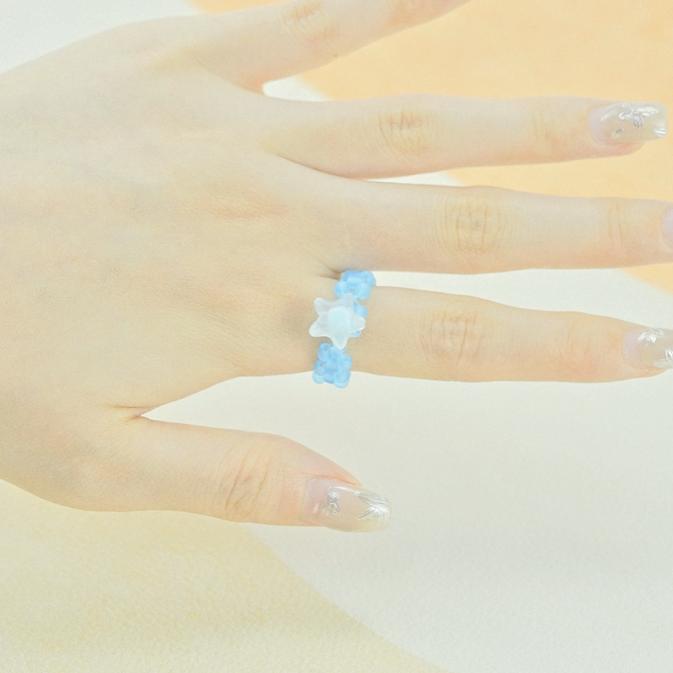
Christmas Jewelry Ideas
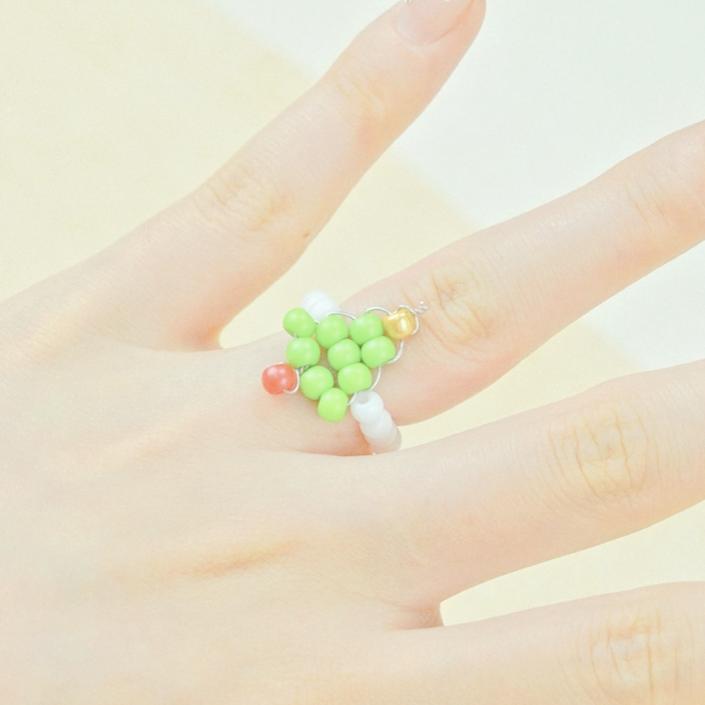
Creative Guide To Crafting A Handmade Christmas Tree Seed Bead Ring
Adding a personal touch to holiday accessories is a beautiful way to celebrate the season. In this DIY project, we’ll create a charming Christmas tree ring using seed beads, perfect for adding festive cheer to any outfit or gifting to loved ones. This project is ideal for anyone who loves handmade jewelry or is looking to make a unique Christmas gift. In this guide, we’ll cover the materials needed, the step-by-step instructions, and a few helpful tips for crafting this delightful piece.
Materials Needed
To make your Christmas tree ring, gather the following seed beads:
- 1 red seed bead
- 9 green seed beads
- 1 gold seed bead
- Copper wire or any jewelry wire
- Additional seed beads for the ring band (choose white or any preferred color)
The band can be customized based on finger size, so feel free to add or remove beads to ensure the perfect fit.
Step-by-Step Instructions for Making a Christmas Tree Seed Bead Ring
Here’s how to assemble your Christmas tree ring:
Step 1
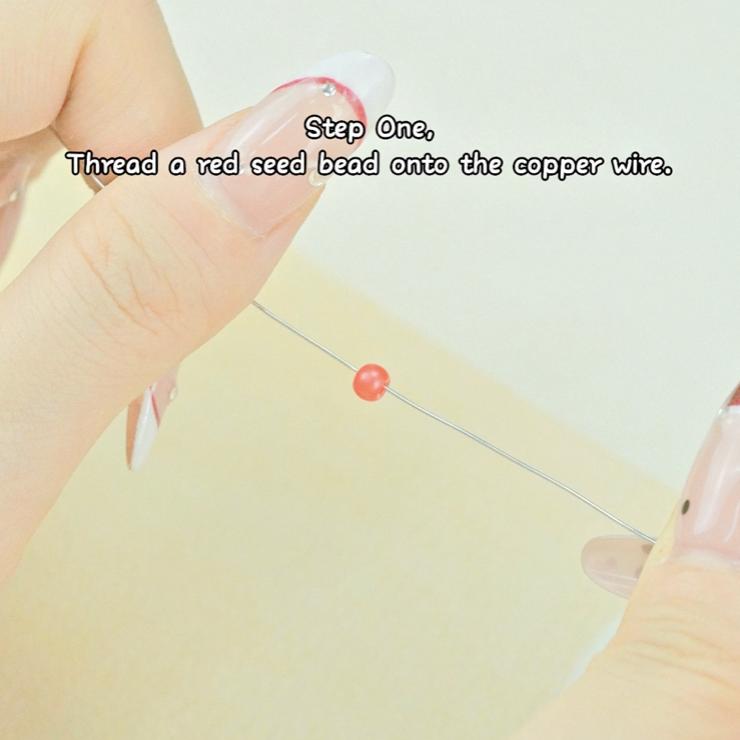
Begin by threading one red seed bead onto the wire.
Step 2
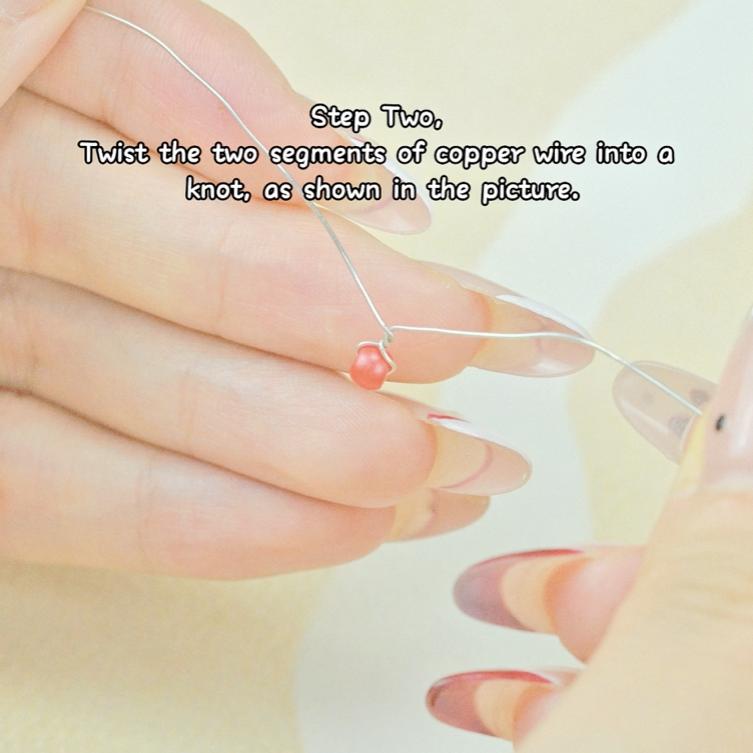
Twist the two ends of the wire around each other, forming a small loop to hold the red bead in place. This loop will also help position the next beads.
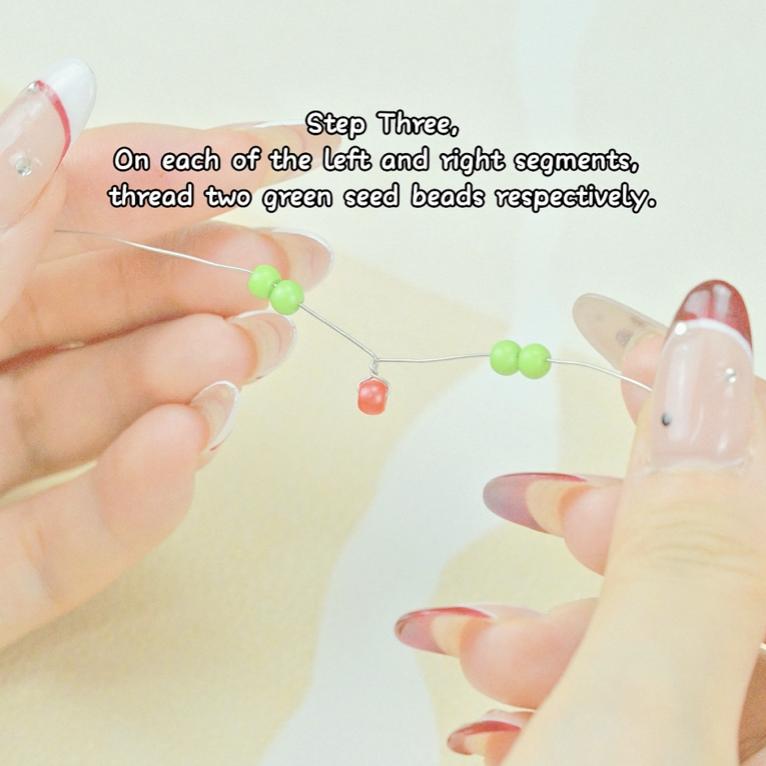
Step 3
Thread two green seed beadsonto each end of the wire. This forms the first "branch" layer of the tree.
1
2
3
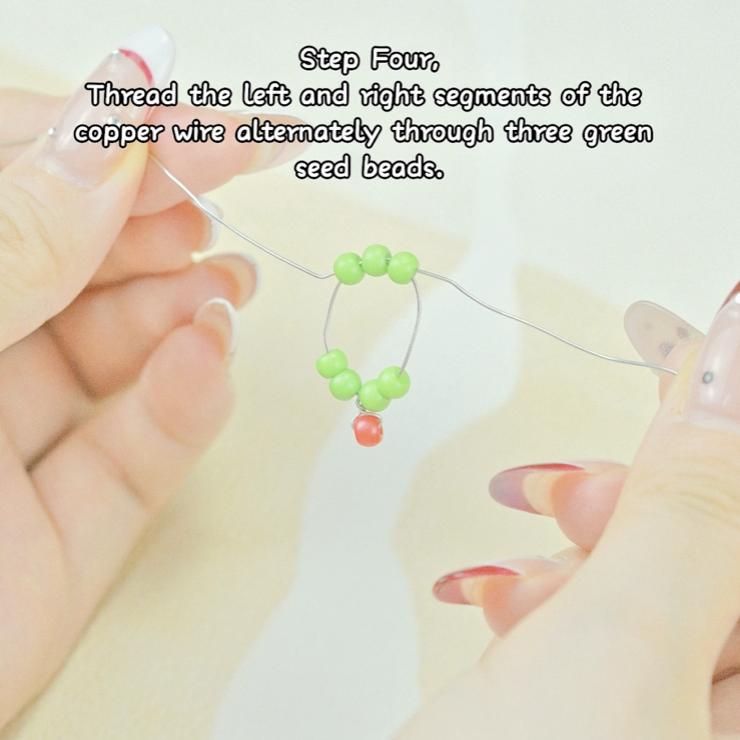
Step 4
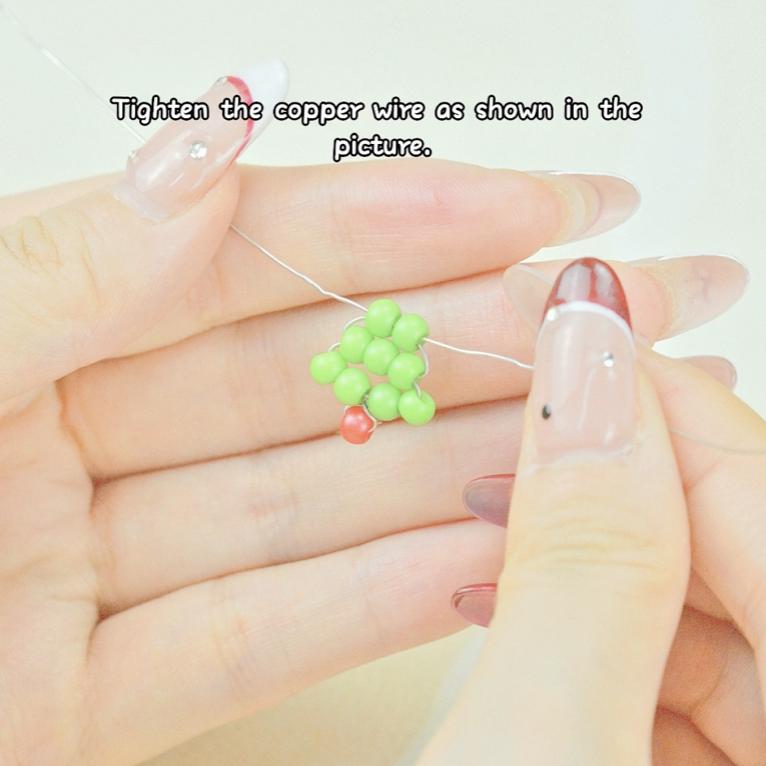
Bring both ends of the wire together and thread them throughthree green seed beads. This forms the middle part of the Christmas tree. Pull tightly to secure the shape.
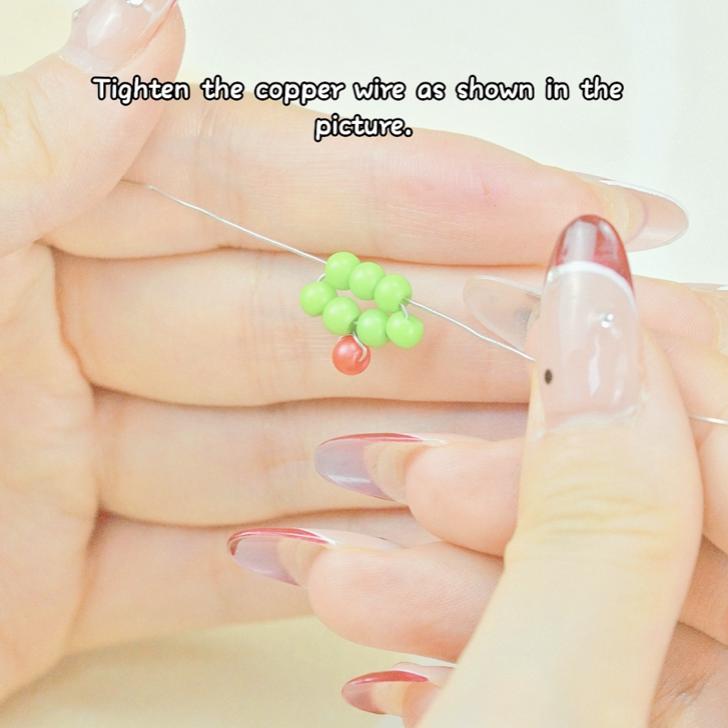
Step 5
After threading the three green beads, pull the wire ends to tighten the structure, giving the tree a defined shape.
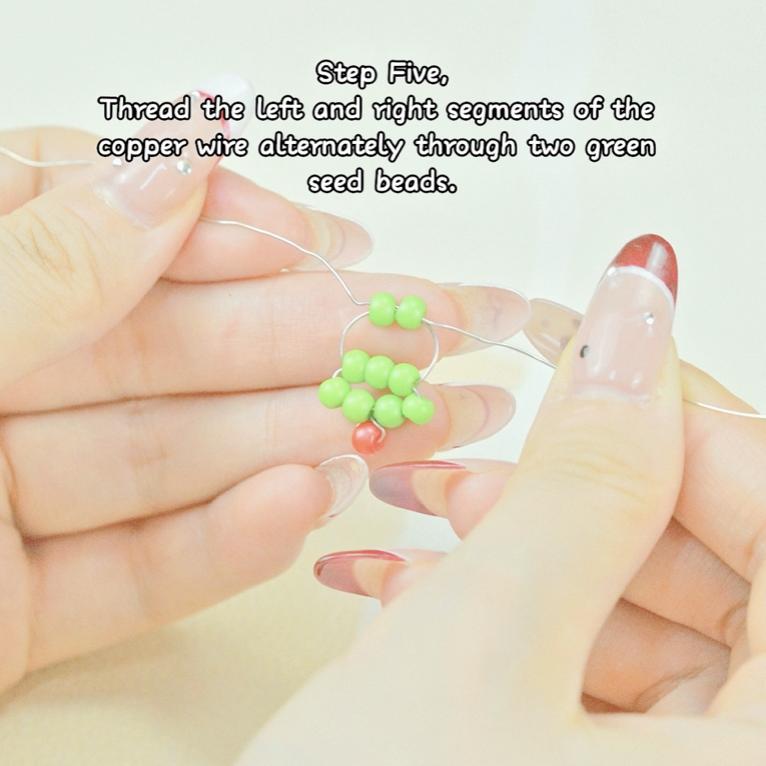
Step 6
Separate the wire ends again, and threadtwo green seed beadsonto each end. This completes the tree's final branch layer.
4
5
6
Step 7
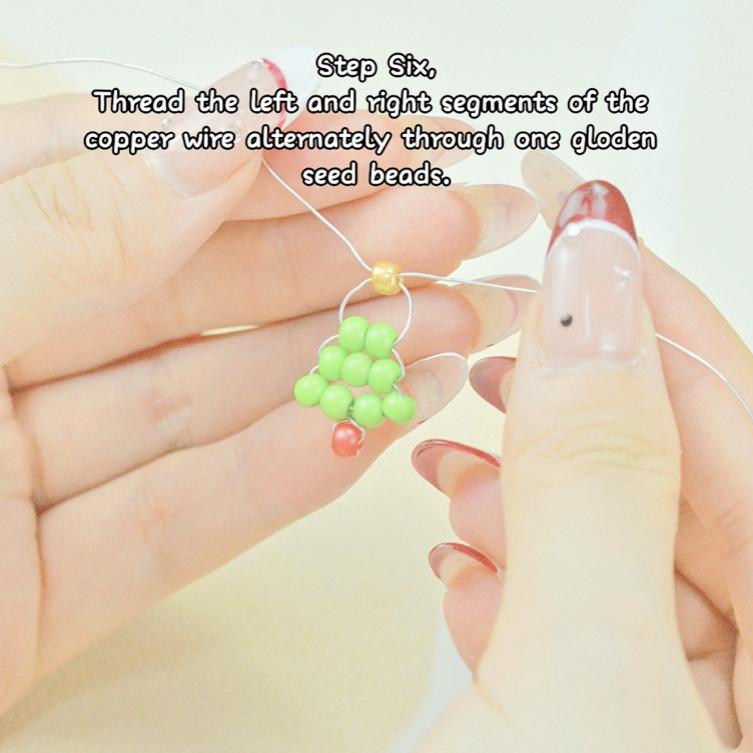
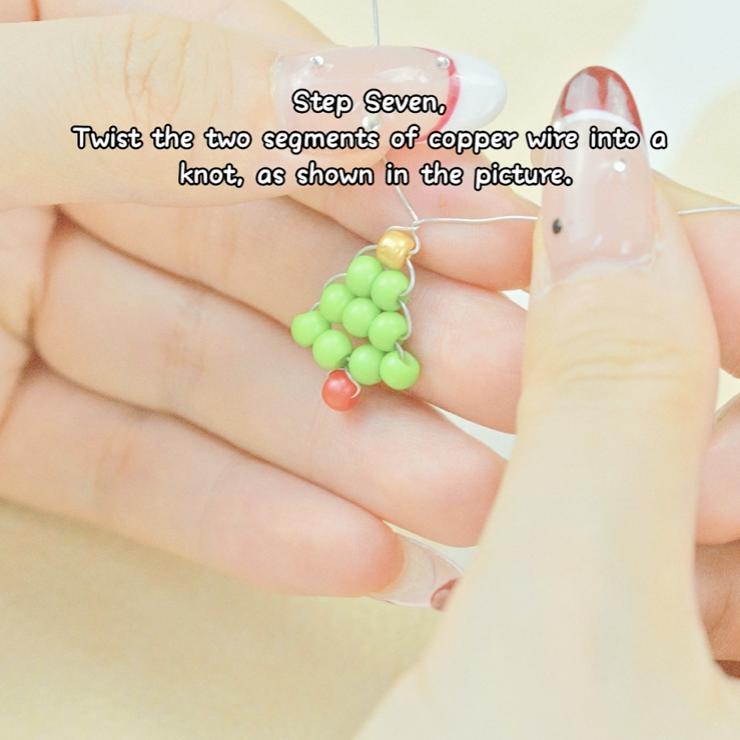
Bring both ends of the wire together once more and thread throughone gold seed bead.
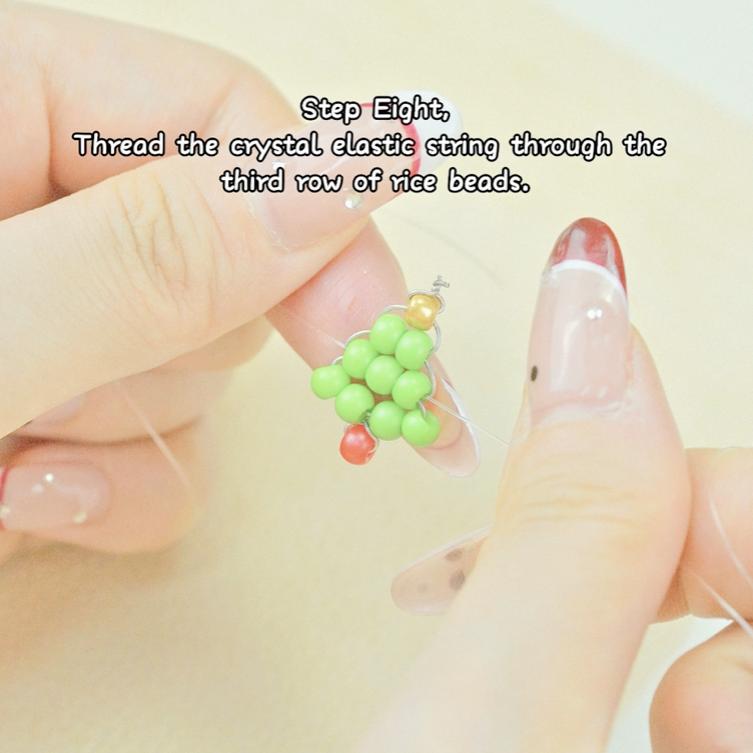
Step 8
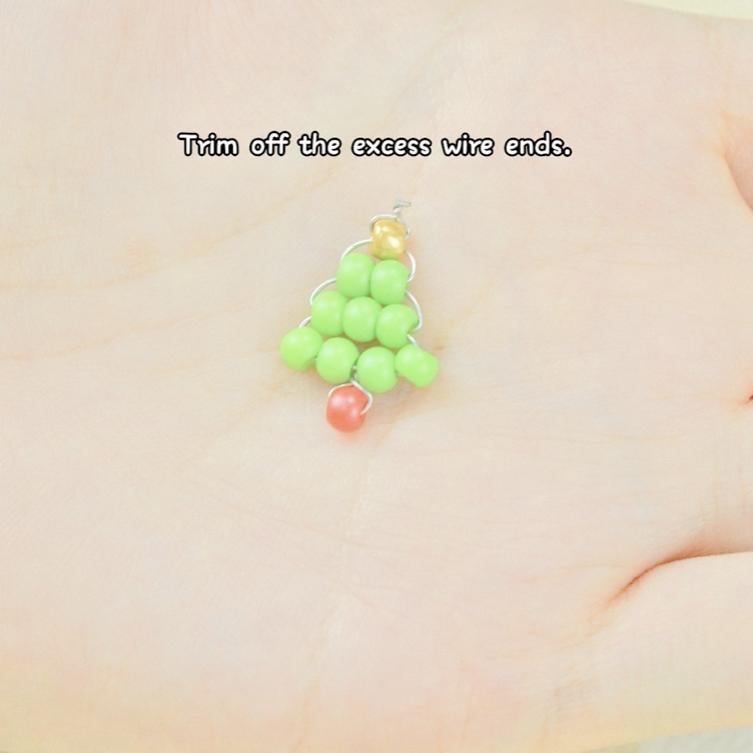
Trim any excess wire and shape the tree as needed. You now have the completed Christmas tree centerpiece for your ring.
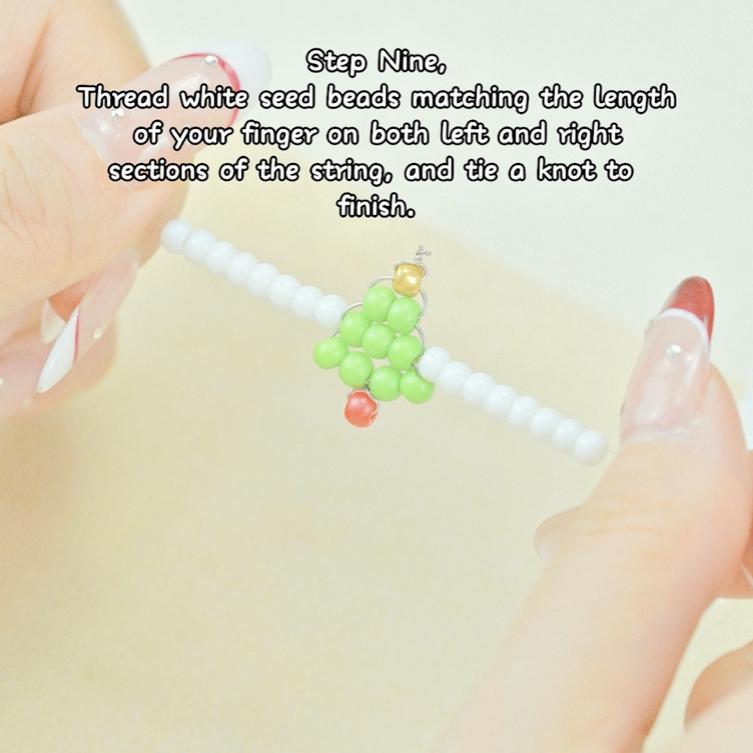
Step 9
For the band, usewhite seed beadsor any color you prefer. String beads onto the wire until the band reaches your desired length. Twist the ends of the wire together to secure the band, and trim any excess wire.
7
8
9
10
11
12
Tips for Customization
- Experiment with Colors: Feel free to use different colors for the ring band or tree topper. Gold, silver, or white beads work beautifully for winter-themed accessories.
- Adjust for Different Finger Sizes: Make sure to measure your finger before creating the band. Adding or removing beads will help ensure a comfortable fit.
- Using Tools: A small jewelry plier can make twisting and securing the wire easier, especially if working with very small beads.
Why Seed Bead Jewelry Makes the Perfect DIY Christmas Gift
Seed bead jewelry is a fantastic option for handmade holiday gifts because it’s both affordable and customizable. Each piece can be personalized with different colors and patterns, making it a meaningful, thoughtful gift. Additionally, this Christmas tree ring captures the holiday spirit and serves as a unique accessory that can be worn all season long. Plus, it’s lightweight and versatile enough for daily wear, bringing a bit of festive joy to any outfit.
Try this DIY Christmas jewelry project to add a touch of handmade charm to your holiday celebrations, or gift it to friends and family who appreciate handmade jewelry and creative DIY crafts!
display

