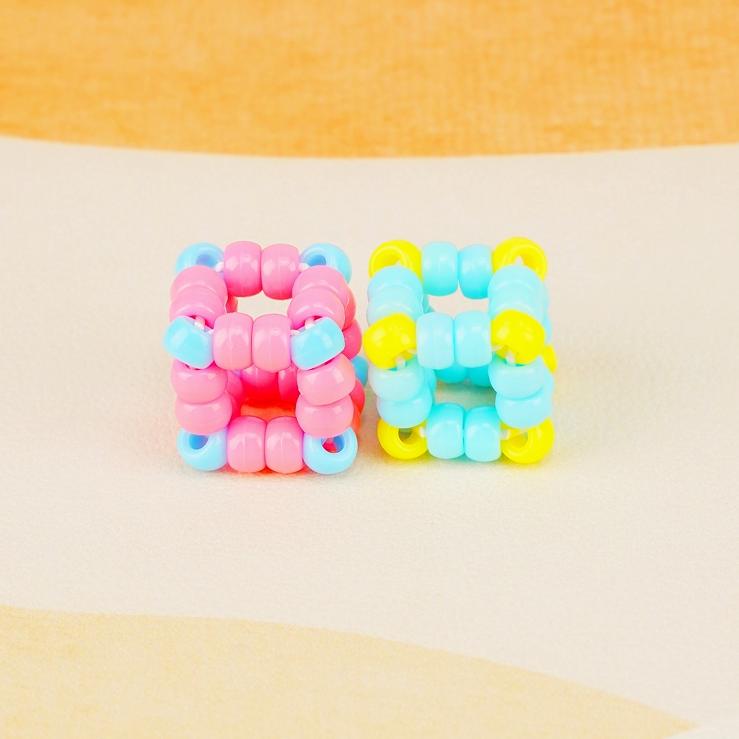
Pony Bead / Kandi Bead
Creative DIY Guide: Crafting A Blue Bird Pendant With Pony Beads
Looking to add a unique, handmade touch to your jewelry collection? This DIY guide will show you how to create a charming blue bird pendant using pony beads, often referred to as kandi beads. This simple yet striking accessory makes a wonderful gift and allows you to showcase your creativity. Let’s get started!
Materials Needed
To create this bird-inspired pendant, gather the following materials:
- 32 light blue pony beads for the bird’s feathers
- 13 white pony beads for the bird’s belly
- 2 black pony beads for the eyes
- 2 light yellow pony beads for the claws
- 1 dark orange pony bead for the beak
- Beading cord or string, long enough for easy weaving and tying
Step-by-Step Instructions
Follow these steps to assemble your blue bird pendant:
Step 1
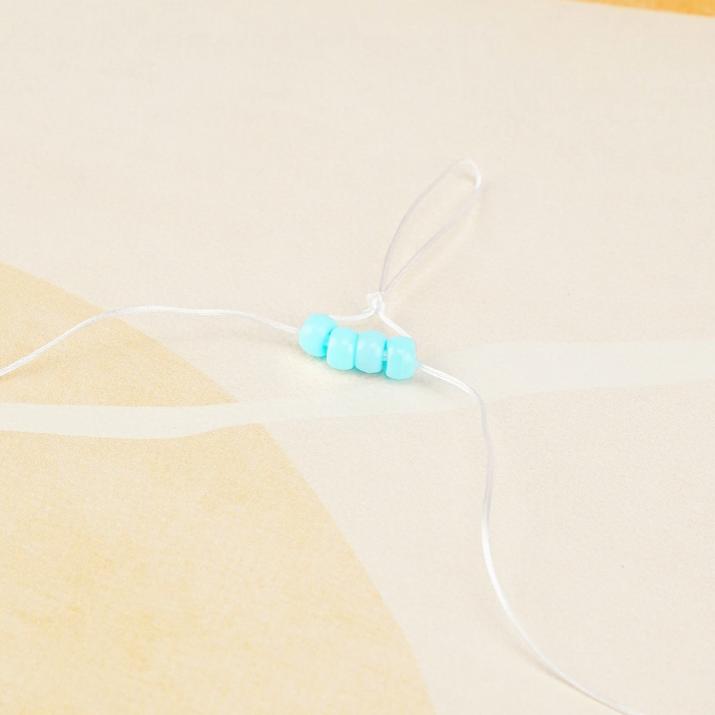
Start by tying a secure knot in your cord to create a small loop that will serve as the pendant’s attachment point.
Step 2
Thread both ends of the cord through four light blue pony beads, positioning them close to the loop.
Step 3
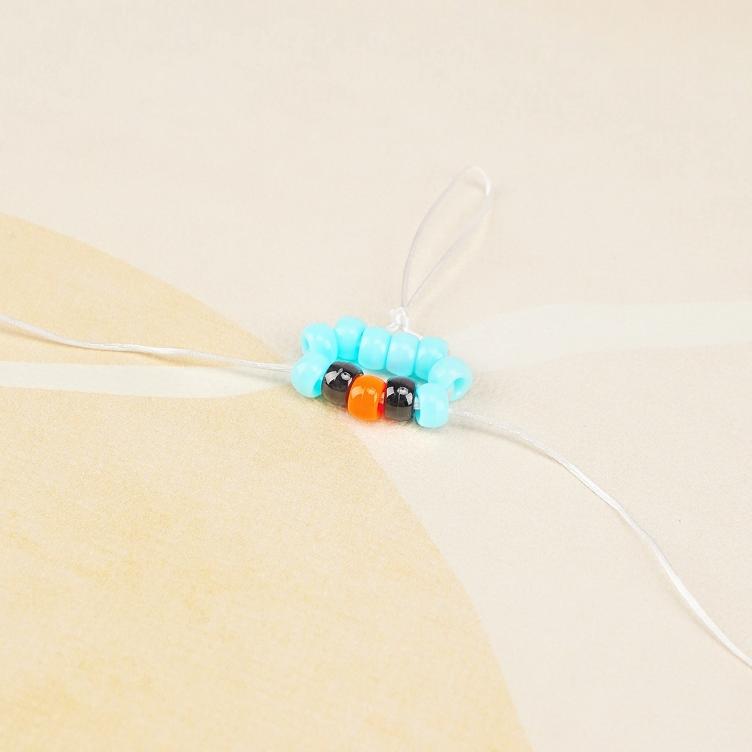
- On both ends of the cord, add two light blue beads.
- Add one black bead for an eye, followed by a dark orange bead for the beak, and then another black bead for the second eye.
- Add two more light blue beads on each end of the cord.
1 - 2
3
Step 4
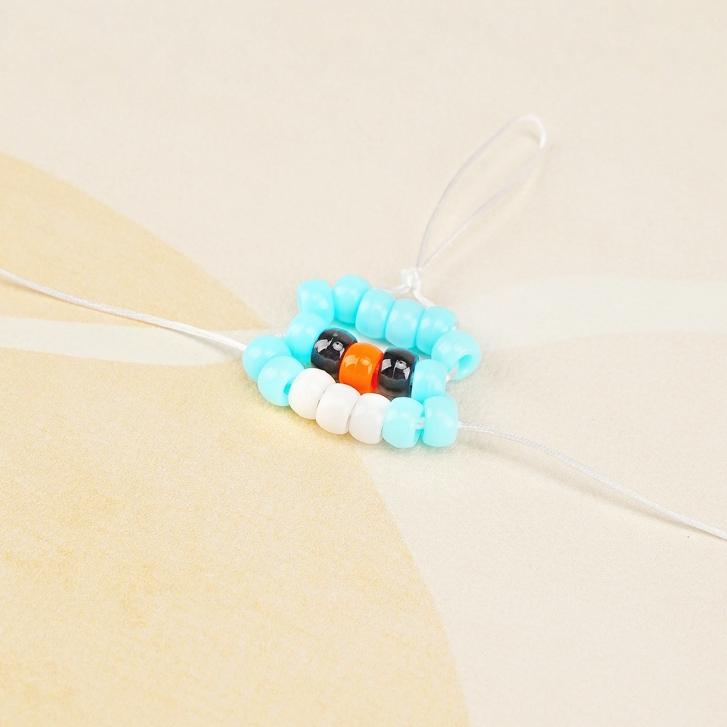
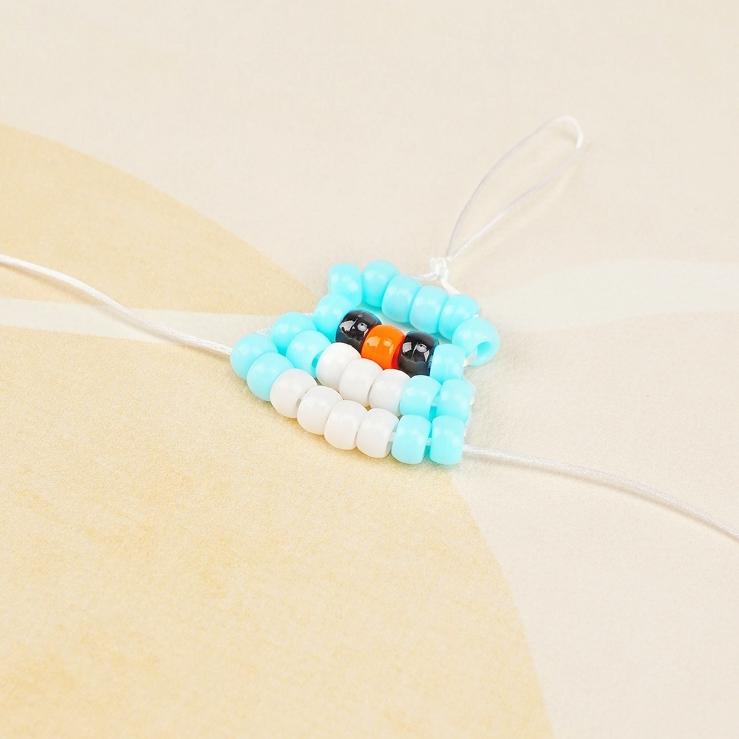
Thread both ends of the cord through two light blue beads, then three white beads, and finally two more light blue beads.
Step 5
Next, thread both ends through two light blue beads, four white beads, and two more light blue beads.
4
5
Step 6
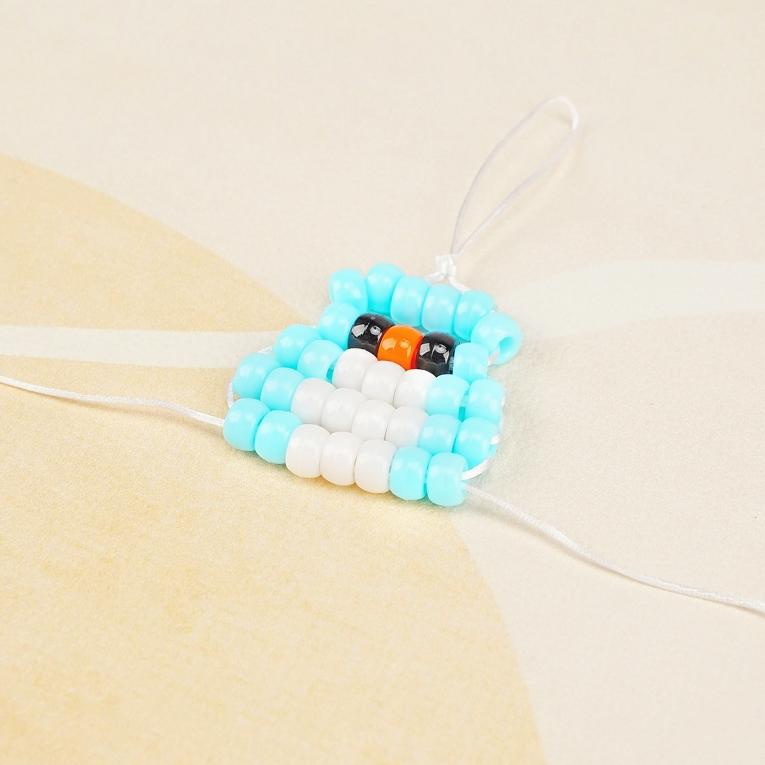
Thread both ends through two light blue beads, then three white beads, and two more light blue beads.
Step 7
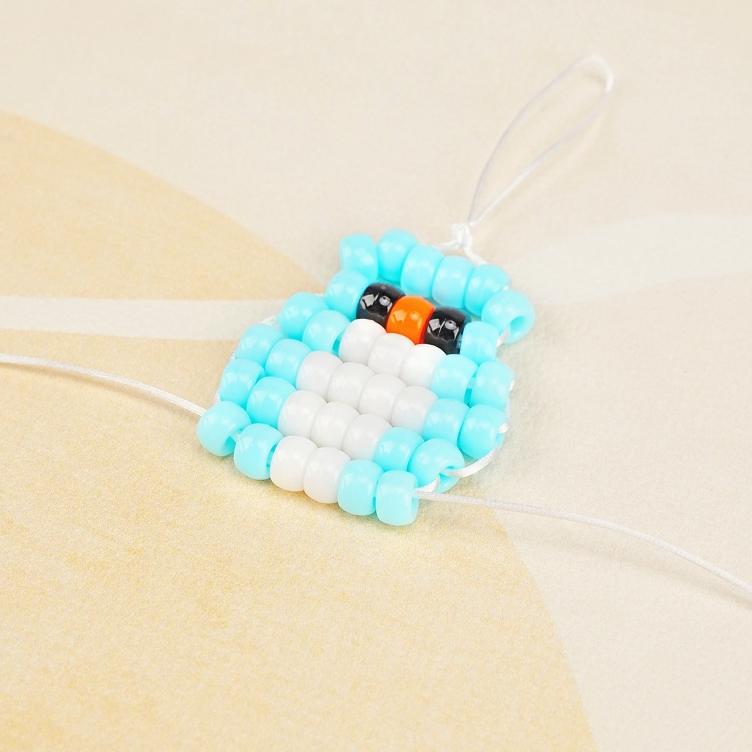
For this row, thread both ends through two light blue beads, two white beads, and two more light blue beads.
6
7
Step 8
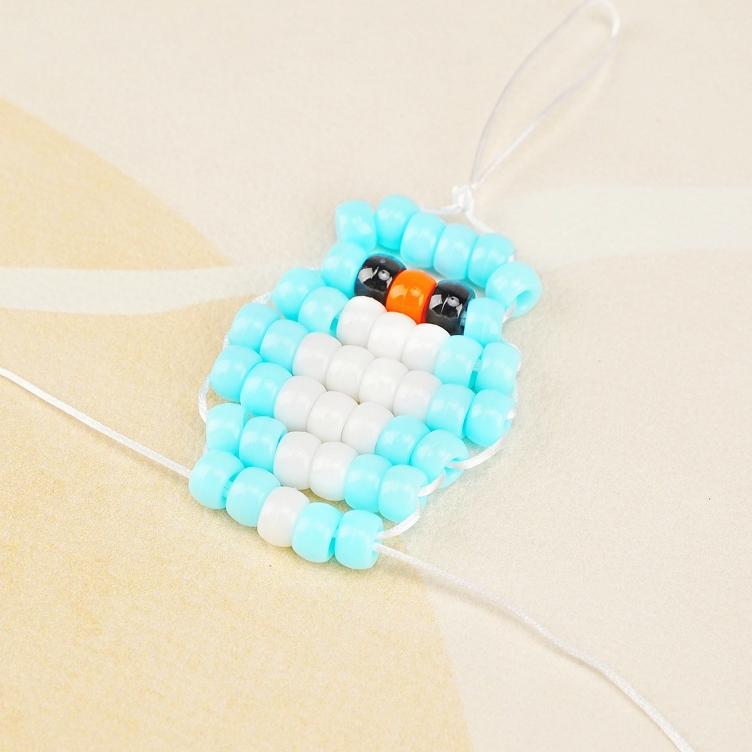
Thread both ends through two light blue beads, one white bead, and two more light blue beads.
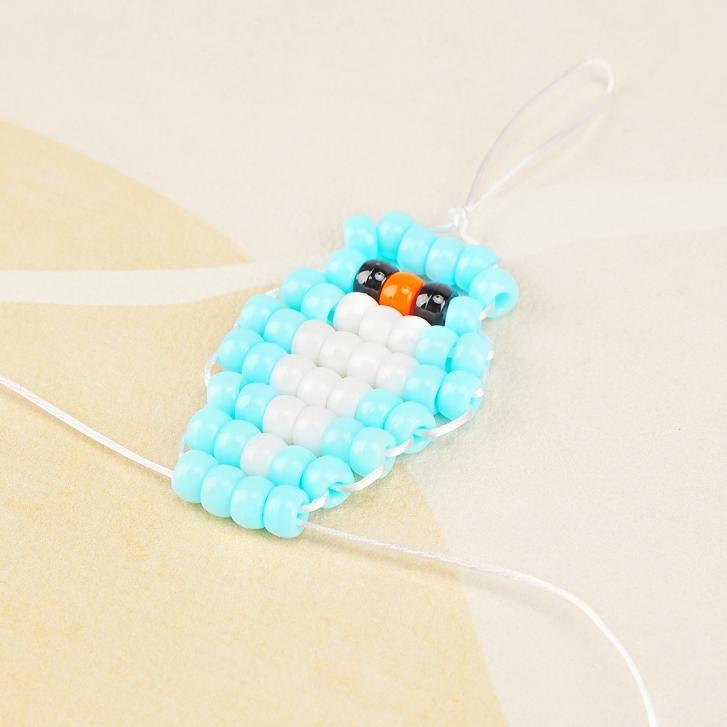
Step 9
Finish off the pendant by threading both ends through four light blue beads.
Step 10
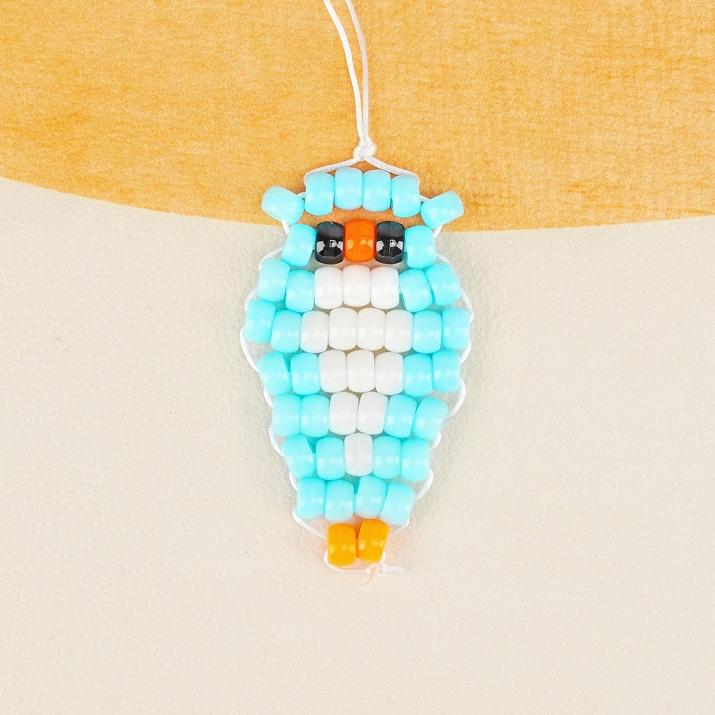
Thread each end through one light yellow bead to form the claws.
Tie a tight knot to secure the design and trim any excess cord.
8
9
DISPLAY

